Advertisement
Quick Links
Tools required
Step 1:
Install support legs to the
leg rail
Install the support legs by placing the
mount plate into the cut-out in the leg
rail (Figure 1). Align the four mounting
holes on the support leg mount plate
with the holes in the cut-out in the leg
rail. Tighten with ¼ - 20 x 20mm hex
bolts.
¼ - 20 x 20mm
hex bolt
Leg rail
I n s t r u c t i o n s f o r S l o a n e F l o a t i n g B e d s
Hardware included:
Please
¼ - 20 x 15mm hex bolts (16)
identify the
¼ - 20 x 20mm hex bolts (8)
listed items
¼ - 20 x 50mm hex bolts (4)
before
Allen wrench (1)
installation.
"L" brackets (4)
Siderail w/ hardware (1)
NOTICE: Beds must be disassembled before moving to avoid damage.
Never attempt to move the bed while it is assembled.
Failure to do so would void the warranty.
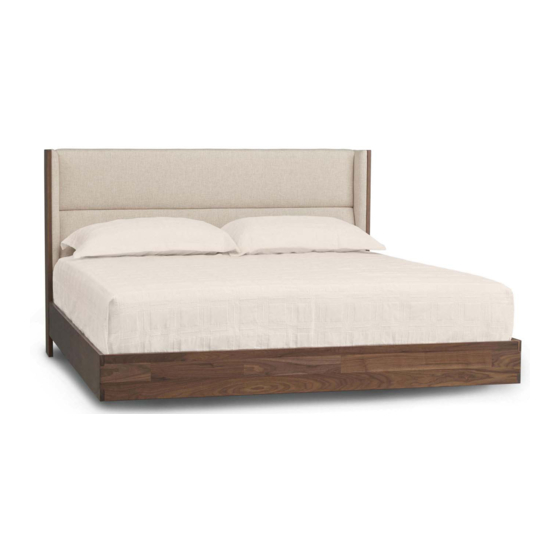
Sloane Floating Bed
62" x 88 3/4" x 48"
Queen
78" x 88 3/4" x 48"
King
Cal King 74" x 92 3/4" x 48"
Allen wrench (provided)
Mount
plate
Components included:
Upholstered headboard (1)
Footboard rail (1)
Support legs (2 walnut/ash)
1 ¾" pan head screws (3)
Siderails (2)
Platform w/ hardware (1)
Platform kit (1)
8.5" support blocks (3)
1-SLO-02-04
1-SLO-01-04
1-SLO-05-04
Support leg
Figure 1.
Install the support leg on
leg rail
Leg rail (1)
Leg rail
1
Advertisement

Summary of Contents for Copeland Furniture Sloane Floating Bed
- Page 1 Siderail w/ hardware (1) NOTICE: Beds must be disassembled before moving to avoid damage. Never attempt to move the bed while it is assembled. Failure to do so would void the warranty. Sloane Floating Bed 62” x 88 3/4” x 48” Queen 1-SLO-02-04 78”...
- Page 2 Tools required Allen wrench Wrench (in the siderail hardware kit) Step 2: Attach the siderails to the headboard. Make sure the cleats towards the top. (Figure 2) Curved washer Screw the threaded stud into the Slide the rail into mating holes for Slide the curved washer and insert in the headboard leg until it dowels on the headboard leg.
- Page 3 Tools required Allen wrench Philips head screwdriver Step 4: Install the footboard rail Connect the footboard rail and side rails Headboard with the metal “L” brackets, 2 brackets on each side (Figure 4). Align each embedded nut on the end of the side rail and footboard rail with the holes on each “L”...
- Page 4 Tools required None For Beds with LED underbed lights Step 1: Connect the LED lights with Switch Distribution Blocks Headboard back panel Connect the wire from the siderail LED light with the Switch Distribution Block by Wire clips routing through the wire clips and the hole in the headboard back panel (Figure 1).
-
Page 5: Care Instructions
Care Instructions To care for and preserve the finish on your new Copeland Furniture piece, please keep the following recommendations in mind. While our furniture has been finished with a durable top coat, the surface may be sensitive to dents and abrasions during the first 30 days in your home.


Need help?
Do you have a question about the Sloane Floating Bed and is the answer not in the manual?
Questions and answers