Table of Contents
Advertisement
Quick Links
Unpack the table onto a
soft level surface and
identify the listed items.
Catalina Round/Square Extension Tables:
Tools required
Step 1:
Remove the shipping blocks
and the Leg Hub
Lay the table top sub-assembly face
down on a soft level surface. Use a
Phillips head screw driver to remove
shipping blocks under the table top
sub-assembly by detaching all the 2"
screws from the shipping blocks. Use
the provided Allen wrench to remove
the Leg Hub by detaching all four ¼" -
#20 x 35mm Allen bolts (Figure 1).
¼" - #20 x 35mm
Allen bolt
Instructions for Catalina
Round/Square Extension Tables
Hardware included:
¼" - #20 x 35mm Allen bolts (4)
¼" - #20 x 50mm Allen bolts (8)
Cross nuts (8)
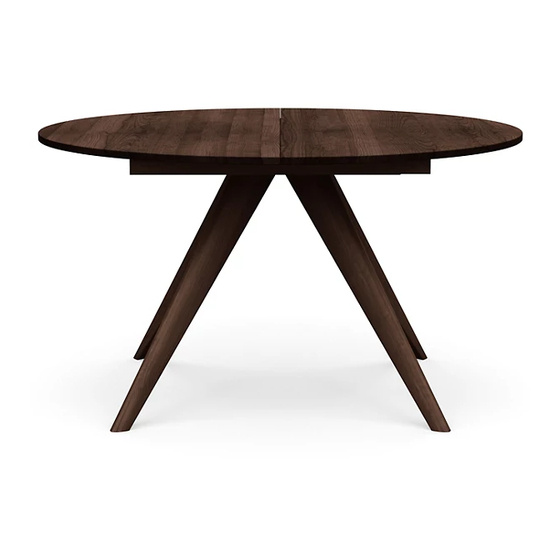
48" Round/Square Extension Table
54" Round Extension Table
60" Round Extension Table
Phillips head screw driver
Figure 1.
4mm Allen wrench (1)
Allen wrench
Remove the
shipping blocks
and Leg Hub
Leg Hub
Table top sub-
assembly
Remove the shipping blocks and Leg Hub from
the table top sub-assembly
Components included:
Table top sub-assembly (1)
Table legs (4)
Table top sub-assembly (1)
Table leg (4)
2" screw
1" screw
Shipping
block
1
Advertisement
Table of Contents

Related Manuals for Copeland Furniture Catalina Extension Table


Summary of Contents for Copeland Furniture Catalina Extension Table
- Page 1 Instructions for Catalina Round/Square Extension Tables Hardware included: Components included: Unpack the table onto a ¼” - #20 x 35mm Allen bolts (4) Table top sub-assembly (1) soft level surface and ¼” - #20 x 50mm Allen bolts (8) Table legs (4) identify the listed items.
- Page 2 Tools required Flat head screw driver Allen wrench Step 2: Insert the cross nut Insert cross nuts into the holes in the leg (Figure 2). The hash mark on the front of the nut should be aligned vertically so that the threaded holes in the middle of the cross nuts are facing Hash mark ¼”...
- Page 3 Tools required Allen wrench Step 4: Install leg base As Figure 5 shows, place the leg base assembly onto the bottom of the table top assembly. Align the holes on the leg hub to the pre-drilled holes on the bottom of the table top, then tighten the bolts with provided...
- Page 4 Lock the table (optional). Care Instructions To care for and preserve the finish on your new Copeland Furniture piece, please keep the following recommendations in mind. While our furniture has been finished with a durable top coat, the surface may be sensitive to dents and abrasions during the first 30 days in your home.
- Page 5 How to Operate Extension Table Lock Mechanism Tools required None Locking locations One leaf extension tables usually have two locking locations (Figure 1). The inner position is for locking the table when the leaf is unfolded (Figure 1-2). The outer position is for locking the table when the leaf is folded (Figure 1-1).
Need help?
Do you have a question about the Catalina Extension Table and is the answer not in the manual?
Questions and answers