Table of Contents
Advertisement
Quick Links
Instructions for Astrid Beds
Please identify
the listed items
before
installation.
Tools required
Notice: Beds must be disassembled before moving to avoid damage. Never attempt to move the bed
while it is assembled. Failure to do so would void the warranty.
Step 1:
attach the base assemblies
Unpack the bed parts onto a soft, level
surface. Put the base subassemblies
upside down on the floor, facing each
other. Attach the support leg plate to the
middle support rails with ¼" – 20 x
35mm hex bolts (Figure 1-1). Attach the
middle leg assembly with ¼ - 20 x
20mm hex bolts (Figure 1-2) to the
support leg plate.
Hardware included:
¼ - 20 x 20mm hex bolts (4)
¼ - 20 x 35mm hex bolts(48)
¼ - 20 x 50mm hex bolts(8)
Allen wrench (1)
Cross nuts (4, w/ headboard)
King
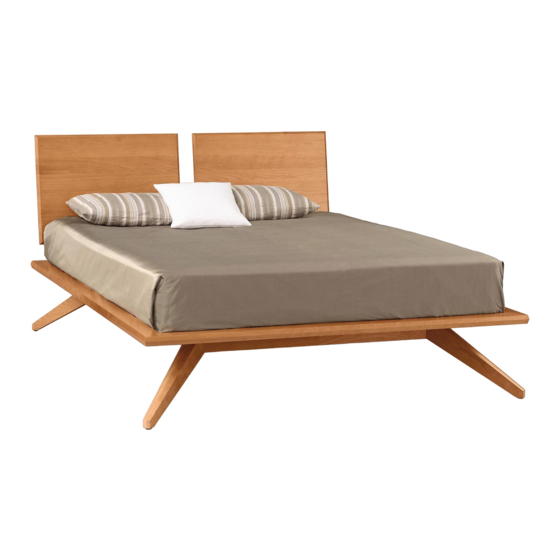
Astrid bed with
Queen
Split headboard
Cal King
Allen wrench
Base
assembly2
Figure 1-1.
Install the support leg plate
support leg assembly
¼ - 20 x 20mm
hex bolt
Support leg
plate
Middle support rail
¼" – 20 x 80mm hex bolts (4, w/ headboard)
Components included:
Single / Split HDBD (1/2)
HDBD deck ASM (1)
FTBD deck ASM (1)
King
Astrid bed with
Queen
Single headboard
Cal King
Support leg plate
¼ - 20 x 35mm
hex bolt
Figure 1-2.
Install the support leg
assembly
Support leg assembly(1)
Base assemblies (2)
Support leg plate (1)
Joining plates (2)
King
Astrid bed with-
Queen
out headboard
Cal King
Base assembly1
Middle support
rails
Middle support
rails
1
Advertisement
Table of Contents

Related Manuals for Copeland Furniture Astrid King


Summary of Contents for Copeland Furniture Astrid King
- Page 1 Instructions for Astrid Beds Hardware included: Please identify ¼” – 20 x 80mm hex bolts (4, w/ headboard) ¼ - 20 x 20mm hex bolts (4) the listed items Components included: ¼ - 20 x 35mm hex bolts(48) Support leg assembly(1) before ¼...
- Page 2 Tools required Allen wrench Joining plate Step 2: Install the base joining plates Base assembly1 Connect two base assemblies with joining plates. Attach the joining plates with ¼ - 20 x 35mm hex bolts (Figure 2). Middle leg After the base units are joined, flip over the base and retract the middle leg leveler slightly so that it only make contact with...
- Page 3 Tools required Allen wrench Step 4: Insert the 50mm hex bolts Insert ¼” – 20 x 50mm hex bolts in each of the eight corner locations (Figure 4, arrows). Do not fully tighten bolts. It is CRITICALLY IMPORTANT that the 50MM HEX BOLTS are properly seated EIGHT...
- Page 4 Tools required Allen wrench Step 6: Place headboard assembly Slightly loosen all hex bolts on the back of the headboard assembly(s). Bolts must be loose before proceeding. Insert the vertical headboard braces onto the pockets of the deck (for split headboard, the brace with the mark should be positioned toward the center of the bed).
- Page 5 Care Instructions To care for and preserve the finish on your new Copeland Furniture piece, please keep the following recommendations in mind. While our furniture has been finished with a durable top coat, the surface may be sensitive to dents and abrasions during the first 30 days in your home.
Need help?
Do you have a question about the Astrid King and is the answer not in the manual?
Questions and answers