Table of Contents

Related Manuals for Harvia Digital KIP


Summary of Contents for Harvia Digital KIP
- Page 1 Digital KIP Heater Installation & Owner’s Guide This guide should be used in conjunction with the manufacturer’s heater manual found inside the heater box. Please be sure you and your electrician review both before installation.
- Page 2 If you are above this threshold and are not achieving the aforementioned expectations, please contact Almost Heaven Saunas technical support. HEATER WARRANTY Your Harvia heater comes with a 1 year warranty on the heating elements, and a 5 year warranty on the other components. Information for your electrician: 4.5kW and 6.0kW KIP Heaters • 30-amp double pole breaker...
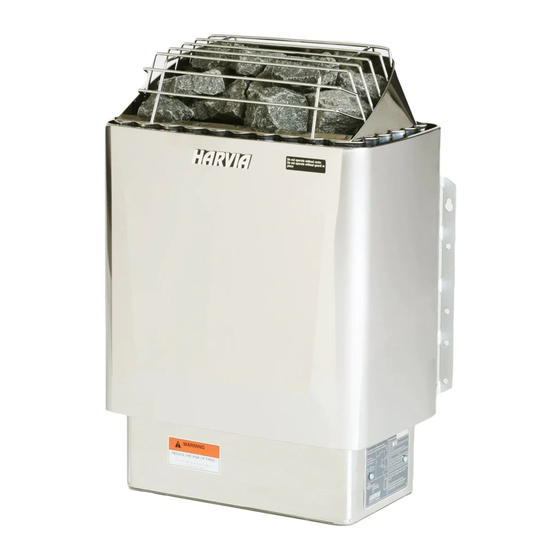
- Page 3 Note: It is possible you will receive two temperature sensors - one in the heater box and one in the Xenio control box. They are the same sensor - set one aside as a spare for possible later use. Temperature sensor Power Unit Touchpad The KIP heater is a wall mounted unit.
- Page 4 Hang the heater on the mounting screws to ensure it is level and that its base sits 5-7”off the floor of the sauna. If these criteria are met, make a mark on the wall of the sauna directly behind one of the rubber gaskets on the lower back of the heater; this will be where the power enters the sauna. Take the heater off the wall and remove the rubber gasket, exposing the cutout.
- Page 5 POSITIONING THE HEATER COMPONENTS Indoor Saunas For indoor sauna applications, mount the power unit on or near the sauna. It can be mounted on the exterior of the sauna, or on an adjacent wall. The main power for your heater will connect here first, and then relay onto your heater. Next, consider where you’d like to mount your touchpad. You can mount the touchpad wherever it’s most convenient for you. We do not recommend mounting the touchpad in the sauna itself.
- Page 6 CONNECTING YOUR HEATER TO POWER Please note, the power unit provided (CX170-U1-15) with your sauna is rated for single-group connection. The instructions below are for single group connections only. Incoming Power First, you will need to bring power to your power unit. Remove the power unit’s cover and pry out the appropriate knockouts that will allow the wiring to enter and exit the unit. Connect the power cord to the appropriate terminals, with the two hot lines connecting to the left-most L1 and L2 terminals, and the ground connecting to the ground terminal. A neutral line is not needed - this is only required if a light or ventilation fan is connected to the...
- Page 7 Next, feed the sensor wire out of your sauna in order to connect to the power unit. Secure the wiring to the circuit board mini-terminal. Starting on the outside and moving in, the wires should connect in the following order: blue - white - red - yellow. Temperature Sensor Touchpad data cable Touchpad The touchpad should be mounted indoors in a dry location, preferably in your home. Once you’ve determined this location, use a flathead screwdriver to gently pry the screen of the touchpad from the mounting bracket.
- Page 8 OPERATING YOUR HEATER Note: Your touchpad’s default settings are compatible with your heater. No changes are necessary. Immediate Start Turn your breaker on. If everything is connected correctly, the buttons at the bottom of the screen should illuminate. The bottom left button is the main power unit - press it, and you should hear a loud “clunk” from the power unit, which is the contactors engaging. If you do nothing, it will begin heating immediately;...
Need help?
Do you have a question about the Digital KIP and is the answer not in the manual?
Questions and answers