WANHAO DUPLICATOR 9 - 3D Printer Quick Start Guide
- Getting started manual (2 pages) ,
- Instruction manual (58 pages)
Advertisement
It's important that you follow these steps carefully to ensure correct setup of your 3D Printer.
You can also visit www.wanhao3dprinter.com/Video/D9video/wanhao_D9_unboxing for step by step guide on unboxing and setup, levelling, filament installation and printing.
Package Contents

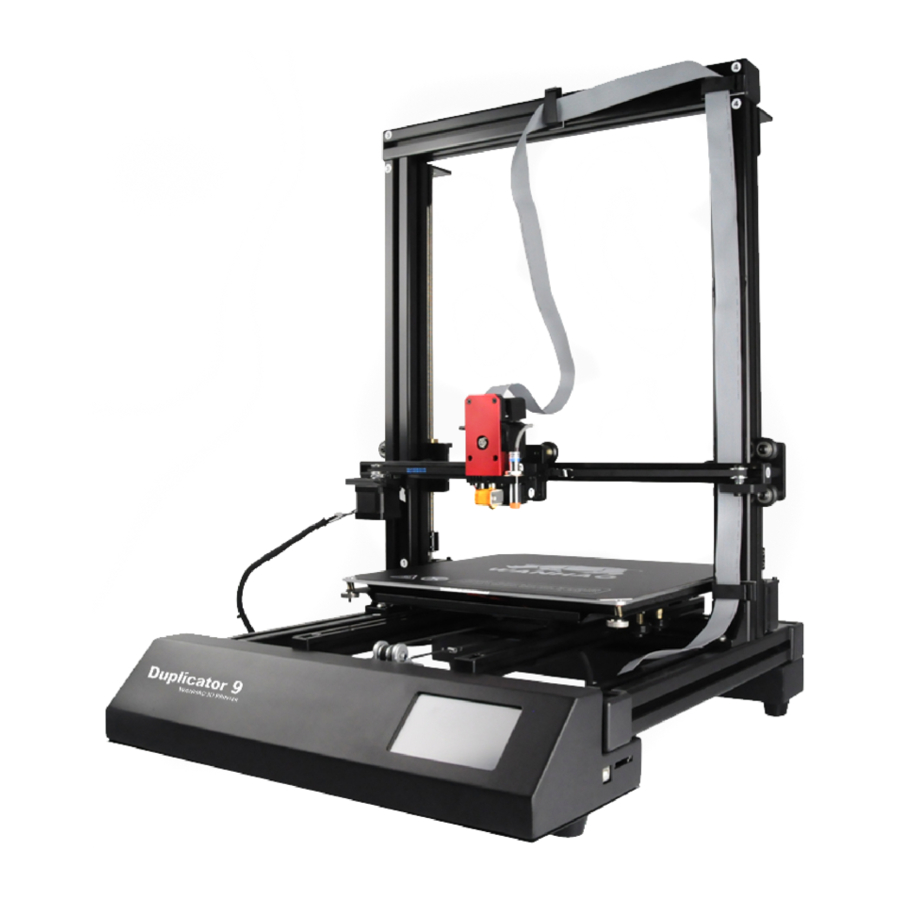
1 x WANHAO 3D Printer
1 x Filament Spool Holder
1 x Filament Spool Stand
1 x Power Cable
1 x USB Cable
1 x 8GB SD Card
1 x Hex Screw Driver
1 x Hex Key Set
6 x Hex Bolts
2 x Plastic belts
1 x 1.75mm PLA Filament
1 x Needle for unclugging nozzle
ASSEMBLING AND MOUNTING

Take out all components from the box and place them on the flat ground.
- Base
- Z axis Tower Pillar*2
- X axis rail
- X axis gantry
- MK12 Extruder

Place the Base on it's side. Find the Z axis pillar with sticker No.2. Slide the No.2 pillar into the base vertical locker. Then tighten the bolt at bottom of base.
CONSTRUCT AND CONNECT [CONT.]

Tighten the locking bolt clockwise. Then install the other Z axis pillar onto the Base.

Loose the two locking bolt on No.3 and No.4 Z axis pillar by around 5mm. So there will be sufficient space for X axis pillar to slide in.

Slide the X axis pillar into the No.3 and No.4 bolts. If there's not enough space, you may need to re-loose the locking bolt.

To tighten the locking bolt through the hole on top of the X axis pillar. Lock both No.3 and No.4 pillar.

Insert the plastic cover onto the two ends of X axis pillar.
Note: Please double check the Z axis and X axis pillars. If any bolt not secured. You need to secure the screws to ensure the gantry are steady and tight.

Rotate the cylinder holder for a bit but not too close. Tight enough that can not slide into pillar freely. This is also same to the other side with stickers No.6.

Mount the X axis rail. Align the right and left side holders first. Please make sure the rail is located in the middle of the X axis. You may need to adjust the distance to both ends through the cylinder holders.

Then tighten the bolts on both end of No.5 and No.6.

Mount the MK12 extruder onto the X axis holder. Make sure the locking holes match to the holder holes.

A total of 4 bolts need to be tightened, but the first bolt should not be too tight until the other three bolts are mounted, then tighten all the bolts together.
WIRING INSTRUCTION

LEVELING BEFORE PRINTING

Turn the couple to lower the two Z axis in order to level the two Z axis at same height. Note: The ruler or height gauge would provide more accurate height for both two Z axis. The two axis need to be at same height.

Turn on the printer. Release the 4 bed leveling nuts by 4-5 turns. Then Click LEVEL.

Read the instruction, then click NEXT.

Insert the leveling card or an A4 paper between the nozzle and bed. Adjusting the Z axis height, until you can feel the friction while moving the card or paper.

Click the upper Z to move extruder up and click the lower Z to move extruder down. Stop clicking until you feel the leveling card getting friction while moving the card.

To move the extruder by hand to 4 corners separately. Adjusting the knob at each corner, until you feel friction while moving the leveling card.

Click NEXT to initiate auto leveling.
Congratulation! You have finished bed leveling. For video installation, please scan the QR code.

Video Installation

Official Website

Wanhao Store

Documents / ResourcesDownload manual
Here you can download full pdf version of manual, it may contain additional safety instructions, warranty information, FCC rules, etc.
Advertisement


Need help?
Do you have a question about the DUPLICATOR 9 and is the answer not in the manual?
Questions and answers