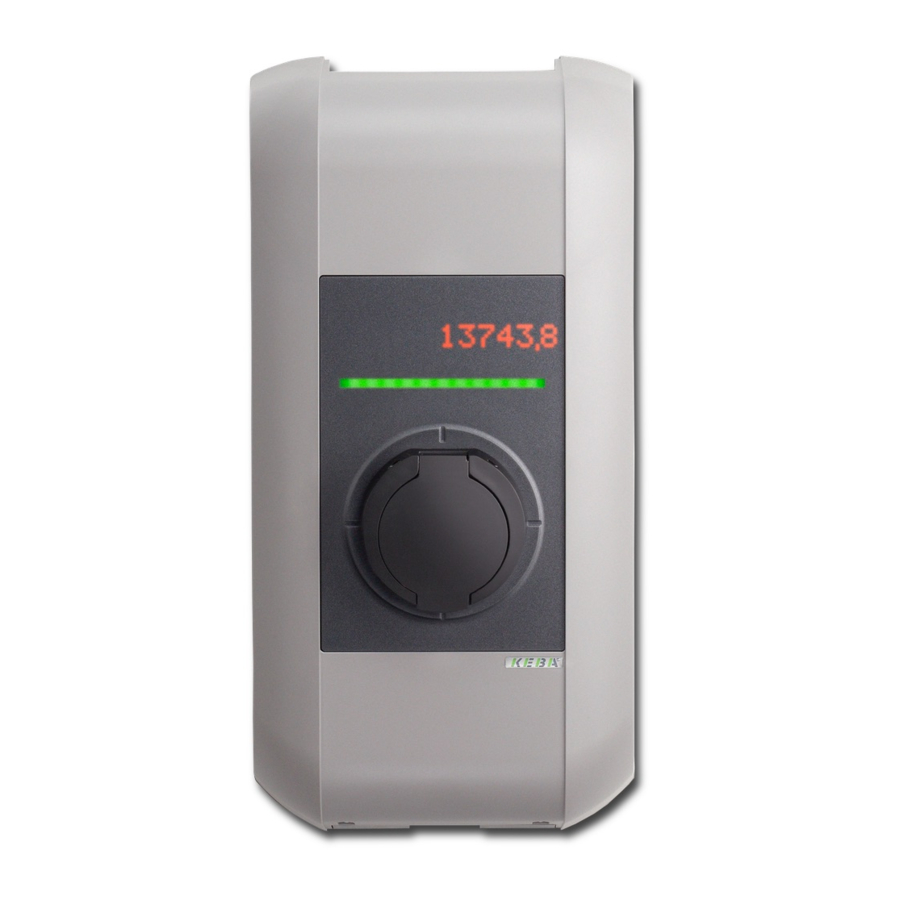
KEBA KeContact P30 - Charging Station Quick Installation Guide
- Manual (38 pages) ,
- Udp programmers manual (35 pages) ,
- Quick start manual (29 pages)
Advertisement
Safety notes
The safety instructions for the installation and commissioning of the charging station in the supplied manuals must be read prior to installation or commissioning and must be observed.
Not observing the safety instructions can result in risk of death, injuries and damage to the device!
The device manufacturer assumes no liability for resulting claims!

Danger due to electric shock and fire hazard!
- Installation, commissioning, maintenance or retrofitting of the charging station must be performed by correctly trained, qualified and authorized electricians who are fully responsible for the compliance with existing standards and installation regulations.
- On the right-hand side of the connection area (X1−X4: Ethernet connections as well as terminals for enable input and switch contact output) only voltages and circuits are permitted to be connected which have a safe separation to dangerous voltages (for example sufficient insulation).
Power supply

The charging station is set to 10 A in the delivery state. In order to adapt the maximum current to the installed line circuit breaker, a configuration via the DIP switches is necessary. For details, see DIP switch settings.
The power supply (supply line) must be hardwired to an existing domestic installation and comply with the applicable national regulations.
Selection of RCD / fault-current circuit breaker
- Each charging station must be connected via a separate RCD (Residual Current Device / fault-current circuit breaker). No other consumers may be connected to this circuit.
- An RCD with at least Type A must be used since all P30 variants have an internal DC fault current monitoring ≥ 6 mA.
- During installation, other important issues such as "cascading" of RCD and selection of a suitable line circuit breaker must be considered.
Dimensioning of the line circuit breaker
The nominal current must be determined in accordance with the type plate data in coordination with the desired charging power (DIP switch settings for charging current specification) and the supply line.
I (DIP switch) ≤ I (circuit breaker) ≤ I (supply line) ≤ I (nominal current)
Dismount covers
- Unscrew the two screws on the bottom side of the housing cover.
![]()
- Lift the housing cover at bottom max. 1 cm 1 and then push upwards 2.
![]()
- Loosen the four screws of the connection panel cover and remove the connection panel cover upwards.
![]()
- Loosen the two screws of the terminal cover and remove the terminal cover upwards.
![]()


Prepare cable insertion
Place the charging station on a stable surface.
- Using a hammer and flat-head screwdriver, gently knock out the required cable insertion openings.
- Surface-mounting cable insertion: Cable insertion openings on the top side
- Flush-mounting cable insertion: Cable insertion openings on the back side
- Insert the cable glands (surface-mounted cable insertion) or double-membrane seals (flush-mounted cable insertion) into the corresponding cable insertion openings.
Mount charging station
NOTICE!
Property damage due to moisture!
Only a vertical installation of the charging station is permitted. The charging station must be mounted with the supplied washers at a 90° angle to the mounting surface – no inclination is allowed, otherwise water drainage will not be possible and damage to the device will result.

| 1 | Washer for adjusting | 2 | Rear wall of the charging station |
| 3 | Washer for nut | 4 | Nut |
| 5 | Hanger bolt | x | 20 mm |
- Mark the 4 holes on the wall using the supplied drilling template.
- Drill boreholes and, if necessary, insert anchors in the holes.
- Turn the hanger bolts into the hole / anchors until the thread still protrudes approx. 20 mm x.
- Pull the cable through the prepared openings on the charging station. Pay attention to leak tightness!
- 4 of the supplied washers can be used to compensate for any unevenness and to ensure proper water flow behind the device: If necessary, place the washers 1 on the hanger bolts.
- Position the charging station on the wall and secure it with the 4 washers 3 and nuts 4 to the hanger bolts 5.
Connect voltage supply
The charging station can be connected in the following ways:
- 1-phase: via terminals L1, N and
![]() PE
PE - 3-phase: via terminals L1, L2, L3, N and
![]() PE
PE
 PE
PEThe supply terminals are designed as spring-type terminals. The handling instructions enclosed in the terminal area must be observed.
The supply line must be sufficiently inserted into the cable gland or the double-membrane seals so that the cable sheath 1 is visible in the connection area.
- Shorten the connection wires to the appropriate length (as short as possible). The protective conductor
![]() PE must be longer than the other conductors!
PE must be longer than the other conductors!

- Strip the connection wires to approx. 12 mm. For stranded wires with fine wires, use wire end sleeves.
- Insert the flat-head screwdriver (5.5 mm) into the supply terminal as shown. The screwdriver must rest on the housing.

- Press the screwdriver straight into the terminal until the contact opens completely. The angle of the screwdriver changes while pressing in.
- Insert connection wire into the designated terminal opening.

- Pull out the screwdriver straight.
 PE must be longer than the other conductors!


DIP switch settings

| DSW1 | DIP switch | DSW2 | DIP switch |
| T1 | Service button |
Changes to the DIP switch settings only become effective after a restart of the charging station!
To restart, press the "Service button" until the first beep (approx.1 second).
ON/OFF position of the rocker switches
The illustration shows the position of the rocker switches for the setting ON and OFF.

Adjust current – DSW1.6 to DSW1.8
Only a maximum value, which is smaller or equal to the operating current according to the type plate, can be set with the DIP switches.
| DIP switch | Current | Illustration |
| DSW1.6 DSW1.7 DSW1.8 | 10 A |  |
| DSW1.6 DSW1.7 DSW1.8 | 13 A |  |
| DSW1.6 DSW1.7 DSW1.8 | 16 A |  |
| DSW1.6 DSW1.7 DSW1.8 | 20 A |  |
| DSW1.6 DSW1.7 DSW1.8 | 25 A |  |
| DSW1.6 DSW1.7 DSW1.8 | 32 A |  |
Commissioning
- Remove all residual installation and connection materials from the connection area.
- Check all screw and clamp connections for tightness.
- Check that all unused cable screw connections are properly sealed with blind plugs or dummy screw fittings.
- Switch on the voltage of the supply line. After 15-20 seconds, the LED bar should flash slowly blue or green. This indicates that the self-test, which is performed automatically at each startup, was successful.
- Put the charging station into the commissioning mode and perform the required initial testing.
Commissioning mode
The charging station can be put into a special commissioning mode to help facilitate the system inspection. The device carries out an extended self-test (interlocking, contactor control, current measurement, ...). Furthermore, the contactor is switched on with a time limit, to facilitate initial testing in this mode, even without a vehicle being plugged in. The charging socket is locked to prevent a cable from being plugged in. A normal charging procedure is not possible in commissioning mode.
For safety reasons, the commissioning mode is indicated on the charging station by an orange display on segment S3 of the LED bar (-/-/orange/-).
Activate commissioning mode
- Set DIP switch DSW2.8 to ON.
![]()
- Restart the charging station by pressing the "Service button" until the first beep (approx. 1 second).
Commissioning mode is activated as soon as the LED bar lights up orange. You now have approx. 10 minutes to perform the required inspections and acceptance tests. The contactor is then deactivated and the charging station goes into an error state. This is indicated by the LED bar (white/red/red/red). By restarting via the "Service button", the commissioning mode can be reactivated.

Deactivate commissioning mode
In order to be able to operate the charging station properly, the commissioning mode must be deactivated again.
- Set DIP switch DSW2.8 to OFF.
- Restart the charging station by pressing the "Service button" until the first beep (approx. 1 second).
The charging station starts up again in normal mode and is ready for operation.
Mount covers
In order to operate the charging station correctly, all covers must be inserted and screwed tight. If necessary, a seal can be attached.
- Insert terminal cover and tighten with 2 screws.
If necessary, the right upper screw can be provided with the supplied sealing cap (see Seal).
![]()
- Insert connection panel cover and tighten with 4 screws with 2 Nm. The tabs on the connection panel cover must be flush with the enclosing housing. Only then will the device be properly sealed.
If necessary, the right upper screw can be provided with the supplied sealing cap (see Seal).
![]()
- Hook in the housing cover at the top 1 and close it at the bottom 2. The housing cover must glide into the guides without considerable resistance. The housing cover must be correctly seated in the housing guide on all sides.
![]()
- Secure the housing cover with 2 screws at the bottom.
![]()


Seal
Depending on the scope of delivery, devices are available for sealing the terminal cover and the connection panel cover. If required, these can be used to prevent or identify tampering attempts by unauthorized persons at charging stations with preconfiguration or special suitability (MID[1]) calibration validity).
- Loosen the right upper screw of the cover to be sealed.
- Insert the screw into the sealing cap.
![]()
- Screw the screw with the sealing cap back into the cover.
- Close the cover of the sealing cap.
![]()
- Thread the sealing wire through the opening of the sealing cap over the screw and place the seal.


[1] ) MID: Measuring Instruments Directive
KEBA AG
Gewerbepark Urfahr
4041 Linz, Austria
+43 732 7090
keba@keba.com
www.keba.com
Translation of the original manual: en, V 3.12, Nr.: 93481 © KEBA
Specifications are subject to change due to further technical developments. Details presented may be subject to correction. All rights reserved.

Documents / Resources
References
Download manual
Here you can download full pdf version of manual, it may contain additional safety instructions, warranty information, FCC rules, etc.
Download KEBA KeContact P30 - Charging Station Quick Installation Guide
Advertisement


Need help?
Do you have a question about the KeContact P30 and is the answer not in the manual?
Questions and answers