Table of Contents
Advertisement
Quick Links
Advertisement
Table of Contents

Subscribe to Our Youtube Channel
Related Manuals for sauter TB-US


Summary of Contents for sauter TB-US
- Page 1 Sauter GmbH Ziegelei 1 Phone : +49-[0]7433- 9933-0 D-72336 Balingen Fax: +49-[0]7433-9933-149 e-mail: info@kern-sohn.com Internet: www.sauter.eu Instruction Manual Ultrasonic Material Thickness Gauge SAUTER TB-US, TB-US-red Version 2.0 04/2020 PROFESSIONAL MEASURING TB_US-BA-e-2020...
- Page 2 Instruction Manual Ultrasonic Material Thickness Gauge Congratulations on the purchase of an ultrasonic material thickness gauge from SAUTER. We hope you will enjoy your quality measuring device with its wide range of functions. For questions, wishes or suggestions we are at your disposal.
- Page 3 • Suitable for measuring the material thickness of many materials, e.g. steel, cast iron, aluminium, copper, brass, zinc, quartz glass, polyethylene, PVC, grey cast iron, nodular cast iron. • Automatic shutdown function to maintain power. 2. Technical data TB-US TB-US-red Display 4 digits, 10mm LCD display Measuring range 1.5-200mm (45# steel)
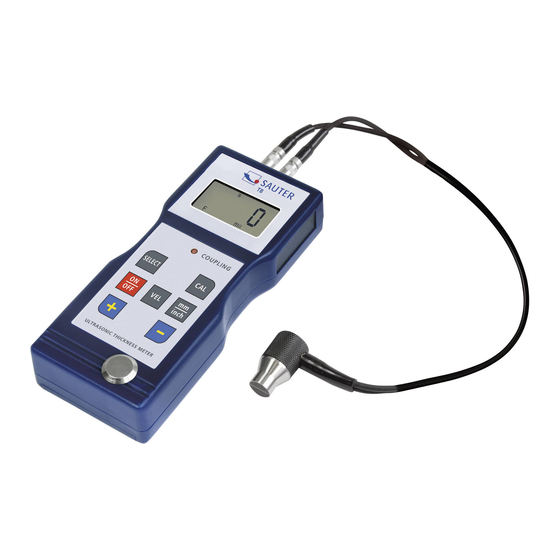
- Page 4 4. Description of the control panel TB 200-0.1 US 4-11 Sensor plug Display mm/inch Button On and Off Button 4-13 Material selection button 4-10 Plus key 4-12 4-7 Ultrasonic measuring head Calibration key (adjustment) TB 200-0.1 US-red Minus key 4-10 Battery compartment 4-11 4-11 Display "Measuring process is running...
- Page 5 The 'cdxx' material relationship is as follows: Code Material cd01 Steel cd02 Cast Iron cd03 Aluminium cd04 Copper cd05 Brass cd06 Zinc cd07 Quartz glass cd08 Polyethylene cd09 cd10 Grey cast iron cd11 Ductile Cast Iron xxxx Sound velocity 3. The Plus key 4-6 or the Minus key 4-9 is pressed to select the material code for measuring.
- Page 6 6. Calibration (Adjustment) 1. Put a little oil on the zero plate 4-12. 2. The calibration button 4-8 is pressed and 'CAL' appears in the display. CAL' is the abbreviation for calibration. 3. The sensor pressed onto zero plate. The display "Measuring process in progress" ((•)) is shown when the measuring process has been successfully established by the transmit &...
- Page 7 8. Measuring with adjustment of the ultrasonic speed Attention: This chapter does not apply to devices of the TB 200-0.1USred series! 1. When the VEL- key 4-13 is pressed, the display shows the last stored sound velocity. 2. Coating thickness & material thickness measurement at known sound velocity: The speed of sound can be adjusted by pressing the plus or minus key.
- Page 8 9. Battery replacement 1. When the battery symbol appears on the display, the batteries should be replaced. 2. The battery cover is stripped off the meter and the batteries are removed. 3. The batteries are inserted by observing the polarity when inserting them. 4.
Need help?
Do you have a question about the TB-US and is the answer not in the manual?
Questions and answers