Table of Contents
Advertisement
Quick Links
Advertisement
Table of Contents

Related Manuals for sauter TD 225-0.1US.


Summary of Contents for sauter TD 225-0.1US.
- Page 1 Sauter GmbH Ziegelei 1 Phone : +49-[0]7433- 9933-0 D-72336 Balingen Fax: +49-[0]7433-9933-149 e-mail: info@kern-sohn.com Internet: www.sauter.eu Instruction Manual Ultrasonic Material Thickness Gauge SAUTER TD-US Version 2.0 04/2020 PROFESSIONAL MEASURING TD_US-BA-e-2020...
-
Page 2: Table Of Contents
Instruction Manual Ultrasonic Material Thickness Gauge Congratulations on the purchase of an ultrasonic material thickness gauge from SAUTER. We hope you will enjoy your quality measuring device with its wide range of functions. For questions, wishes or suggestions we are at your disposal. -
Page 3: Functions
Note: It is strongly recommended to calibrate the new instrument before first use. This will result in a higher measurement accuracy from the beginning. 1. Functions The exclusive LSI microcomputer provides high measurement accuracy. The device has a high emitting power and a wide sensitivity spectrum in terms of sensitivity. -
Page 4: Description Of The Control Panel
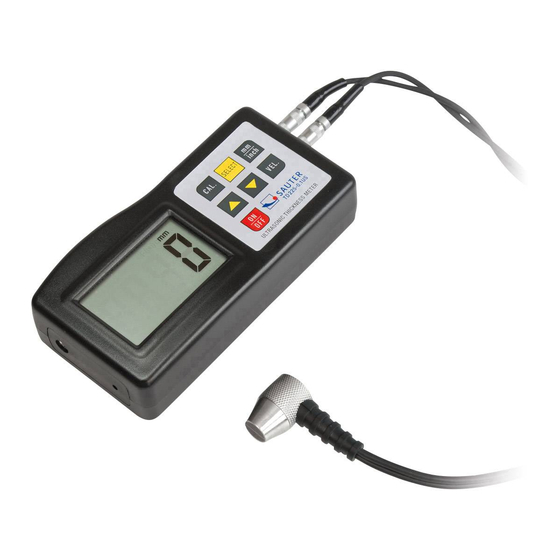
3. Description of the control panel Sensor plug Display mm/ inch button On and Off Button Material selection button Plus key Ultrasonic measuring head Calibration key (adjustment) 3-9 Minus button 3-10 Battery compartment / cover 3-11 Display "Measuring process is running 3-12 Zero plate 3-13 Speed selection key... -
Page 5: Calibration (Adjustment)
3. The Plus key 3-6 or the Minus key 3-9 is pressed to select the material code for measuring. Then the material selection button 3-5 is pressed to confirm. The measuring instrument changes to the measuring mode, '0' appears in the display. -
Page 6: Measuring Procedure
6. Measuring procedure 1. The power button 3-4 is pressed to switch on the unit. 2. The mm/inch button 3-3 is pressed to select the correct measuring unit. 3. The sensor 3-7 is placed on the material surface to be measured, provided that the material code has been selected correctly. -
Page 7: Battery Replacement
6. With the help of ultrasonic measurement, the layer thickness or material thickness of any hard homogeneous material can be measured in the simplest way. 8. Battery replacement 1. When the battery symbol appears on the display, the batteries should be replaced.
Need help?
Do you have a question about the TD 225-0.1US. and is the answer not in the manual?
Questions and answers