Table of Contents
Advertisement
Quick Links
Advertisement
Table of Contents

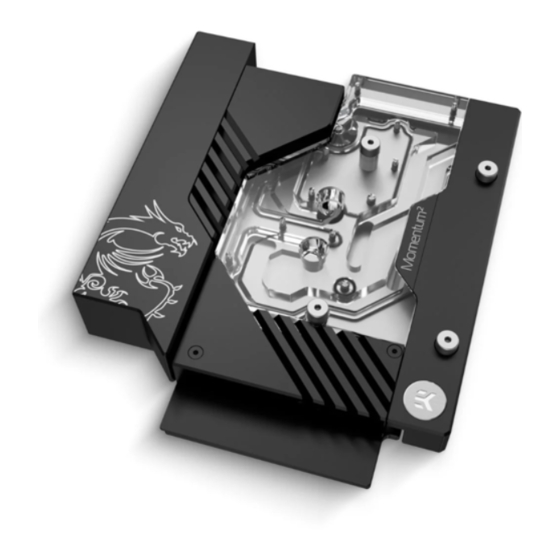
Summary of Contents for EK-Quantum MSI MPG X670E CARBON EK X D-RGB
- Page 1 EK-Quantum MSI MPG X670E CARBON EK X D-RGB MONOBLOCK USER GUIDE...
- Page 2 Please note the installation of the product is intended to be undertaken by an adequately trained and experienced person. You are installing the product at your own risk. If you are not properly trained or experienced or feel unsure about the installation procedure, please refrain from installing the product yourself and contact our tech support for assistance.
-
Page 3: Table Of Contents
TABLE OF CONTENTS BOX CONTENTS WATER BLOCK DIMENSIONS PREPARING THE WORKPLACE CUTTING AND PLACING THERMAL PADS APPLYING THERMAL COMPOUND ATTACHING THE WATER BLOCK FITTINGS AND TUBING CONNECTING THE D-RGB LED STRIP CONNECTING THE FLOW METER AND TEMPERATURE SENSOR TESTING THE LOOP SUPPORT AND SERVICE SOCIAL MEDIA - 3 -... -
Page 4: Box Contents
M2.5 x 4 AX1 Screw (5 pcs) MSI MPG X670E CARBON WIFI Motherboard PVC Washer M2.5 (5 pcs) EK-Quantum MSI MPG X670E CARBON EK X D-RGB Thermal Grease (1 pc) Allen Key 2.5 mm (1 pc) Allen Key 2 mm (1 pc) -
Page 5: Water Block Dimensions
WATER BLOCK DIMENSIONS 162 mm 73.3 mm 4.3 mm 39.5 mm - 5 -... -
Page 6: Preparing The Workplace
STEP 1 Thermal Pad - 120 x 24 x 1 mm EK-Quantum MSI MPG X670E CARBON EK X D-RGB water block comes with Thermal Pads that have to be cut into smaller pieces to Thermal Pad - 120 x 24 x 2 mm cover all the regulation areas (Mosfet) on the motherboard. -
Page 7: Applying Thermal Compound
APPLYING THERMAL COMPOUND STEP 1 Apply the enclosed thermal grease (thermal compound) on the CPU heat spreader – IHS – and other necessary components as shown in the image. The layer of the thermal compound must be thin and even in thickness over the entire surface. The excessive or uneven application of thermal grease may lead to poor performance! For this step, you will need:... - Page 8 STEP 2 ALLEN KEY 2.5 mm Tighten the four (4) mounting screws with the provided Allen Key 2.5 mm. Start tightening the screws in a cross pattern. Do not tighten fully until all MOUNTING SCREW of the screws are partially screwed in. The Allen Key 2.5 mm must be used in a standing position! Otherwise, the mounting screws may crack during tightening! For this step you will need:...
-
Page 9: Fittings And Tubing
FITTINGS AND TUBING STEP 1 With the EK-Quantum MSI MPG X670E CARBON EK X D-RGB water block, it is mandatory to use the bottom port as the INLET. Mixing the ports may result in poor thermal performance of the water OUTLET block. -
Page 10: Connecting The Flow Meter And Temperature Sensor
CONNECTING THE FLOW METER AND TEMPERATURE SENSOR STEP 1 Plug the 6-pin connector from the water block into the marked header on the motherboard. STEP 1 TESTING THE LOOP To make sure the installation of EK components was successful, we recommend you perform a leak test for 24 hours. -
Page 11: Support And Service
SUPPORT AND SERVICE In case you need assistance, please contact: https://www.ekwb.com/customer-support/ EKWB d.o.o. Pod lipami 18 1218 Komenda Slovenia - EU SOCIAL MEDIA EKWaterBlocks @EKWaterBlocks ekwaterblocks EKWBofficial ekwaterblocks...


Need help?
Do you have a question about the MSI MPG X670E CARBON EK X D-RGB and is the answer not in the manual?
Questions and answers