Table of Contents
Advertisement
Quick Links
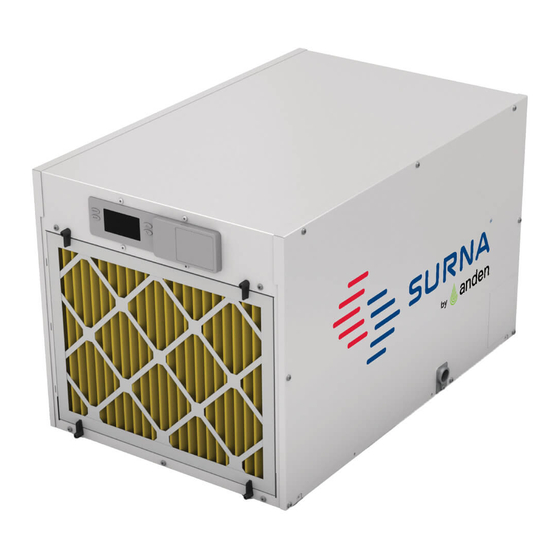
Model S210V1 & S320V1/V3 Dehumidifier
Quick Start Guide
The Quick Start Guide is to be used as reference only. Installation is to be in accordance with Installation and Operating Instructions provided with the dehumidifier.
1. PLACEMENT
18"
MIN
OUTLET
AVOID
OUTLET
INLET
HVAC RETURN
OUTLET
INLET
AIRFLOW
DIRECTION
2A. HANGING – S210V1
INSERT BRACKET INTO
OPENINGS ON BOTTOM
OF UNIT – 4 PLACES
18"
MIN
OUTLET
OUTLET
INLET
HVAC SUPPLY
ROTATE BRACKET INTO
PLACE AND SECURE WITH
SCREWS PROVIDED
2B. HANGING – S320V1/V3
INSERT BRACKET INTO
OPENINGS ON BOTTOM
OF UNIT – 4 PLACES
ROTATE BRACKET
INTO PLACE AND SECURE
WITH SCREWS PROVIDED
3. NUT & WASHER
4. LEVEL
NUT AND WASHER SIZES BASED ON
ROD SIZE (1/4", 3/8", 1/2")
NUT
WASHER
HANGING
BRACKET
WASHER
NUT
Advertisement
Table of Contents

Subscribe to Our Youtube Channel
Related Manuals for Anden SURNA S210V1


Summary of Contents for Anden SURNA S210V1
- Page 1 Model S210V1 & S320V1/V3 Dehumidifier Quick Start Guide The Quick Start Guide is to be used as reference only. Installation is to be in accordance with Installation and Operating Instructions provided with the dehumidifier. 1. PLACEMENT 2B. HANGING – S320V1/V3 INSERT BRACKET INTO OPENINGS ON BOTTOM 18"...
- Page 2 5A. DRAIN CONNECTIONS – S210V1 6. WIRING • Mount control at canopy height. 3/4" MNPT X 3/4" SLIP FIT • Do not mount in direct path of dehumidifier outlet air. PVC RIGID PIPE FLEXIBLE TUBE + - A B ODT •...
Need help?
Do you have a question about the SURNA S210V1 and is the answer not in the manual?
Questions and answers