Table of Contents
Advertisement
Quick Links
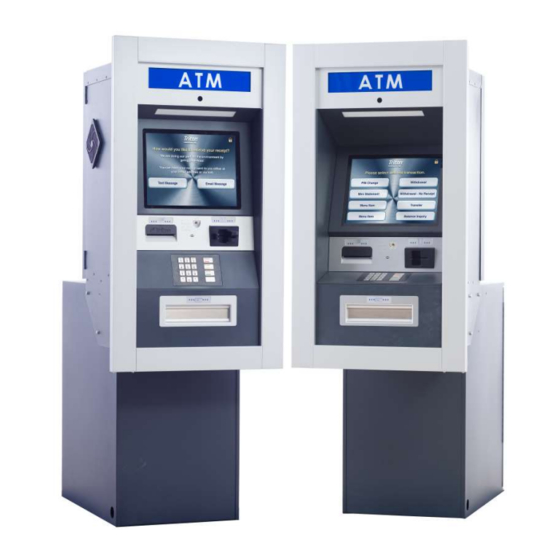
Shallow to Deep Conversion:
ARGO FT
©2022 Triton Systems of Delaware, LLC. All Rights Reserved. ATMGurus®, the ATMGurus logo and tag-
line, Triton®, and the Triton logo are all registered trademarks of Triton Systems of Delaware, LLC. e third
party trademarks that may be identi ed herein are the trademark of their respective owners. Triton disclaims any
affi liation, connection, or association between its products and services, and those of the respective trademark
owners, or any sponsorship or approval of its products and services by such trademark owners.
Triton Systems ©
TDN 07103-00283
Rev: B
Advertisement
Table of Contents

Related Manuals for Triton atmgurus ARGO FT


Summary of Contents for Triton atmgurus ARGO FT
- Page 1 ©2022 Triton Systems of Delaware, LLC. All Rights Reserved. ATMGurus®, the ATMGurus logo and tag- line, Triton®, and the Triton logo are all registered trademarks of Triton Systems of Delaware, LLC. e third party trademarks that may be identi ed herein are the trademark of their respective owners. Triton disclaims any affi...
- Page 2 (accommodates walls up to 10”). is procedure includes a list of all tools and hardware necessary for the conversion as well as the steps involved. is procedure applies to all service personnel involved in the of maintaining or converting Triton ATMs nationwide and abroad. ...
-
Page 3: Table Of Contents
P C U C ................ R F ATM ................ M U C .................... C V .................... S C H .................. U C G .................. I NMD V................... U T ........................ TDN 07103-00283 Rev: B Triton Systems ©... -
Page 4: R P T
Screws, #8-32, Pan-head with tooth washer 02617-00017 Bushing, 1-1/2 inch, open/close 02301-00024 Nut | #8-32 | Hex Nut | Ext. Tooth Washer 03072-00038 Cable Clip | 3/4” Round | Screw-In | Quick Release 03072-00015 6” Ty-Wrap TDN 07103-00283 Rev: B Triton Systems ©... -
Page 5: S T
Caution Caution Triton recommends a minimum of two technicians to perform this conversion. Due to the bulk and weight of the upper cabinet, personnel injury and equipment damage could occur. Caution Caution Apply power to the ATM and use the steps below to log into the Management Functions program. -
Page 6: R D V
8. Li dispenser from the rails and set out of the way. Push both rails in and place cables in bottom of vault. 5. Remove the two cables from the opening in the handle. TDN 07103-00283 Rev: B Triton Systems ©... -
Page 7: A E Nmd
18. Attach the metal brace using 10 of the long screws (A000918). 13. On the opposite side, while holding the BOU, remove the 8 screws in the BLUE rectangle box. 14. Carefully Set the BOU in front of dispenser. TDN 07103-00283 Rev: B Triton Systems ©... - Page 8 23. Snap the BOU into place as shown, (Circle). Ensure the cables are not damaged or cut when installing the BOU. 28. Place the ground wire into both the white clips and then into the black clip, (3-Arrows). TDN 07103-00283 Rev: B Triton Systems ©...
-
Page 9: R C W H
32. Remove the two screws holding Mounting bracket, (2-arrows.) Save the screws. 40. Remove and save the two screws marked by Magenta circles. 33. Cut TY Wrap holding the wires to the bracket, (Arrow). TDN 07103-00283 Rev: B Triton Systems ©... -
Page 10: M U C
Caution Caution With a minimum of two technicians, but Triton recommends three 44. At this point, use EXTREME CAUTION. Triton advises two technicians to hold the weight of the technicians, perform this upper cabinet. A technician will remove the two conversion. - Page 11 47. Tighten the six bolts on outside of cabinet. 52. Pass the Ethernet and Camera cables or separate 48. Insert the plug box into the opening under the Ethernet cable, through Le small opening, front of the cabinet, (Arrow). (Yellow Arrow). Triton Systems © TDN 07103-00283 Rev: B...
-
Page 12: S C H
58. TY Wrap the wires to the bracket as shown below. 62. Inside the upper right corner, install a Grommet from the outside to the inside of the bottom cabinet, (Arrow). Triton Systems © TDN 07103-00283 Rev: B... -
Page 13: U C G
65. Inside the upper cabinet, install a Grommet in the right opening, (Arrow). 66. Inside the upper cabinet, install a Grommet in the le opening, (Arrow). 70. Attach the cable bracket to the dispenser with the 2 screws saved from Step 7. Triton Systems © TDN 07103-00283 Rev: B... - Page 14 Arrow). 76. Push both cables down into the opening of the 73. Route the Dispenser data cable through the handle, (Arrow). opening, (Arrow). 77. Route the dispenser power cord through the opening, (Arrow). Triton Systems © TDN 07103-00283 Rev: B...
-
Page 15: U T
A er testing resolve any dispenser issues. • Dispense test notes through the shutter. • Troubleshoot as necessary or return ATM to normal operations. 79. Ensure the NMD power switch (Arrow) is in the On position. E P Triton Systems © TDN 07103-00283 Rev: B... - Page 16 Triton Systems © TDN 07103-00283 Rev: B...
Need help?
Do you have a question about the atmgurus ARGO FT and is the answer not in the manual?
Questions and answers