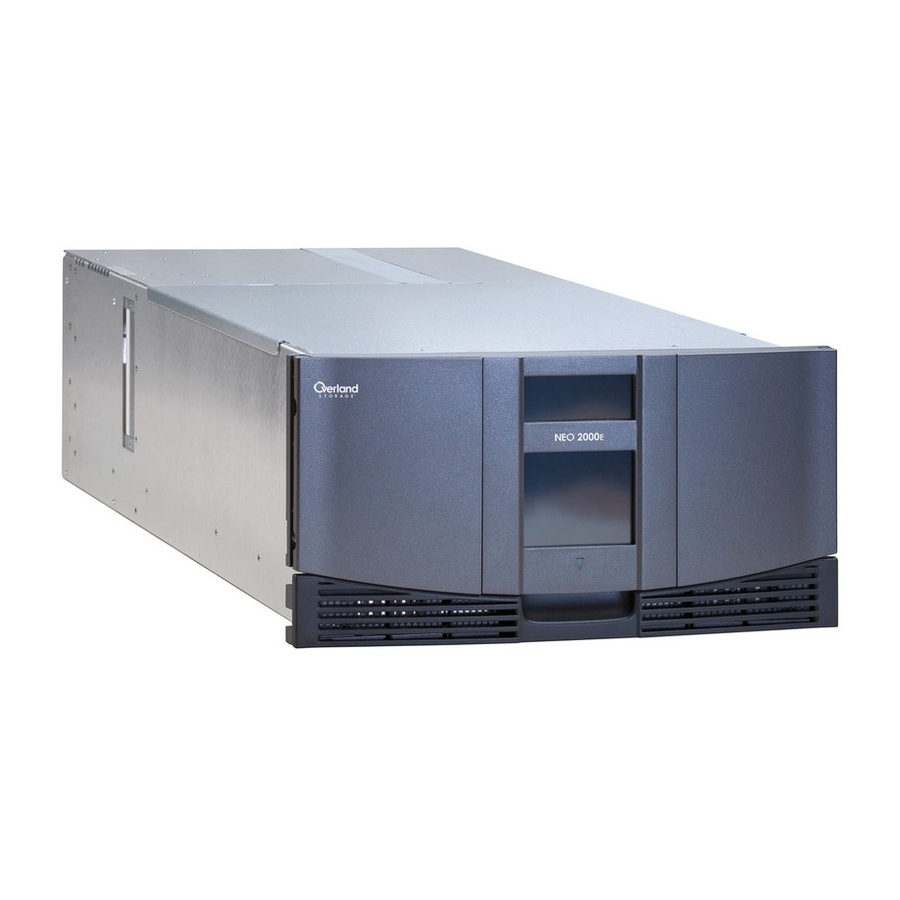
Overland Storage NEO 2000E Quick Start Manual
Hide thumbs
Also See for NEO 2000E:
- Quick start manual (9 pages) ,
- Replacement manual (6 pages) ,
- Remove & replace instructions (4 pages)
Advertisement
Quick Links
®
The NEO Series
libraries come preconfigured for easy
setup. Follow these steps to install and connect them.
Unpacking
Carefully unpack and verify that you have all the parts:
• NEO 2000
or NEO 4000
E
• Rack rail kit
• NEO Accessory Kit, which includes:
• Power cords and appropriate cables
(depending on the configuration)
• Rack template
• NEO SERIES Documentation & Software CD
• This quick start guide
NOTE: SCSI host cables are not supplied in the NEO2000
and 4000
product kits. These cables must be purchased
E
separately.
First Things First—Activate Your Warranty!
Before installing your new unit, it is essential that you
activate your warranty. Technical and warranty support
are not available until this is done:
1. Go to the Overland Technical Support web site at:
http://support.overlandstorage.com/
2. At the MEMBER LOGIN
NOTE: If you are not yet a member, click the New member?
link and follow the instructions. It's free and easy!
Installing the Tape Library in a Rack
Rail Kit Installation
You must first install the rail kit provided using the
template from the Accessory Kit (see
WARNING: It is recommended that a mechanical lifter
(or at least two people) be used to prevent injury during
rack installation or removal. Also, use care to prevent
tipping of the unit or rack.
CAUTION:
Start at the bottom of a rack (or the top of the
last-mounted component) to ensure rack stability.
NOTE: Do not remove the front-door packing materials until
the library is in the rack.
Part Number 10400198-102 07/2009
Quick Start Guide
tape library
E
E
(Figure
2), log in to the site.
Figure
3).
©2009 Overland Storage, Inc.
®
NEO
Figure 1. NEO 2000
Electrostatic Discharge Information
A discharge of static electricity can damage micro-circuitry
or static-sensitive devices. To help prevent Electrostatic
Discharge (ESD), observe standard ESD precautions.
(E-Mail)
Figure 2. MEMBER LOGIN Section
3. At the Support Home page menu on the left, select My
Products > Add or Register a Product.
4. Fill in the information and click Submit.
RETMA RACK MOUNTING TEMPLATE
LibraryXpress Neo Series
LXN 2000 Library Module
FIRST: See other side for instructions
to attach Rack Mount Slides
to tape library unit.
INSTALLATION TIPS
Tick
Use the tick marks on the vertical rails of the
mark
rack to count the U-spaces.
NOTE:
Older racks do not have tick marks.
Wait until the component is inserted into the rack before
C
tightening the support rails. The small amount of play
helps position the rails to the exact width of the component
being installed.
Ensure Slide Outer Members are level from
front to rear prior to securing on Rack Frame.
M
Figure 3. NEO 2000
E
1. Ensure you have adequate rack space available:
• NEO 2000
requires 8.75 in. (22.25cm) (5U)
E
• NEO 4000
requires 17.5 in. (44.50cm) (10U)
E
2000
and 4000
E
and NEO 4000
E
E
(Password)
18.89"
Start at the bottom of the rack or at
top of a previously mounted component.
Place the template on the front of the rack.
Match the hole pattern on the template with
the hole pattern on the vertical rails of the rack.
C
Use a pencil to mark locations for cage
nuts (C) and mounting brackets (M).
On older racks with 10-32 tapped
mounting holes on the vertical rails,
omit four 10-32 cage nuts on the front
M
and rear slide mounting brackets.
Rack Mounting Template
Page 1 of 4
E
Advertisement

Summary of Contents for Overland Storage NEO 2000E
- Page 1 NOTE: Do not remove the front-door packing materials until • NEO 2000 requires 8.75 in. (22.25cm) (5U) the library is in the rack. • NEO 4000 requires 17.5 in. (44.50cm) (10U) Part Number 10400198-102 07/2009 Page 1 of 4 ©2009 Overland Storage, Inc.
- Page 2 Clip front panel touches the rack. Nuts 6. Remove and discard the tape and packing materials from the doors, leaving them open. Figure 5. Installing Slide Member Fasteners Part Number 10400198-102 07/2009 Page 2 of 4 ©2009 Overland Storage, Inc.
- Page 3 Terminators HBA or Fibre Switch To Host Figure 9. FC Drive Library on an FC Network (2000 To Host Figure 8. Two Tape Drives, Dual Hosts (2000 Part Number 10400198-102 07/2009 Page 3 of 4 ©2009 Overland Storage, Inc.
- Page 4 You can get additional technical support on the Internet at http://support.overlandstorage.com, or call 1-877-654-3429 (toll-free U.S. & Canada), +44 (0) 118-9898050 (Europe), or +1 (858) 571-5555 Option 5 (International). Part Number 10400198-102 07/2009 Page 4 of 4 ©2009 Overland Storage, Inc.


Need help?
Do you have a question about the NEO 2000E and is the answer not in the manual?
Questions and answers