Table of Contents
Advertisement
Quick Links
Advertisement
Table of Contents

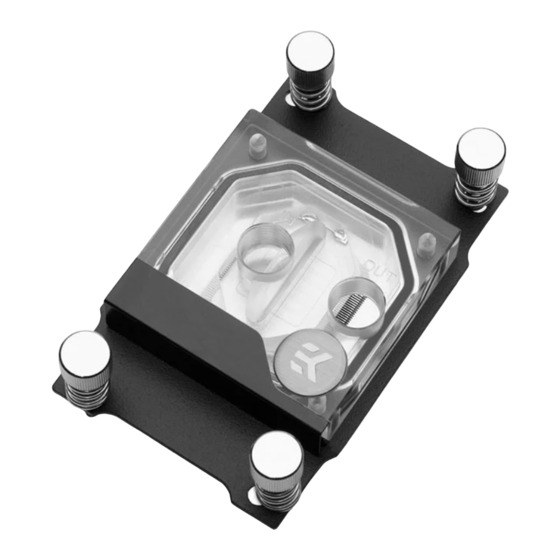
Summary of Contents for ekwb EK-Quantum Velocity Ryzen Edition UNC Standoffs - AM5
- Page 1 EK-Quantum Velocity Ryzen Edition UNC Standoffs - AM5 USER GUIDE...
- Page 2 Please note the installation of the product is intended to be undertaken by an adequately trained and experienced person. You are installing the product at your own risk. If you are not properly trained or experienced or feel unsure about the installation procedure, please refrain from installing the product yourself and contact our tech support for assistance.
-
Page 3: Table Of Contents
TABLE OF CONTENTS BOX CONTENTS PREPARING THE AM4 WATER BLOCK FOR UPGRADE PREPARING THE AM5 MOTHERBOARD INSTALLING THE WATER BLOCK CONNECTING THE D-RGB LED STRIP TESTING THE LOOP WARRANTY SUPPORT AND SERVICE SOCIAL MEDIA - 3 -... -
Page 4: Box Contents
BOX CONTENTS AM5 Mounting Standoff (4 pcs) PREPARING THE AM4 WATER BLOCK FOR UPGRADE Important! Before starting, make sure to have a clean, flat THUMB NUT surface to work on. It is recommended to put foam or soft material to lay a motherboard on. COILED SPRING STEP 1 If the EK-Quantum Velocity Ryzen AM4 water block is already... -
Page 5: Preparing The Am5 Motherboard
STEP 2 Clean the CPU cold plate using a non-abrasive cloth or Q-tip. CLOTH COLDPLATE STEP 2 PREPARING THE AM5 MOTHERBOARD STEP 1 Using a Philips-head screwdriver remove the four UNC 6-32 screws UNC 6-32 SCREW securing the original plastic hold-down clamps around the socket as shown in the illustration. - Page 6 STEP 2 NON-ABRASIVE CLOTH Cleaning the CPU: Wipe the IHS clean using a non-abrasive cloth or Q-tip as shown in the illustration. STEP 2 STEP 3 Applying thermal compound: Apply the enclosed thermal grease (thermal compound) on the CPU heat spreader – IHS – as shown in the image.
-
Page 7: Installing The Water Block
INSTALLING THE WATER BLOCK STEP 1 Install four (4) AM5 Mounting screws onto your motherboard. It is AM5 MOUNTING SCREW mandatory to put a saved plastic washer underneath each of the screws. Tighten the screws until you reach the end of the thread. PVC WASHER Using tools (such as pliers) is not recommended. -
Page 8: Connecting The D-Rgb Led Strip
CONNECTING THE D-RGB LED STRIP STEP 1 Plug the 3-pin connector from the water block’s D-RGB LED light to the DRGB HEADER on the motherboard. The LED will work if the pin layout on the header is as follows: +5V, Digital, empty, Ground. Please ensure that the arrow indicated on the connector is D-RGB HEADER plugged into the +5V line as indicated on your motherboard. -
Page 9: Warranty
Removing the label will void the leak-free guarantee, but not the guarantee on the product itself. Any other RMA issues can be reported to EK Customer Support at www.ekwb.com/support for further analysis. - 9 -... -
Page 10: Support And Service
SUPPORT AND SERVICE In case you need assistance or wish to order spare parts or a new mounting mechanism, please contact: https://www.ekwb.com/customer-support/ EKWB d.o.o. Pod lipami 18 1218 Komenda Slovenia - EU SOCIAL MEDIA EKWaterBlocks @EKWaterBlocks ekwaterblocks EKWBofficial ekwaterblocks...


Need help?
Do you have a question about the EK-Quantum Velocity Ryzen Edition UNC Standoffs - AM5 and is the answer not in the manual?
Questions and answers