Advertisement
Quick Links
Advertisement

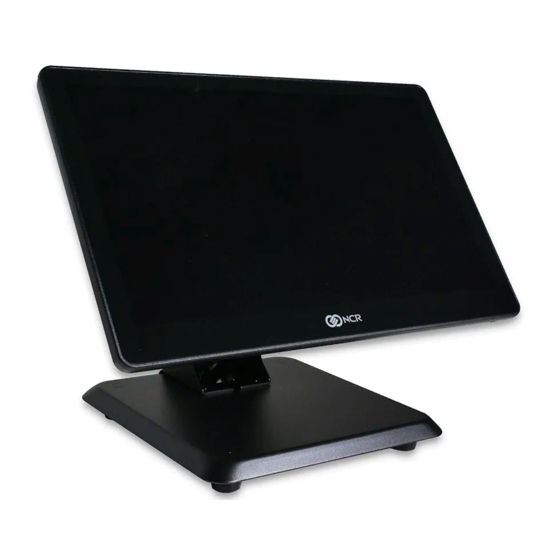
Summary of Contents for NCR XL15W
- Page 1 Kit Instructions XL15W Mounting Bracket 7772-K915 Issue B...
- Page 2 NCR, therefore, reserves the right to change specifications without prior notice. All features, functions, and operations described herein may not be marketed by NCR in all parts of the world. In some instances, photographs are of equipment prototypes. Therefore, before using this document, consult with your NCR representative or NCR office for information that is applicable and current.
- Page 3 XL15W Mounting Bracket This kit provides a mounting bracket to install the XL15W Display on the neck of the NCR CX7 All-in-One POS (7772). Kit Contents...
- Page 4 XL15W Mounting Bracket Installation Procedure Warning: Disconnect the AC power cord from the AC outlet and wait 30 seconds before servicing the terminal. 1. Remove the two (2) screws that secure the Front Neck Cover to the Neck. • flat head screws for Base without Integrated Power Supply •...
- Page 5 XL15W Mounting Bracket 4. Remove the Base Rear Foot (2 screws). 5. Pivot the Back Neck Cover away from the Neck. The Cover has a simple snap fit connection at the top.
- Page 6 XL15W Mounting Bracket 6. Install the XL15W Mounting Bracket on the Neck. a. Insert the Bracket Hooks on the Neck. b. Secure the Bracket to the Neck with two (2) screws.
- Page 7 7. Mount the new Back Neck Cover (included in the kit) on the Neck. The Cover has a simple snap fit connection at the top. 8. Reinstall the Base Rear Foot. 9. Reinstall the Front Neck Cover. 10. Connect the XL15W Display Power Cable and Display Port Cable and route them as shown.
- Page 8 XL15W Mounting Bracket 11. Hook the XL15W Display on the two (2) tabs of the Mounting Bracket. 12. Tighten the thumbscrews to secure the XL15W Display. 13. Connect the XL15W Display Cables to the CX I/O Base.


Need help?
Do you have a question about the XL15W and is the answer not in the manual?
Questions and answers