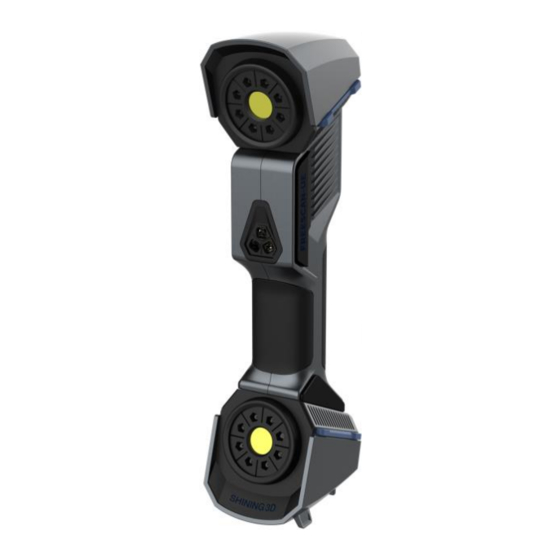
Summary of Contents for Shining 3D FreeScan UE
- Page 1 FreeScan UE Blue Laser Handheld 3D Scanner Quick Start Guide Getting Started with FreeScan UE...
- Page 2 Preparation List of parts Scanner Markers Adaptor Data cable with Calibration plate USB dongle power port USB drive PC System Requirements Recommended Graphics Card:NVIDIA GTX/RTX series cards,higher or equal to GTX 1080 Processor:I7-8700 Memory : ≥32G Video Memory:≥4G USB Port:High-speed USB3.0...
- Page 3 Hardware Installation Insert the round aviation plug of the data cable into circular port of the scanner. Insert the USB3.0-BM plug of the data cable into USB port of the scanner. Connect the data cable to Adaptor through the power port. Insert the Adaptor into power socket.
- Page 4 Software Installation STEP Software Installation Use the installation package from the USB drive to correctly install the program and device driver. STEP Set the software graphics card Switch to discrete graphics. STEP Software start Make sure the dongle is correctly inserted and double-click the shortcut to start the software.
- Page 5 Calibration STEP STEP STEP STEP STEP Take the calibration plate out of the bottom of the equipment box, open and place it in a flat position. Pull the scanner farther or closer to the calibration plate according to the instructions of the program until the images at all distances are captured.
- Page 6 Scanning Process Scan preparation Calibration Select scan mode Laser scan New project Select resolution Adjust brightness Scan preview and scan distance in scan preview The scan could be Start scan Previewed after editing Edit scan data Finish scan New/open project Project splicing Save data Data wrap...
- Page 7 Scanning Skills Arrangement of markers a.The intervals between markers is better to be around 80-150mm. b.There are fewer markers in flat areas and more should be used in curved areas so as to ensure smooth scanning. c.When the scanned object is so small that the markers could not be stick onto the object, markers could be arranged around the object to ensure that the relative positions of the markers and the object remain unchanged during the...
- Page 8 Technical support Email:metrology_support@shining3d.com APAC Headquarters EMEA Region SHINING 3D Tech. Co., Ltd. SHINING 3D Technology GmbH. Hangzhou, China Stuttgart, Germany P: +86-571-82999050 P: +49-711-28444089 Email: sales@shining3d.com Email: sales@shining3d.com No. 1398, Xiangbin Road, Wenyan, Breitwiesenstraße 28, 70565, Xiaoshan,Hangzhou, Zhejiang, China, Stuttgart, Germany...


Need help?
Do you have a question about the FreeScan UE and is the answer not in the manual?
Questions and answers