Advertisement
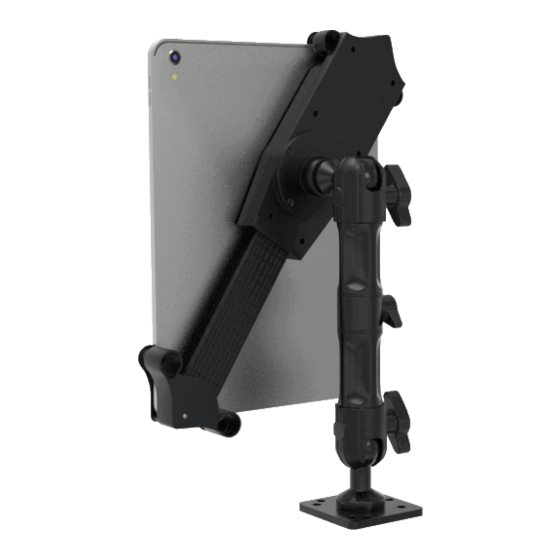
Vehicle Dash Mount w/ Custom Flex Arms
CONTENTS:
A
x1
Vehicle
Dash Mount
INSTALLATION:
1.Installing the Mount to Vehicle :
1A. Drill holes on the surface as shown above
with power drill tool (not provided).
Drilling into the dash, wall, or roof will be a permanent installation and may cause damage if not
installed properly. Use caution and consult a mobile install professional to avoid drilling into the gas
tank,electrical system or other highly sensitive vehicle components.
AUT-VDMC
INSTALLATION - MANUAL
A
1B. Place vehicle dash mount (B) aligning the holes
drilled on surface and then screw in the provided x4
screws (C) through the base with a screw driver (not
provided) until securely tightened.
10mm
B
Foam
5mm
x3
Pads
1mm
C
x4
Screws
A
Advertisement
Table of Contents

Subscribe to Our Youtube Channel
Related Manuals for CTA AUT-VDMC


Summary of Contents for CTA AUT-VDMC
- Page 1 Vehicle Dash Mount w/ Custom Flex Arms AUT-VDMC INSTALLATION - MANUAL CONTENTS: 10mm Foam Pads Vehicle Dash Mount Screws INSTALLATION: 1.Installing the Mount to Vehicle : 1A. Drill holes on the surface as shown above 1B. Place vehicle dash mount (B) aligning the holes with power drill tool (not provided).
- Page 2 Not for use while driving. Max loading :1KG Safety Precautions Do not install CTA’s products over an air bag cover or within the air bag deployment zone. CTA Digital, Inc. assumes no respons of liability for injury or death as a result of car crashes and / or air bag deployment.
Need help?
Do you have a question about the AUT-VDMC and is the answer not in the manual?
Questions and answers