
Related Manuals for Classic Exhibits GRAVITEE GOD-1559


Summary of Contents for Classic Exhibits GRAVITEE GOD-1559
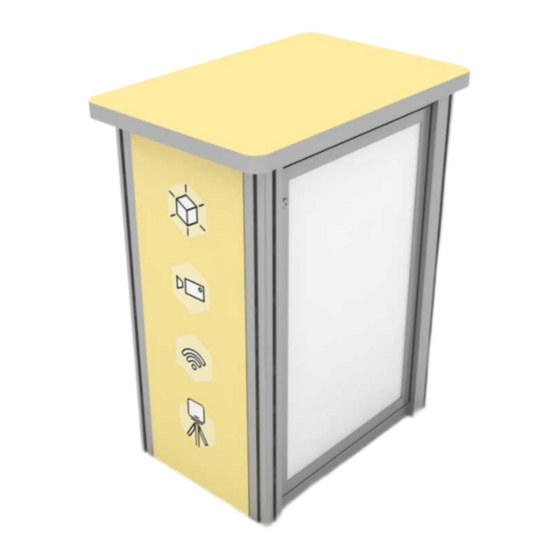
- Page 1 © 2022 REV 7/2022 Order #XXXXX GOD-1559 Reception Counter FRONT VIEW BACK VIEW SETUP INSTRUCTIONS If you would like to tell us about your experience with your setup instructions please email us at info@classicexhibits.com...
- Page 2 © 2022 Order #XXXXX General Information General Setup Instructions - Read entire setup instruction manual prior to WARNING unpacking parts and pieces. - The setup instructions are created specifically for this configuration. - Setup instructions are laid out sequentially in steps, including exploded views with detailed explanation for assembly.
- Page 3 © 2022 Order #XXXXX Gravitee Assembly General Setup Instructions Assembly Assembly Cont’d - Read entire setup instruction manual prior to Push pin lock into hole of connecting frame. unpacking parts and pieces. Note: Block on pin lock will secure in groove. - The setup instructions are created specifically for this configuration.
- Page 4 © 2022 Order #XXXXX Counter Assembly Item Qty. Description Steps: 38”h Gravitee corner post w/ door stopper 1) Assemble Gravitee panels [1] thorugh [7] in numerical order. 14.125”w x 38”h Gravitee Panel Refer to the Gravitee Side-by-Side Assembly instructions in the 38”h Gravitee corner post General Information pages.
- Page 5 © 2022 Order #XXXXX Counter Assembly (cont’d) Steps: Counter Top Attachment 1) Wrap SEG Graphic around front & sides of counter as shown. 2) Attach Shelf Supports, using Velcro then place Internal Shelf on top. 3) Attach Counter Top to assembled base. See Counter Top Attachment detail.
Need help?
Do you have a question about the GRAVITEE GOD-1559 and is the answer not in the manual?
Questions and answers