
Related Manuals for Kramer VP-501XL


Summary of Contents for Kramer VP-501XL
- Page 1 Kramer Electronics, Ltd. USER MANUAL Models: VP-501xl, UXGA Scan Converter VP-502xl, UXGA/HD Scan Converter...
-
Page 2: Table Of Contents
Using the OS/US Button Adjusting the Display via the Menu Buttons Using the Menu 6.3.1 The Advanced Menu 6.3.1.1 Test Patterns 6.3.1.2 Save and Recall Setting the Dipswitches for VP-501xl and VP-502xl 6.4.1 VP-501xl Dipswitch Settings 6.4.2 VP-502xl Dipswitch Settings Technical Specifications Figures... - Page 3 2 To connect a high definition source, use a breakout cable such as the Kramer C-GM/3RVF. If you have a VGA to a 5BNC cable, use the RGB wires only. For direct wiring, see the table in Figure A1...
- Page 4 1 For example: model number AD2512C, part number 2535-000251 – No operator-serviceable parts inside unit. – Use only the Kramer Electronics input power – Disconnect power and unplug unit from wall 2900-9999992...
-
Page 5: Introduction
GROUP 6: Accessories and Rack Adapters; GROUP 7: Scan Converters and Scalers; and GROUP 8: Cables and Connectors 2 Download up-to-date Kramer user manuals from our Web site at http://www.kramerelectronics.com 3 The complete list of Kramer cables is on our Web site at http://www.kramerelectronics.com Introduction... -
Page 6: Overview
Kramer VP-501xl/VP-502xl away from moisture, excessive sunlight and dust Your VP-501xl/VP-502xl Scan Converter Figure 1, and Table 1 describe the VP-501xl. Figure 2 and Table 2 describe the VP-502xl. 1 See section 6.4 2 Brightness, contrast, saturation and flicker filter... -
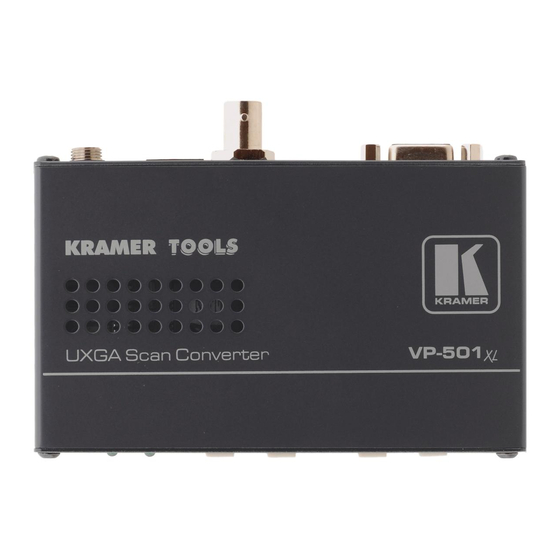
Page 7: Figure 1: Vp-501Xl Uxga Scan Converter
Your VP-501xl/VP-502xl Scan Converter Figure 1: VP-501xl UXGA Scan Converter Feature 12V DC Y/C OUT 4P Connector CV OUT BNC Connector PAL Dipswitch INPUT HD15F Connector OS LED FREEZE. LED MENU Button ENTER / AUTO IMAGE Button - / FREEZE Button... -
Page 8: Figure 2: Vp-502Xl Uxga/Hd Scan Converter
Your VP-501xl/VP-502xl Scan Converter Figure 2: VP-502xl UXGA/HD Scan Converter Feature 12V DC Y/C OUT 4P Connector CV OUT BNC Connector YUV, PAL Dipswitches INPUT HD15F Connector OS LED FREEZE. LED MENU Button ENTER / AUTO IMAGE Button - / FREEZE Button... -
Page 9: Connecting The Vp-501Xl/Vp-502Xl
Computer Graphics Source 1 Switch OFF the power on each device before connecting it to your VP-501xl. After powering up your VP-501xl, switch on the power on each device. The VP-502xl connection is similar to that of the VP-501xl 2 For the VP-502xl, a computer graphics or an HD source (for example, a set-top box source) Connecting the VP-501xl/VP-502xl to the HD15F INPUT connector. -
Page 10: Operating The Vp-501Xl/Vp-502Xl
Operating the VP-501xl/VP-502xl You can operate your VP-501xl/VP-502xl via the front panel buttons, which are dual-purpose buttons Quick-set buttons: AUTO IMAGE, FREEZE and OS/US; or Menu buttons: MENU, ENTER, – and + This section describes how to: Use the quick set buttons (see section 6.1) Use the set of menu buttons (see section 6.2) -
Page 11: Using The Os/Us Button
2 The image appears reduced in size with a margin around it so that none of the data gets lost 3 Pressing the MENU button disables the quick-set buttons (AUTO IMAGE, FREEZE and OS/US) 4 See section 6.3.1.2 Operating the VP-501xl/VP-502xl button to display the menu on the screen Under-scan... -
Page 12: Using The Menu
The Advanced menu lets you select Test Patterns and Save and Recall setups. 6.3.1.1 Test Patterns The VP-501xl/VP502xl stores 7 test patterns. From the Advanced menu, you can select a test pattern (from 1 to 7) to show on screen. Figure 5 shows test pattern number 1. -
Page 13: Save And Recall
6.3.1.2 Save and Recall The VP-501xl/VP-502xl lets you save and recall up to 4 setups (from 0 to 3). The Save mode stores all the menu settings Saving Through the Advanced Menu To save setup 1, for example: Adjust the Picture Setup, the VGA Input Setup, the TV Output Setup, the Zoom and panning, and the No Input number. -
Page 14: Setting The Dipswitches For Vp-501Xl And Vp-502Xl
To recall a setup select Recall from the advanced menu and select the setup number you want to recall. 6.4 Setting the Dipswitches for VP-501xl and VP-502xl The following sections describe the dipswitch settings for the VP-501xl and VP-502xl. 6.4.1... -
Page 15: Vp-502Xl Dipswitch Settings
Set to OFF to select RGB Set to ON to select YUV of the VP-501xl/VP-502xl VP-501xl: 1 x VGA/ UXGA on an HD15F connector VP-502xl: 1 x VGA/ UXGA, analog component HD on an HD15F connector 1 composite video 1Vpp/75 on a BNC connector 1 Y/C (s-Video) 1Vpp / 75 ohms (Y), 0.3Vpp / 75 ohms (C) on a 4p... - Page 16 EXCLUSION OF DAMAGES The liability of Kramer for any effective products is limited to the repair or replacement of the product at our option. Kramer shall not be liable for: Damage to other property caused by defects in this product, damages based upon inconvenience, loss of use of the product, loss of time, commercial loss;...
- Page 17 For the latest information on our products and a list of Kramer distributors, visit our Web site: www.kramerelectronics.com, where updates to this user manual may be found. We welcome your questions, comments and feedback. Safety Warning: Disconnect the unit from the power supply before opening/servicing.
Need help?
Do you have a question about the VP-501XL and is the answer not in the manual?
Questions and answers