
Related Manuals for Dahua Technology IPC-HFW3841E-AS-0280B-S2


Summary of Contents for Dahua Technology IPC-HFW3841E-AS-0280B-S2
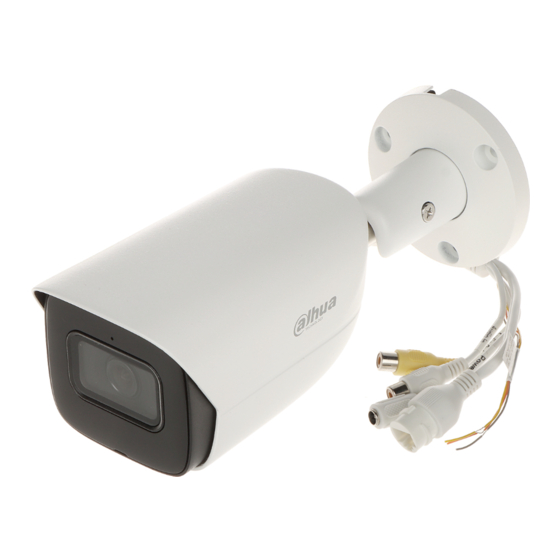
- Page 1 HD IR Bullet Network Camera Quick Start Guide ZHEJIANG DAHUA VISION TECHNOLOGY CO., LTD. V1.0.2...
-
Page 2: Foreword
Quick Start Guide Foreword General This manual introduces the installation and operations of network camera. Read carefully before using the device, and keep the manual safe for future reference. Safety Instructions The following signal words might appear in the manual. Signal Words Meaning Indicates a medium or low potential hazard which, if not avoided,... - Page 3 Quick Start Guide our official website. The manual is for reference only. Slight differences might be found between the electronic version and the paper version. All the designs and software are subject to change without prior written notice. Product updates ...
-
Page 4: Important Safeguards And Warnings
Quick Start Guide Important Safeguards and Warnings This section introduces content covering the proper handling of the device, hazard prevention, and prevention of property damage. Read carefully before using the device, comply with the guidelines when using it. Transportation Requirements Transport the device under allowed humidity and temperature conditions. - Page 5 Quick Start Guide Do not place heavy stress on the device, violently vibrate or immerse it in liquid during installation. An emergency disconnect device must be installed during installation and wiring at a readily accessible location for emergency power cut-off. We recommend you use the device with a lightning protection device for stronger protection ...
- Page 6 Quick Start Guide Maintenance Requirements Strictly follow the instructions to disassemble the device. Non-professionals dismantling the device can result in it leaking water or producing poor quality images. For a device that is required to be disassembled before use, make sure the seal ring is flat and in the seal groove when putting the cover back on.
-
Page 7: Table Of Contents
Quick Start Guide Table of Contents Foreword ................................I Important Safeguards and Warnings ......................III 1 Introduction ..............................1 Cable ....................................... 1 Connecting Alarm Input/output ............................2 2 Network Configuration ..........................4 Initializing the Camera ................................4 Changing the Device IP Address ............................5 Logging in to Webpage ................................ -
Page 8: Introduction
Quick Start Guide Introduction Cable Waterproof all the cable joints with insulating tape and waterproof tape to avoid water damage and prevent short circuits from occurring. For details, see FAQ manual. Cables Table 1-1 Cable information Port Port Name Description Inputs 12 VDC power. -
Page 9: Connecting Alarm Input/Output
Quick Start Guide Connecting Alarm Input/output Alarm input/output is available on select models. Connect alarm input device to the alarm input end of the I/O port. Device collects different states of alarm input port when the input signal is idling and being grounded. - Page 10 Quick Start Guide Mode B Log in webpage, and configure alarm input and alarm output in alarm setting. The alarm input in the webpage is corresponding to the alarm input end of the I/O port. There will be high level and low level alarm signal generated by the alarm input device when alarm occurs, set the input mode to "NO"...
-
Page 11: Network Configuration
Quick Start Guide Network Configuration Device initialization and IP setting can be finished with the ConfigTool or on webpage. For more information, see the Web Operation Manual. Device initialization is available on select models, and it is required at first use and after device is ... -
Page 12: Changing The Device Ip Address
Quick Start Guide If initialization failed, click to see more information. Click Finish. Changing the Device IP Address You can change the IP address of one or more devices at a time. This section is based on changing IP addresses in batches. Changing IP addresses in batches is available only when the corresponding devices have the ... -
Page 13: Installation
Quick Start Guide Installation Packing List Tools required for installation, such as the electric drill, are not included in the package. The operation manual and information on the tools are on the disk or the QR code. Packing list Dimensions Dimensions (mm [inch]) -
Page 14: Installing Device
Quick Start Guide Installing Device 3.3.1 Installation Methods Installation methods 3.3.2 (Optional) Installing the SD Card SD card slot is available on select models. Press the reset button for 10 seconds to reset the device. 3.3.3 Attaching the Camera Make sure the mounting surface is strong enough to hold at least three times the weight of the camera and bracket. -
Page 15: Optional) Installing The Waterproof Connector
Quick Start Guide Cable going through the mounting surface Cable going through the side cable tray 3.3.4 (Optional) Installing the Waterproof Connector This part is only needed when a waterproof connector comes with the device and the device is used outdoors. -
Page 16: Adjusting The Lens Angle
Quick Start Guide Install the waterproof connector 3.3.5 Adjusting the Lens Angle Adjust the lens angle... - Page 17 Quick Start Guide...
Need help?
Do you have a question about the IPC-HFW3841E-AS-0280B-S2 and is the answer not in the manual?
Questions and answers