Advertisement
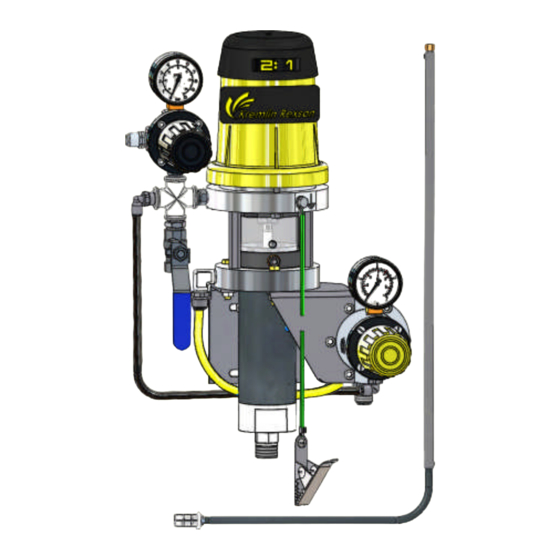
LOW-PRESSURE PUMP
EOS 02-C85
Disassembly / Reassembly
TRANSLATION FROM THE ORIGINAL MANUAL
Before assembly and start-up, please read and clearly understand all the
IMPORTANT :
documents relating to the equipment (professional use only).
THE PICTURES AND DRAWINGS ARE NOT CONTRACTUAL. WE RESERVE THE RIGHT TO MAKE CHANGES WITHOUT
PRIOR NOTICE.
KREMLIN - REXSON
150, avenue de Stalingrad
93 245 - STAINS CEDEX – France
: 33 (0)1 49 40 25 25
Fax : 33 (0)1 48 26 07 16
www.kremlin-rexson.com
KREMLIN REXSON
N° : 578.035.110-UK-1403
Advertisement
Table of Contents

Subscribe to Our Youtube Channel
Related Manuals for Kremlin-Rexson EOS 02-C85


Summary of Contents for Kremlin-Rexson EOS 02-C85
- Page 1 LOW-PRESSURE PUMP EOS 02-C85 Disassembly / Reassembly TRANSLATION FROM THE ORIGINAL MANUAL Before assembly and start-up, please read and clearly understand all the IMPORTANT : documents relating to the equipment (professional use only). THE PICTURES AND DRAWINGS ARE NOT CONTRACTUAL. WE RESERVE THE RIGHT TO MAKE CHANGES WITHOUT PRIOR NOTICE.
- Page 2 CAUTION : Before any action on the pump, shut off the compressed air supply and depressurize the systems. FLUID SECTION OR AIR MOTOR REPLACEMENT The pump is manufactured under the ATEX agreement and can not be modified. KREMLIN REXSON will not be held responsible for any failure to comply with that instruction.
- Page 3 MOTOR MOTOR VALVE Disassemble the cover (15) by removing the 3 M6 nuts (26). Unscrew motor valve (14) by holding driving-rod (12). Reinstall the new motor valve (14) and block it on the driving-rod (12) by means of the two flat parts located at its end.
- Page 4 FLUID SECTION Index Instructions Description Part number "TECHNILUB" grease PTFE grease 560.440.101 (10 ml) Graphite grease box Graphite grease 560.420.005 (1 kg / 2.204 lb) SUCTION VALVE Unscrew suction valve body (16) from the cylinder. The ball (17) is secured on the seat by means of a circlips (19). Reinstall suction valve assembly and check if seal (3) is not worn or damaged.
- Page 5 CARTRIDGE Unscrew cylinder (2) and pull it downwards. Separate motor piston rod (7) by removing connecting pin (33) with cotter pin (34). Remove circlips (6) located in the pump body cup (1) and pull cartridge (4) downwards. Reassembly : Insert piston rod (7) into the new cartridge (4) - from the top to the bottom - to avoid damaging the seal.
Need help?
Do you have a question about the EOS 02-C85 and is the answer not in the manual?
Questions and answers