Advertisement
Quick Links
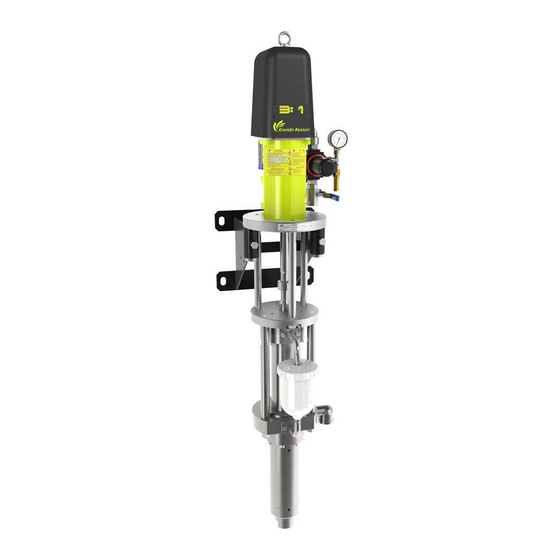
PUMP
EOS 03-R440
Disassembly / Reassembly
TRANSLATION FROM THE ORIGINAL MANUAL
IMPORTANT : Before assembly and start-up, please read and clearly understand all the
documents relating to this equipment (professional use only).
THE PICTURES AND DRAWINGS ARE NON CONTRACTUAL. WE RESERVE THE RIGHT TO MAKE CHANGES WITHOUT
PRIOR NOTICE.
KREMLIN - REXSON
l
150, avenue de Stalingrad
93 245 - STAINS CEDEX - France
: 33 (0)1 49 40 25 25
Fax : 33 (0)1 48 26 07 16
www.kremlin-rexson.com
KREMLIN REXSON
N° 578.212.110-UK-1506
Advertisement

Related Manuals for Kremlin-Rexson EOS 03-R440


Summary of Contents for Kremlin-Rexson EOS 03-R440
- Page 1 PUMP EOS 03-R440 Disassembly / Reassembly TRANSLATION FROM THE ORIGINAL MANUAL IMPORTANT : Before assembly and start-up, please read and clearly understand all the documents relating to this equipment (professional use only). THE PICTURES AND DRAWINGS ARE NON CONTRACTUAL. WE RESERVE THE RIGHT TO MAKE CHANGES WITHOUT PRIOR NOTICE.
- Page 2 CAUTION : Before any action on the pump, the T lubricant should be removed, shut off the compressed air supply and depressurize the system. The pump is manufactured under the ATEX agreement and can not be modified. KREMLIN REXSON will not be held responsible for any failure to comply with that instruction. ...
-
Page 3: Replacing The Plug
PUMP DRAINING Guards (air motor cover, coupling shields, housings …) have been designed for safe use of the equipment. The manufacturer will not be held responsible for bodily injury or failure and / or damage to property due to removal or partial removal of the guards Place a container (2L / 0.53 US gal minimum) under the drain plug. -
Page 4: Coupling The Pump
PUMP SEPARATION / COUPLING PROCEDURE Guards (air motor cover, coupling shields, housings …) have been designed for safe use of the equipment. The manufacturer will not be held responsible for bodily injury or failure and / or damage to property due to removal or partial removal of the guards. SEPARATE THE PUMP Stop the pump. - Page 5 FILLING THE SUCTION SUB-ASSEMBLY (A) WITH T LUBRICANT Nota : Use only lubricant compatible with the parts in contact with the product (See data sheet of the product manufacturer). Use only KREMLIN REXSON T lubricant. - Unscrew the lid from the cup (3). - Run the pump to load the product.
-
Page 6: Suction Valve
DISASSEMBLY / REASSEMBLY OF THE FLUID SECTION Guards (air motor cover, coupling shields, housings …) have been designed for safe use of the equipment. The manufacturer will not be held responsible for bodily injury or failure and / or damage to property due to removal or partial removal of the guards DISASSEMBLY / REASSEMBLY OF THE FLUID SUB-ASSEMBLY (B) Nota : The suction valve, the cylinder, the exhaust valve can be removed or change without needing to separate the product sub-assembly (B) from the suction sub-assembly (A). - Page 7 EXHAUST VALVE (33) AND CUP SEAL (31) Disassembly Unscrew the cylinder (32) and pull it downwards. Unscrew the exhaust valve (33) with a 58mm wrench by holding the piston (29). Remove the ball (30), Remove the cup seal (31). Clean the parts.
- Page 8 DISASSEMBLY / REASSEMBLY OF THE SUCTION SECTION SUB-ASSEMBLY (A) Nota : The disassembling of the upper tightness seal and of the bellows requires to separate the fluid sub-assembly (B) from the suction sub-assembly (A). SEPARATION PROCEDURE Disassemble the cylinder (32). You can see the fluid section (29).
- Page 9 COUPLING PROCEDURE Change all the seals (16 and 28) and lubricate them. Clean the threading of the coupling rod (8) and the tapping of the pump piston (29). Slide down the motor rod (see previous §). Apply a light coating of glue to the threading of the motor rod (Loctite 222). Present piston-fluid section-discharge flange assembly.
-
Page 10: Detail View
UPPER TIGHTNESS SEAL (25) Disassembly DETAIL VIEW Unscrew the 8 screws (27). Separate the fluid section (A) from the suction part (B). Remove the GT seal (25) by pulling the exhaust flange (26) downwards. Remove the O-ring seals (16 and 28). Assembly Place a new GT seal (25) into the discharge flange (26) after having lubricated it. - Page 11 KREMLIN REXSON - 10 - N° 578.212.110-UK-1506...
- Page 12 Disassembly - Unscrew the lid (3) from the cup (1). - Unscrew the cup (18) from the elbow tube (24) with a 17mm wrench. - Remove the lid (3) from the elbow tube (24). - Separate by hand the end cup (9) and remove the assembly (5, 9, 7 and 2) from the cup.
- Page 13 MOTOR REVERSING BLOCK Guards (air motor cover, coupling shields, housings …) have been designed for safe use of the equipment. The manufacturer will not be held responsible for bodily injury or failure and / or damage to property due to removal or partial removal of the guards The maintenance consists in changing the wetted or worn parts and to clean the parts with compatible materials without using abrasive materials that can damage them.
- Page 14 DISCHARGE VALVE Disassembly DETAIL VIEW - Unscrew the discharge-valve (13). Assembly Apply a light coating of glue to the discharge valve threading (Loctite 222). - Screw the discharge valve (13). DISTRIBUTOR, MODEL 4/2 Disassembly DETAIL VIEW - Unscrew the hoisting ring (1) and remove the washer (2). - Remove the cover (3).
- Page 15 DISTRIBUTOR, MODEL 5/2 1/8" Disassembly DETAIL VIEWS - Unscrew the hoisting ring (1) and remove the washer (2). - Remove the cover (3). - Disconnect the hoses (41). - Unscrew the 2 screws (52) with a hexagon key size 2,5mm. - Unscrew the 5 elbows (42) with a 10mm wrench.
- Page 16 SEALS First remove, the axis-lock, the closing ring, the bush used for the pump separation. Disassembly - Unscrew the hoisting ring (1) and remove the washer (2). - Remove the cover (3). - Identify and disconnect the hoses (41). - Remove the elbows (40).
- Page 17 - Replace the cover (21) on the cylinder (15). - Screw the 4 screws (22) with a hexagon key size 6mm. - Install the cam (8) on the piston rod (16). - Screw the screw (7) with a hexagon key size 4mm.
- Page 18 FLUID SECTION ASSEMBLY INSTRUCTIONS KREMLIN REXSON - 17 - N° 578.212.110-UK-1506...
- Page 19 MOTOR ASSEMBLY INSTRUCTIONS KREMLIN REXSON - 18 - N° 578.212.110-UK-1506...
- Page 20 Index Instruction Description Part number 'TECHNILUB' grease PTFE grease 560.440.101 (10 ml / 0.0026 US gal) Grease box (450 g / 0.99 lb) Anti-seize grease 560.420.005 High-performance lubricating Grease box Kluber petamo 560.440.005 grease GHY 133N (1 kg / 2.204 lb) Medium strength Loctite 577 (250 ml / 0.066 US gal) 554.180.015...
Need help?
Do you have a question about the EOS 03-R440 and is the answer not in the manual?
Questions and answers