
Related Manuals for HOMCOM A91-131


Summary of Contents for HOMCOM A91-131
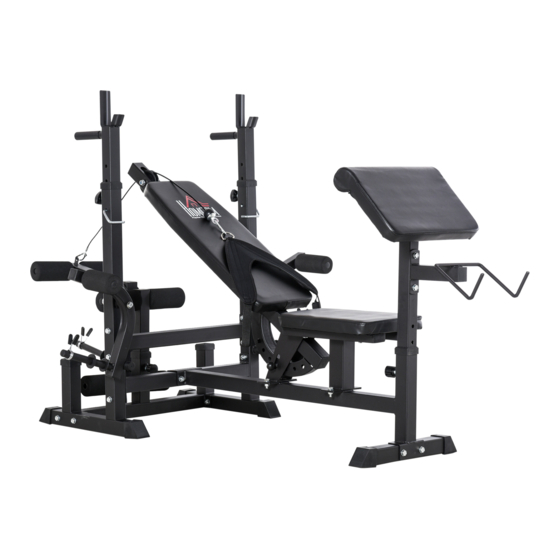
- Page 1 INamc001_UK A91-131 READ AND SAVAE THIS INSTRUCTION FOR FUTURE USE ASSEMBLY INSTRUCTION...
- Page 2 PACKING DETALS:TOTAL 2 BOXES BOX-1/2 PARTS PARTS BOX-2/2 PARTS PARTS...
- Page 3 PARTS PARTS HARDWARE...
-
Page 4: Table Of Contents
CONTENTS SAFETY INFORMATION ........................1 parts overview ............................3 parts overview continued ........................4 parts overview continued ........................5 ASSEMBLY ............................. 6 CARE AND MAINTENANCE ........................9 STARTING YOUR TRAINING ......................10 DISPOSAL ............................11... -
Page 5: Safety Information
SAFETY INFORMATION IMPORTANT – Please read fully before assembly or use. This exercise equipment is built for optimum safety. However, certain precautions apply when ever you operate a piece of exercise equipment. Be sure to read the entire manual before you assemble, operate, or use this equipment. - Page 6 • Your product is intended for use in clean dry conditions. You should avoid storage in excessively cold or damp places as this may lead to corrosion and other related problems that are outside our control. • This equipment is not suitable for therapeutic use. •...
-
Page 7: Parts Overview
PARTS OVERVIEW ~ 3 ~... -
Page 8: Parts Overview Continued
PARTS OVERVIEW CONTINUED ~ 4 ~... -
Page 9: Parts Overview Continued
PARTS OVERVIEW CONTINUED ~ 5 ~... -
Page 10: Assembly
ASSEMBLY Step 1: • Install 2 x foot covers (10), tube bushing (11) and rubber cover (18) on A. • Install 2 x foot covers (10) on B. • Install 1 x tube bushing (11) on C and D. • Install 14 x M10x70 bolts, nuts, and washers (3) and 2 x M10x75 bolts (2). - Page 11 Step 3: • Install 4 x 60x30 tube plugs (15) on K. • Install 2 x 50x50 tube plugs (12) and 1 x pulley (28), M10x65 screw, nut, and washer (4). Step 4: • Install the seat cushion on K with 4 x M8x45 screws, nuts, and washers (8). •...
- Page 12 Step 5: • Insert Q in M and install 2 x foam rollers (22) and Ø 25 mm tube plug (16) and 1 x 45x45 tube plug (13). • Insert 2 x Q, 4 x foam rollers (22), 5 x Ø 25 mm round tube plugs (16). •...
-
Page 13: Care And Maintenance
Step 7: Installation of the up raising control part: • Fix the gourd buckles (27) on the two ends when using the cable (V). The gourd buckle connects the shoulder rest (U) and the cable (V). • Fix the angle of the backrest with the popper pin (26). CARE AND MAINTENANCE 1. -
Page 14: Starting Your Training
STARTING YOUR TRAINING ~ 10 ~... -
Page 15: Disposal
DISPOSAL According to the European waste regulation 2012/19/EU this symbol on the product or on its packaging indicates that this product may not be treated as household waste. Instead, it should be taken to the appropriate collection point for the recycling of electrical and electronic equipment. By ensuring this product is disposed of correctly, you will help prevent potential negative consequences for the environment and human health, which could otherwise be caused by inappropriate waste handling of this...
Need help?
Do you have a question about the A91-131 and is the answer not in the manual?
Questions and answers