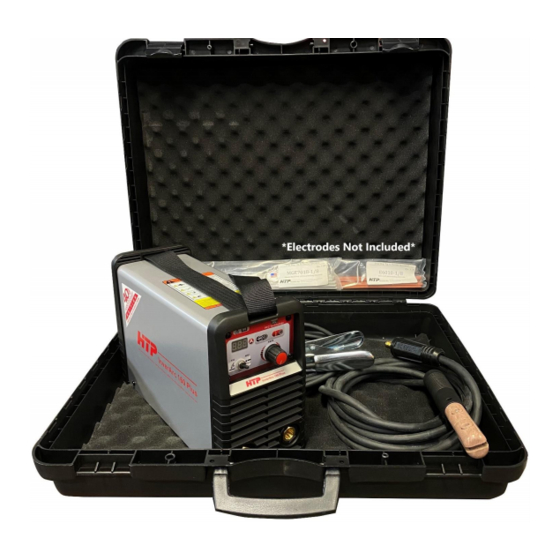
Summary of Contents for HTP InverArc 160 Plus
- Page 1 InverArc 160 Plus Owner’s Manual 180 Joey Drive, Elk Grove Village, IL 60007 · Ph: (847) 357-0700 · Fax: (847) 357-0744 · Web: www.usaweld.com...
-
Page 2: Manufacturer's Warranty
This warranty shall not apply to any welding machine which has been repaired or altered by unauthorized service departments in any way so as, in the judgment of HTP America, Inc., to affect its stability and reliability, nor which has been subjected to misuse, negligence, or accident. -
Page 3: Electric Shock Can Kill
• Avoid having any type of fuel, such as cigarette lighters or matches, on your person as you weld. • Ensure that there is a fire extinguisher in the welding area. Electric arc welding produces toxic fumes. • Provide adequate ventilation in the welding area at all times. •... - Page 4 6) CGA Pamphlet P-1 SAFE HANDLING OF COMPRESSED GASES IN CYLINDERS, obtainable from the Compressed Gas Association, 500 Fifth Ave., New York, NY 10036. 7) OSHA Standard 29 CFR, Part 1910, Subpart Q WELDING, CUTTING, AND BRAZING.
- Page 5 Specifications Input Power 120V, Single Phase, 50/60Hz 230V, Single Phase, 50/60Hz Stick Stick Maximum Input 31.8 19.5 21.3 13.8 Amperage (A) Effective Input 17.4 15.1 13.5 Power (A) Power Factor 0.99 0.99 Output Amperage (A) 10 to 125 10 to 160 Max No-Load Voltage (V) 55 (80) 30%@125A...
- Page 6 InverArc also features sophisticated, electronic overheat protection to prevent damage to your machine. The InverArc 160 Plus also functions as a lift-start, DC TIG. To run the InverArc in the TIG welding mode, you only need a TIG torch (with a gas valve in the handle), a flowmeter, and a gas bottle. You can adjust the output amperage without a remote control—simply use the knob on the InverArc to adjust the output amperage as necessary.
- Page 7 Only, and so on. In some cases, smaller diameters such as 3/32”, 1/8”, and 5/32” will be labeled All Position and bigger rods such as 3/16” and ¼” will be labeled Flat Only—but this is not always the case. When in doubt about acceptable welding positions, simply check the rod box.
-
Page 8: Position Description
Operation Controls & Connections Position Description Position Description Negative Output Receptacle Encoder Remote Control Connection Positive Output Receptacle Power LED Power Switch Alarm LED Power Cable Welding Mode Selection Switch Fan/Fan Grid Amperage Display... - Page 9 TIG Welding with the InverArc 160 Plus 1) Use the Welding Mode Selection Switch (Fig. X, #5) to put the InverArc 160 Plus into the TIG welding mode. 2) Use the encoder (Fig. X, #7) to select your welding amperage (shown in the Amperage Display (Fig.
- Page 10 InverArc 160 Plus Wiring Diagram...


Need help?
Do you have a question about the InverArc 160 Plus and is the answer not in the manual?
Questions and answers