Advertisement
Quick Links
Advertisement

Related Manuals for Floyd Acton Slat Bench


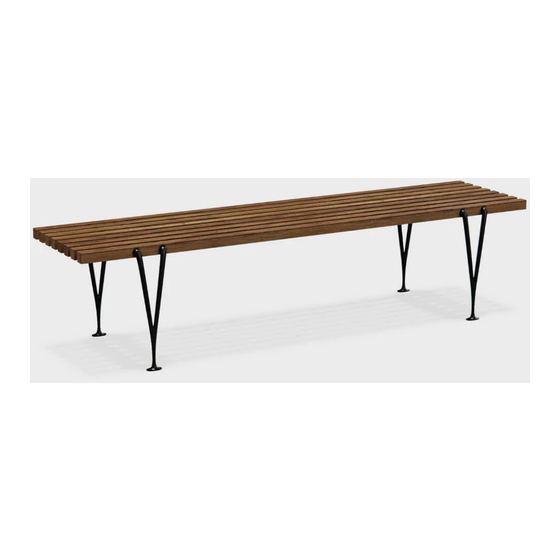
Summary of Contents for Floyd Acton Slat Bench
- Page 1 How to Assemble: The Acton Slat Bench...
- Page 2 Components Slatted Top Legs Fittings Hex Tool Pro Tip: If you’re considering a return, save your packaging!
- Page 3 Step: 1 of 7 Screw the Fittings into the thread holes at the top of the Legs. Use the provided Hex Tool to fully tighten the Fittings to the Legs. Repeat the process with the remaining Legs. Assembly Instructions The Acton Bench...
- Page 4 Step: 2 of 7 Remove the Slatted Top from the packaging and place on a rug or other non-abrasive surface with the screws facing up. Assembly Instructions The Acton Bench...
- Page 5 Step: 3 of 7 Using the Hex Tool, loosen the pre-installed screws by turning them counterclockwise (4x). Do not fully remove the screws. Assembly Instructions The Acton Bench...
- Page 6 Step: 4 of 7 Insert the Leg Fittings into the two corresponding holes in the side of the slat until the Leg is flush with the Slatted Top. Secure the Legs to the Slatted Top by tightening the screws. Assembly Instructions The Acton Bench...
- Page 7 Step: 5 of 7 One at a time, repeat step 4 to attach the remaining 3 Legs. Assembly Instructions The Acton Bench...
- Page 8 Step: 6 of 7 Double check that all the screws are tightened and all four Legs are firmly in place. Assembly Instructions The Acton Bench...
- Page 9 Step: 7 of 7 You’re all set! Carefully flip the bench upright. Note: If necessary, further tighten screws. Assembly Instructions The Acton Bench...
- Page 10 READ ALL INSTRUCTIONS BEFORE ASSEMBLY & Usage: USE. ADULT ASSEMBLY REQUIRED. KEEP SMALL Remove all packaging before first use. PARTS AND PACKAGING AWAY FROM CHILDREN Only meant for indoor use. NOTES ON USE: Cleaning/Care: Keep children and others safe by following these Clean with a dry or damp lint free cloth.
Need help?
Do you have a question about the Acton Slat Bench and is the answer not in the manual?
Questions and answers