
Subscribe to Our Youtube Channel
Related Manuals for Tektronix MDO4000 Series


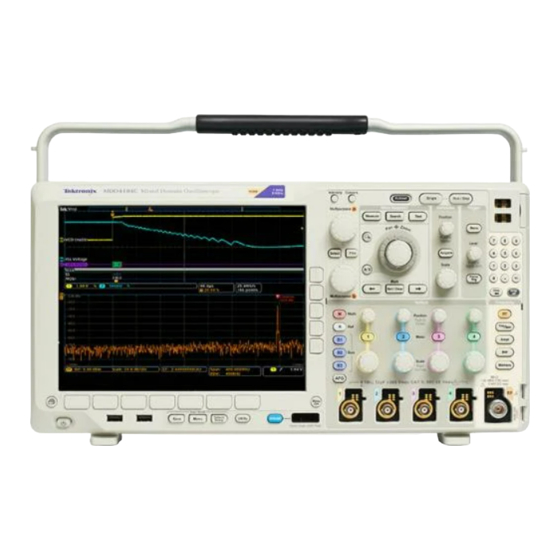
Summary of Contents for Tektronix MDO4000 Series
- Page 1 Tektronix MDO Demo 1 Board Instruction Manual www.tektronix.com *P071292400* 071-2924-00...
- Page 2 Copyright © Tektronix. All rights reserved. Licensed software products are owned by Tektronix or its subsidiaries or suppliers, and are protected by national copyright laws and international treaty provisions. Tektronix products are covered by U.S. and foreign patents, issued and pending. Information in this publication supersedes that in all previously published material.
-
Page 3: Table Of Contents
Signal Descriptions ........................Tektronix MDO Demo 1 Board Instruction Manual... -
Page 4: Preface
Compliance Information Preface The MDO Demo 1 board provides signals that you can use to show key features of Tektronix MDO4000 Series oscilloscopes. Compliance Information Environmental Considerations This section provides information about the environmental impact of the product. Product End-of-Life Handling Observe the following guidelines when recycling an instrument or component: Equipment recycling. -
Page 5: Installation
3. Connect the MDO4000 Series oscilloscope RF input to the MDO Demo 1 Board RF output using the N-to-BNC Adapter (103–0045–00) and a 50 Ω coax BNC cable. Tektronix MDO Demo 1 Board Instruction Manual... - Page 6 Demo 1 Board. NOTE. The Tektronix MDO Demo 1 board requires approximately 0.75 A to operate. NOTE. The purpose of the USB cable is to provide power to the demo board. No communication occurs over the USB cable.
-
Page 7: Operation
Operation Operation The MDO4000 Series oscilloscope has six setups of product demonstrations, all of which utilize the MDO 1 Demo Board. Use these setups for the: Multiple peaks demo Spectrogram demo VCO/PLL Turn On demo ASK Modulation demo Frequency Hop demo... - Page 8 The RF output connector generates three frequency steps. These are centered at 2.4 GHz and step up and down 3 MHz from the CF (center frequency). By using the built-in RF Frequency versus Time function of the MDO4000 Series oscilloscopes, you can see the frequency hop represented as a real-time waveform in the time domain.
-
Page 9: Signal Descriptions
The following diagram includes a grid to help you locate signal outputs. To find a particular signal output on the board, look up the connector grid location in the following Signal Descriptions section and use the grid location information to find the signal on the demo board. Tektronix MDO Demo 1 Board Instruction Manual... - Page 10 Signal Descriptions Tektronix MDO Demo 1 Board Instruction Manual...
- Page 11 Board label: CAN_H, CAN_L Grid location: A4, A5, A7 Description: These are the CAN (Controller Area Network) bus signals between two CAN transceivers. The bit rate of the data packet is 500 kbps. Tektronix MDO Demo 1 Board Instruction Manual...
- Page 12 The sine wave data from the SPI bus is converted to 8 parallel bits to drive the DAC. DAC_IN0 is the LSB. (See Figure 1.) See the SPI Bus description for packet details. Tektronix MDO Demo 1 Board Instruction Manual...
- Page 13 Description: This is a 156 kHz, capacitively-coupled pulse signal with a 1.5 ns rise and fall time. Fast FF Clock Board label: FAST_FF_CLK Grid location: C1 Description: This is the 1.25 MHz clock input signal to a fairly fast flip-flop. The pulse width of this clock signal varies slowly. Tektronix MDO Demo 1 Board Instruction Manual...
- Page 14 The anomaly is a group of four pulses. The four pulses are 100 ns, 50 ns (narrow), 100 ns (runt), and 100 ns wide, with a 100 ns low between, except for a 50 ns low before the runt. Tektronix MDO Demo 1 Board Instruction Manual...
- Page 15 MIPI_DATA, MIPI_CLOCK Board label: MIPI_DATA, MIPI_CLOCK Grid location: H7 Description: These signals are representative of MIPI D-PHY bus protocol traffic for a serial differential pair running at 500 Mb/s. Tektronix MDO Demo 1 Board Instruction Manual...
- Page 16 100 ns low between each pulse, except for a 25 ns low before the narrow pulse. Reset Button Board label: RESET Grid location: B7 Description: Push this button to start all generated signals from a common point. Tektronix MDO Demo 1 Board Instruction Manual...
- Page 17 Grid location: H9 Description: Use the RF output from this connector in the seven different RF demos controlled by the Mode button. Directly connect this output to the RF input of the MDO4000 Series oscilloscope. RS232 UART, Transmit Board label: UART, RS232_TX Grid location: A6, A7 Description: The UART signal is the noninverted logic level input to the RS-232 UART from the μC.
- Page 18 This SPI bus is the control bus for several different parts that control the RF output in the RF based demonstrations. Spread Spectrum Clock Board label: SS_CLOCK Grid location: H4 Description: This is a nominally 98.5 MHz spread spectrum clock with triangular modulation. Use it for demonstrating timing measurement trends over time. Tektronix MDO Demo 1 Board Instruction Manual...
- Page 19 For example, if you put a low input capacitance probe, like the Tektronix TPP1000, on one of these signals and an alternative, higher input capacitance probe, like the Tektronix P6139A, on the other signal, capture the waveforms on an oscilloscope and then overlay the two captured signals, the waveform from the lower input capacitance TPP1000 will show a faster rise time.
Need help?
Do you have a question about the MDO4000 Series and is the answer not in the manual?
Questions and answers