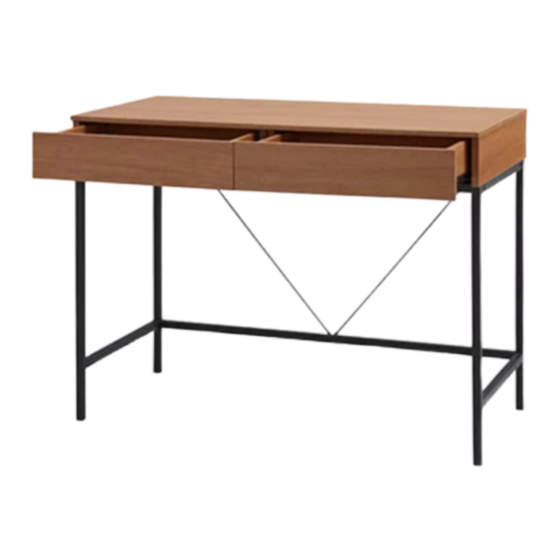
Summary of Contents for real living CT006A
-
Page 2: Maintenance
GENERAL BEST PRACTICES FOR ASSEMBLY: Read all instructions before starting Clear a flat covered space to assemble We recommend two people for assembly Note that hardware required is provided for every step Pay attention to orientation Letter of the part corresponds to a sticker on the product Number of the hardware corresponds to its number in the package Helpful hints provided along the way MAINTENANCE:... - Page 3 PARTS LIST FRONT SUPPORT BAR LEFT LEG RIGHT LEG BACK BOTTOM SUPPORT BAR REAR SUPPORT BAR TOP PANEL LEFT SIDE PANEL BOTTOM PANEL MIDDLE PANEL RIGHT SIDE PANEL BACK PANEL BACK PANEL OF DRAWER LEFT SIDE PANEL OF DRAWER MIDDLE PANEL...
-
Page 4: Hardware List
PARTS LIST DRAWER FRONT PANEL RIGHT SIDE PANEL OF DRAWER HARDWARE LIST ALLEN BOLT CAM LOCK PHILLIPS SCREW PHILLIPS SCREW ALLEN WRENCH WOOD DOWEL PHILLIPS SCREW NOT INCLUDED... - Page 5 STEP 1 Insert cam (1) into top panel (G) using a Phillips screwdriver (not provided) and full tighten. Insert Wood dowel (5) into top panel (G) . Assembled View...
- Page 6 STEP 2 Insert cam (1) and wood dowel (5) into right side panel (K) and left side panel (I) as shown. Align the cams and dowels with the holes in the ends of back panel (J) and slide into place. Secure the panels together with cam lock (2).
- Page 7 STEP 3 Insert cam lock (2) into holes of left side panel (I), right side panel (K) and back panel (J). Align the holes in the assembled side and back panels with the cams and wood dowels in top (G) and lower into place.
- Page 8 STEP 4 Insert cam (1) into top panel (G) using Phillips screwdriver (not provided) and fully tighten. Then insert wood dowel (5) into top panel (G). Assembled View...
- Page 9 STEP 5 Align the Insert cam lock (2) into holes of middle panel (L) & (M). holes in middle panel (L) and middle panel (M) with the cams and dowels in top panel (G) and slide into place as shown. Secure the panels together by tightening the cam locks (2) with Phillips screwdriver (not provided).
- Page 10 STEP 6 Attach back panel (J), middle panel (L) and (M) with Phillips screw (3) using Phillips screwdriver (not provided).
- Page 11 STEP 7 Make sure the holes along the top of INSIDE cross bars are towards the inside of frame. INSIDE Three holes are on the same side. Assemble front support bar (D), back support bar (C) and back bottom support bar (E) to left leg (A) and right leg (B) with Allen bolts (4) using Allen wrench (7).
- Page 12 STEP 8 Attach rear support bar (F) to assembled frame with Phillips screw (8) using Phillips screwdriver (not provided). Assembled View...
- Page 13 STEP 9 Carefully place the assembled metal frame onto the bottom of the assembled drawer box as shown. Secure the assembled frame to the drawer box with Phillips screw (8) using Phillips screwdriver (not provided). Assembled View...
- Page 14 STEP 10 Attach bottom panel (H) to metal frame with Phillips screw (6) with Phillips screwdriver (not provided). Assembled View...
- Page 15 STEP 11 Attach right side panel of drawer (P) and left side panel of drawer (N) to back panel of drawer (O) with Phillips screws (3) using Phillips screwdriver (not provided). Assembled View...
- Page 16 STEP 12 Slide bottom panel of drawer (Q) into the grooves of side panels of drawer until it is fully inserted into back panel of drawer. Insert cams (1) into front panel of drawer (R) and fully tighten using Phillips screwdriver (not provided).
- Page 17 STEP 13 Align the glides on the drawer with the glides in the drawer box and insert with equal pressure on both sides. PLEASE NOTE: The drawers should slide completely into desk. If drawers jam or bind, remove them, realign the glides and reinsert. Assembly is now complete.


Need help?
Do you have a question about the CT006A and is the answer not in the manual?
Questions and answers