Table of Contents
Advertisement
Quick Links
Advertisement
Table of Contents

Related Manuals for real living OAKMONT GBO19-002


Summary of Contents for real living OAKMONT GBO19-002
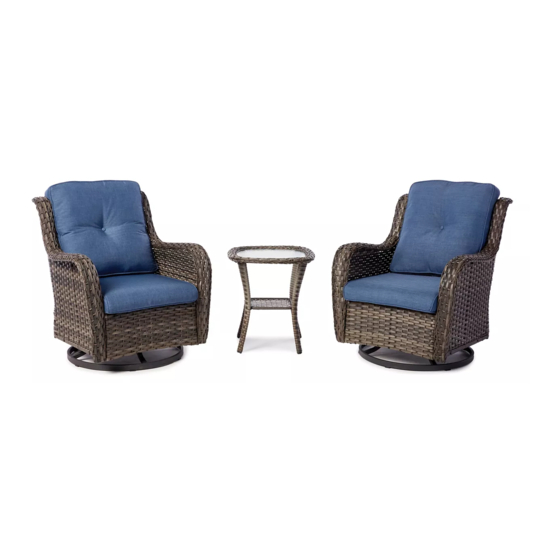
- Page 1 OAKMONT 3PC ALL WEATHER WICKER GLIDER SET ASSEMBLY INSTRUCTION ITEM# : GBO19-002 / GBO19-002NAVY SKU# 810410477 / 810461020 Need help? We are here for you! 1-888-733-8169 24/7 Toll Free Or email us at customerservice_01@yeah.net, customerservice_02@yeah.net customerservice_03@yeah.net...
- Page 2 GENERAL BEST PRACTICES FOR ASSEMBLY: Read all instructions before starting Clear a flat covered space to being Always best to do it with a friend Note that hardware required is provided for every step Pay attention to orientation Letter of the part corresponds to a stcker on the products Number of the hardware corresponds to its letter in the package Helpful hints provided along the way WARNINGS:...
- Page 3 PARTS LIST 1PC Left Arm 1PC Right Arm 1PC Chair Back 1PC Seat Panel 1PC U-shaped Fitting 1PC Chair Base 1PC Seat Cushion 1PC Back Cushion HARDWARE LIST 4PC Screw(φ6x15mm) 4PC Spring Washer 18PC Washer 8PC Nut 14PC Screw(φ6x35mm) 1PC Allen Wrench 1PC Open End Wrench STEP 1 Secure chair back (B) to left arm (A1) with 2 screws (I) and 2...
- Page 4 STEP 2 Secure right arm (A2) to assembled chair back (B) with 2 screws (I) and 2 washers (G) by using allen wrench (K). Do not tighten all screws now. STEP 3 Secure seat panel (C) to assembled left arm and right arm (A1.A2) with 4 screws (J) and 4 washers (G) by using allen wrench (K).
- Page 5 STEP 5 Turn over the assembled chair bucket and secure the swing arms on U-shaped fitting (D) to the bottom tube of left arm (A1) and right arm (A2) with 4 screws (J), and 4 nuts (H) with allen wrench (K) and wrench (L).
- Page 6 STEP 7 Put seat cushion (M) and back cushion (N) on the chair. The chair is assembled. SPECIAL WARNING: THIS CHAIR IS NOT A TOY. DON'T OVER-SWING THE CHAIR. OVER- SWING THE CHAIR MAYBE MAKE THE CHAIR TIP OVER AND RESULT IN INJURY.
- Page 7 PARTS LIST 4PC Table Leg 1PC Glass Table Top 1PC Table Tray HARDWARE LIST 12PC Screw(φ6x12mm) 12PC Washer 1PC Allen Wrench STEP 1 Secture 4 table legs (A) to glass table top (B) by using 8 screws (E) and 8 washers (D) with allen wrench (F). Do not tighten all screws now.
- Page 8 STEP 2 Secture table tray (C) to 4 table legs (A) by using 4 screws (E) and 4 washers (D) with allen wrench (F). Do not tighten all screws now. STEP 3 Turn over the assembled table. Verify the alignment and adjust, fully tighten all screws.
Need help?
Do you have a question about the OAKMONT GBO19-002 and is the answer not in the manual?
Questions and answers