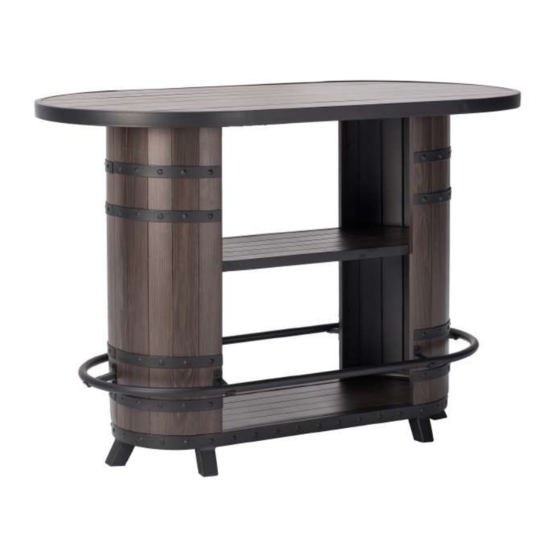
Summary of Contents for real living A208023302
- Page 1 WINE BARREL BAR TABLE ASSEMBLY INSTRUCTIONS ITEM#: A208023302 SKU#: 810497081 Need help? We are here for you! 1(866)578 – 6569 24/7 • Toll Free...
-
Page 2: Warranty
GENERAL BEST PRACTICES FOR ASSEMBLY: • Please read and understand this entire manual before attempting to assemble or install the product. • Before beginning assembly of product, make sure all parts are present. Compare parts with package contents list and hardware contents list. -
Page 3: Exploded Drawing
EXPLODED DRAWING 3/12... -
Page 4: Parts List
PARTS LIST Label Description Part Image Part Number P002100203 Table Top P005400528 Side Panel 1 P005400532 Side Panel 2 P004200040 Shelf P004700010 Base P005000318 Pedal Pipe P002200056 Connector Foot pad P005300057 Pre-assembled 4/12... -
Page 5: Hardware List
HARDWARE LIST Label Part Number Description Part Image H010010087 Bolt M6*20 Bolt M6*3 5 H010010004 Flat washer H050010025 H040070002 Nut M6 H090010017 Wrench M6 5/12... -
Page 6: Helpful Hints
HELPFUL HINTS • Separating parts before starting Provided in hardware pack How many people needed for the installation 6/12... - Page 7 STEP 1 Assembled View: Attached Side Panel1(B) to Side Panel 2(C) with Bolt H2, Flat washer H3 and Nut(H4), tighten the Bolt H2 to 80% depth with Wrench(HW). 7/12...
- Page 8 STEP 2 Assembled View: Attached the Base(E) to Side Panel1/2(B/C) with Bolt H1 and Flat washer H3, tighten the Bolt H1 to 80% depth with Wrench(HW). 8/12...
- Page 9 STEP 3 Assembled View: Attached Shelf(D) to Side Panel1/2(B/C) with Bolt H1 and Flat Washer H3, tighten the Bolt H1 to 80% depth with Wrench(HW). 9/12...
- Page 10 STEP 4 Assembled View: Attached Connector(G) to Side Panel1/2(B/C) with Bolt H1 and Flat Washer H3, tighten the Bolt H1 to 80% depth with Wrench(HW). 10/12...
- Page 11 STEP 5 Assembled View: Attached Pedal Pipe(F) to Connector (G) with Bolt H1 and Flat Washer H3, tighten the Bolt H1 to 80% depth with Wrench(HW). 11/12...
- Page 12 STEP 6 Assembled View: Attached Table Top(A) to Side Panel1/2(B/C) with Bolt H1 and Flat Washer H3, tighten all the Bolt to 100% depth with Wrench(HW) at last. 12/12...


Need help?
Do you have a question about the A208023302 and is the answer not in the manual?
Questions and answers