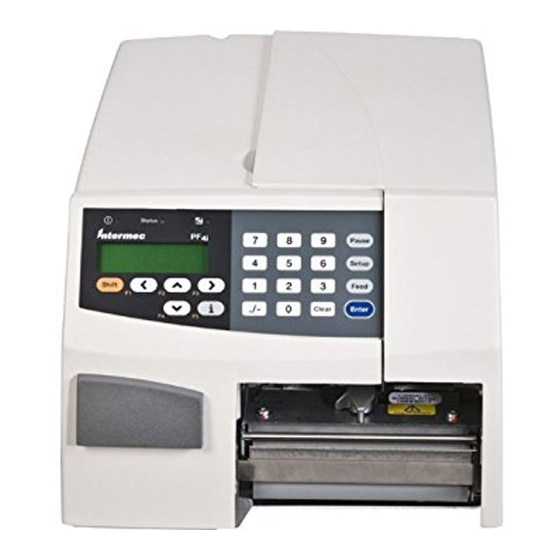
Intermec EasyCoder PF4ci Installation Instructions Manual
Cutter kit
Hide thumbs
Also See for EasyCoder PF4ci:
- Safety instructions (24 pages) ,
- User manual (164 pages) ,
- Installation instructions manual (68 pages)

Subscribe to Our Youtube Channel
Related Manuals for Intermec EasyCoder PF4ci


Summary of Contents for Intermec EasyCoder PF4ci
-
Page 1: Installation Instructions
Installation Instructions Cutter Kit (for EasyCoder PF4i and EasyCoder PF4i Compact Industrial) - Page 2 Intermec. Information and specifications in this manual are subject to change with- out notice and do not represent a commitment on the part of Intermec Technolgies Corporation. © 2005 by Intermec Technologies Corporation. All rightrs reserved.
-
Page 3: Table Of Contents
Contents Introduction ... iv Printer Firmware ... iv Installation Kit ... iv Description General Information ...2 Media ...3 Measures and Weight ...4 Physical Installation Installation Instructions ... 6 Fingerprint Control Activating the Cutter ...10 Controlling the Cut Position ... 10 IPL Control Activating the Cutter ...12... -
Page 4: Introduction
Take precautions against electrostatic discharges, for exam- ple by wearing grounded bracelets. Printer Firmware The printer must be fitted with Intermec Fingerprint v8.00 (or later) or IPL v2.00 (or later). Installation Kit The Cutter Kit contains: •... -
Page 5: Description
Description This chapter describes the cutter and provides essen- tial technical data. Cutter Kit (EasyCoder PF4i-series) Installation Instructions... -
Page 6: General Information
Chapter 1 — Description General Information The cutter is a factory-installed or field-installable option for the EasyCoder PF4i and PF4i Compact Industrial printers. The cutter auto- matically cuts off the media after printing according to instructions in the controlling firmware. The cut off portions of media are presented at the front of the cutter and can be collected on a removable tray. -
Page 7: Media
Media The cutter is primarily intended to cut paper-based media in the form of continuous stock. It is also possible to cut through the liner between labels, but be careful not to cut through the labels themselves, because the adhesive will stick to the cutting blade and may cause malfunction. Avoid cutting soft plastic-based media. -
Page 8: Measures And Weight
Chapter 1 — Description Measures and Weight When a cutter is installed, the measures of the printer are: 253 mm (9.96 in) 132 mm (5.20 in) 447.0 mm (17.60 in) The weight is increased by 1.16 kg (2.56 pounds) Cutter Kit (EasyCoder PF4i-series) Installation Instructions... -
Page 9: Physical Installation
This chapter describes how to physically install the cutter in an EasyCoder PF4i or PF4i Compact Indus- trial printer. Cutter Kit (EasyCoder PF4i-series) Installation Instructions Physical Installation The electronics compartment contains high voltage components (380V). Always disconnect the power cord before opening... -
Page 10: Installation Instructions
PCB at the front of the moulding and the CPU board. Dis- connect the cable from the CPU board and put the moulding aside. • Close the right-hand door and turn the printer upside down. Cutter Kit (EasyCoder PF4i-series) Installation Instructions... - Page 11 CPU board (marked “FINISHER”). • Pull the cable forward towards the cutter so the slack comes between printer and cutter. Lock it in place using the cable cover and the existing #T20 Torx screw as illustrated above. • Check that the cable is still properly connected to the CPU board.
- Page 12 Chapter 2 — Physical Installation • Put back the front/left side cover. Route the console cable above the ribbon motor (thermal transfer model only). Connect the cable to J50 at the top/front corner of the CPU board (marked “console”). • Connect the power cord and any communication cables. Check that the cutter is closed and switch on the power.
-
Page 13: Fingerprint Control
Fingerprint Control This chapter describes how to control the cutter in an EasyCoder PF4i or PF4i Compact Industrial when running Intermec Fingerprint v8.00 (or later). Cutter Kit (EasyCoder PF4i-series) Installation Instructions... -
Page 14: Activating The Cutter
Chapter 3 — Fingerprint Control Activating the Cutter The cutter is activated by CUT or CUT ON statements, see the Intermec Fingerprint v8.xx, or the Intermec Direct Protocol v8.xx manuals. Applica- tion programs may have related facilities for operating the cutter. -
Page 15: Ipl Control
IPL Control This chapter describes how to control the cutter in an EasyCoder PF4i or PF4i Compact Industrial when running IPL v2.00 (or later). Cutter Kit (EasyCoder PF4i-series) Installation Instructions... -
Page 16: Activating The Cutter
Chapter 4 — IPL Control Activating the Cutter The cutter is activated in the Setup Mode (Setup/Configuration/Cutter) or by the commands <SO> (cut) and <SI>c1 (enable cutter) or <SI>c0 (disable cutter). Application programs may have related facilities for operating the cutter. Cutter Kit (EasyCoder PF4i-series) Installation Instructions... - Page 18 Intermec Technolgies Corporation Corporate Headquarters 6001 36th Avenue West Everett, WA 98203 U.S.A. tel +425.348.2600 fax +425.355.9551 www.intermec.com Cutter Kit (EasyCoder PF4i-series) Installation Instructions *1-960594-01* *1-960594-01*...
Need help?
Do you have a question about the EasyCoder PF4ci and is the answer not in the manual?
Questions and answers