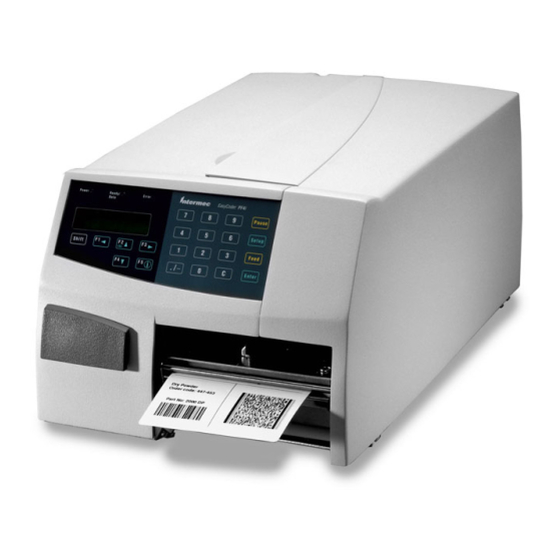
Intermec EasyCoder PF2i Install Manual
Easylan interface kit
Hide thumbs
Also See for EasyCoder PF2i:
- Service manual (270 pages) ,
- User manual (194 pages) ,
- Installation instructions manual (72 pages)
Table of Contents
Advertisement
Quick Links
Advertisement
Table of Contents

Subscribe to Our Youtube Channel
Related Manuals for Intermec EasyCoder PF2i


Summary of Contents for Intermec EasyCoder PF2i
- Page 1 EasyLAN Interface Kit...
- Page 2 Service support: +46 31 869500 The information contained herein is proprietary and is provided solely for the purpose of allowing customers to operate and/or service Intermec manufactured equipment and is not to be released, reproduced, or used for any other purpose without written permission of Intermec.
-
Page 3: Table Of Contents
IP Selection ..............14 Reading the IP Address..........15 Reading the Netmask, Default Router, and Name Server ............15 Using ARP’n’PING to set an IP Address......16 Accessing the Printer’s Home Page Using the Web Browser..............22 Intermec EasyLAN Interface Kit Installation Instructions... -
Page 4: Introduction
IP address, netmask, default router, and name server. The instructions end when you have the print- er’s home page up and running. From there, please refer to the Intermec EasyLAN User’s Guide on the attached CD-ROM. -
Page 5: Physical Installation
EasyLAN interface kit in a PF2/4i- or PM4i-series printer. The installation described in this chapter must only be performed by an authorized service technician. Take precautions against electrostatic discharges, for example by wearing grounded bracelets. Intermec EasyLAN Interface Kit Installation Instructions... -
Page 6: Easycoder Pf2/4I Printers
• Swing out the rear part of the cover so you can disconnect the console cable from the CPU board. • Put the cover aside on a soft cloth or similar to avoid scratches. Intermec EasyLAN Interface Kit Installation Instructions... -
Page 7: Easycoder Pm4I Printers
• Remove the #T20 Torx screw that holds the upper/front part of the CPU board to the power supply unit and replace it with the hexagonal spacer included in the kit. Keep the screw. Intermec EasyLAN Interface Kit Installation Instructions... - Page 8 Setup Mode, refer to the User’s Guide for the printer in question. • Connect the network cable to the RJ-45 socket on the printer’s rear plate. • Set up the network parameters. See Chapter 2. Intermec EasyLAN Interface Kit Installation Instructions...
- Page 9 Light guide #T20 Torx screw connector and spacer Cable tie EasyLAN interface board EasyCoder PF2/4i-series printer Extension cable RJ-45 Light guide #T20 Torx screw connector and spacer Cable tie EasyLAN interface board EasyCoder PM4i printer Intermec EasyLAN Interface Kit Installation Instructions...
- Page 10 Chapter 1 — Physical Installation RJ-45 socket Serial number label EasyCoder PF2/4i-series printer, rear view RJ-45 socket Serial number label EasyCoder PM4i printer, rear view Intermec EasyLAN Interface Kit Installation Instructions...
-
Page 11: Setup In Fingerprint
It applies to any printer model running the Intermec Fingerprint v8.00 (or later). It is also possible to perform the same setup using the Fingerprint instruction SETUP (see the Intermec Fingerprint Programmer’s Reference Manual). Setting up the network communication is not... -
Page 12: Setup Methods
• Remotely from the host computer. This method is described in the Intermec EasyLAN User’s Guide on the CD-ROM included in the kit. Setting the New Line Parameter • Press the Setup key on the printer’s built-in keyboard. This message... -
Page 13: Setting The Network Parameters
There are four options; DHCP+BOOTP, MANUAL, DHCP, and BOOTP. • Use the ← or → keys to browse the stack of options. When the desired option is displayed, press the Enter key. Intermec EasyLAN Interface Kit Installation Instructions... -
Page 14: Reading Or Setting The Ip Address
In case of the MANUAL method, you will have to set these parameters at least partly yourself via the printer’s keyboard or via the printer’s home page. Refer to the diagrams on the next page. Intermec EasyLAN Interface Kit Installation Instructions... - Page 15 IP ADDRESS: NETMASK: DEFAULT ROUTER: NAME SERVER: MAC ADDRESS: MANUAL 0.0.0.0 0.0.0.0 0.0.0.0 0.0.0.0 00104017b80e PARITY: DHCP PARITY: Read-only BOOTP PARITY: DHCP+BOOTP Example of the network setup when the manual IP selection method is used. Intermec EasyLAN Interface Kit Installation Instructions...
- Page 16 Chapter 2 — Setup in Fingerprint Intermec EasyLAN Interface Kit Installation Instructions...
-
Page 17: Setup In Ipl
Setting up the network communication is not restricted to authorized service technicians! For information on how to set up the network com- munication in printer’s running Fingerprint v8.00 (or later), refer to Chapter 2. Intermec EasyLAN Interface Kit Installation Instructions... -
Page 18: Setup Methods
• Remotely from the host computer. This method is described in the Intermec EasyLAN User’s Guide on the CD-ROM included in the kit. Setting the Network Parameters There are four methods for setting the IP address. DHCP, BOOTP, and DHCP+BOOTP let the server assign a temporary IP address to the printer. -
Page 19: Reading The Ip Address
In case of the ARP’n’PING method, you will have to set these parameters via the printer’s home page once the network communication has been established. Refer to the diagram on the next page. Intermec EasyLAN Interface Kit Installation Instructions... -
Page 20: Using Arp'n'ping To Set An Ip Address
Windows and in Unix. In Windows, the groups of digits in the MAC address are separated by hyphens (-), and in Unix by colons (:). Intermec EasyLAN Interface Kit Installation Instructions... - Page 21 Command Prompt. In the Command Prompt, type: arp -s <desired IP address><printer MAC-address> Example: While still using the Command Prompt, use ping to make the printer set the IP address by typing: ping <IP address> Example: Exit the Command Prompt. Intermec EasyLAN Interface Kit Installation Instructions...
- Page 22 Chapter 3 —Setup in IPL Intermec EasyLAN Interface Kit Installation Instructions...
-
Page 23: Accessing The Printer's Home Page
Accessing the Printer’s Home Page This chapter describes how to access the printer’s home page in order to ascertain that the network communication works properly. Intermec EasyLAN Interface Kit Installation Instructions... -
Page 24: Using The Web Browser
Chapter 4 — Accessing the Printer’s Home Page Using the Web Browser Start your favorite web browser (in this example Microsoft Internet Explorer) and enter the printer’s IP address in the Address fi eld, for example http://192.168.235.39 Enter IP Address Intermec EasyLAN Interface Kit Installation Instructions... - Page 25 IP address, netmask, default router, and name server. Please refer to the EasyLAN User's Guide that comes in PDF format on the CD-ROM included with the EasyLAN interface board. Intermec EasyLAN Interface Kit Installation Instructions...
- Page 26 Chapter 4 — Accessing the Printer’s Home Page Intermec EasyLAN Interface Kit Installation Instructions...
- Page 28 Intermec Printer AB *1-960589-00*...
Need help?
Do you have a question about the EasyCoder PF2i and is the answer not in the manual?
Questions and answers