
Related Manuals for Metrix SA6200A


Summary of Contents for Metrix SA6200A
- Page 1 Metrix SA6200A (Two-Wire) Accelerometer Replacing 3-Wire Accelerometer on BN 3500 Rack Installation Manual Section Page 1.0 PURPOSE 2.0 REFERENCES 3.0 PROCEDURE Doc# 1928171 • REV A (April 2022) Page 1 of 10...
- Page 2 1.0 PURPOSE The purpose of this procedure is to configure the BN 3500 rack to be compatible with a Metrix SA6200A 2-wire Accelerometer (Note: The SA6200A is not polarity sensitive). 2.0 REFERENCES • SA6200A Datasheet-1009516 • SA6200A Manual-M9313 • BN 3500/42M Datasheet-143694 •...
- Page 3 From 3500 configuration software, click File > Connect > Direct. 5. Verify Rack Address and center Connect Password Doc# 1928171 • REV A (April 2022) Page 3 of 10...
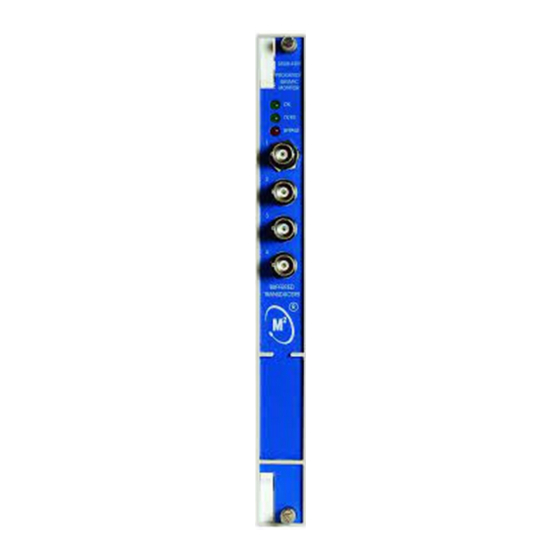
- Page 4 Place arrow over 3500/42M module, right-click on Monitors > 42/42M Proximitor/Seismic Monitor > 3500/42M Make sure both chanels are set-up as Active Doc# 1928171 • REV A (April 2022) Page 4 of 10...
- Page 5 Click drop down box for Channel Pair Type and select Acceleration. Channels come in pairs: 1 &2 and 3 & 4 which mean if Channel 1 is set-up as acceleration, then Channel 2 must have acceleration inputs as well. Click on options for Channel 1 Doc# 1928171 •...
- Page 6 Click on drop down box for Transducer Selection and Select Nonstandard Select Scale Factor 100 mV/g. Doc# 1928171 • REV A (April 2022) Page 6 of 10...
- Page 7 Make selection for Full-scale Range (e.g. select 0-10g’s pk, 0-1 in/s pk, etc.). Doc# 1928171 • REV A (April 2022) Page 7 of 10...
- Page 8 If more than one input, then select Copy. This will duplicate Channel 1 set-up into Channel 2. If not duplicating, then set up Channel 2 to required configuration. Note: Both Channel 1 and Channel 2 must be Acceleration. From the Options screens, Slot Input/Output Module Type, use the drop down box and select Prox/Seismic I/O Module (Internal Termination).
- Page 9 From the Transducer Selection box, Type “Nonstandard” select Customize. This will present the Nonstandard Transducer Jumper Selection box. From the Nonstandard Transducer Jumper Selection box, select Prox/Accel, then click OK Doc# 1928171 • REV A (April 2022) Page 9 of 10...
- Page 10 Make sure jumpers are applied to the Prox/Seismic I/O module for the Prox/Accel jumpers for the associated 42M you are configuring. Use only PWR/B and SIG/A for the wired connection for the 2-wire accelerometer. Doc# 1928171 • REV A (April 2022) Page 10 of 10...
Need help?
Do you have a question about the SA6200A and is the answer not in the manual?
Questions and answers