Table of Contents
Advertisement
Quick Links
Advertisement
Table of Contents

Related Manuals for Geo Solo II CT


Summary of Contents for Geo Solo II CT
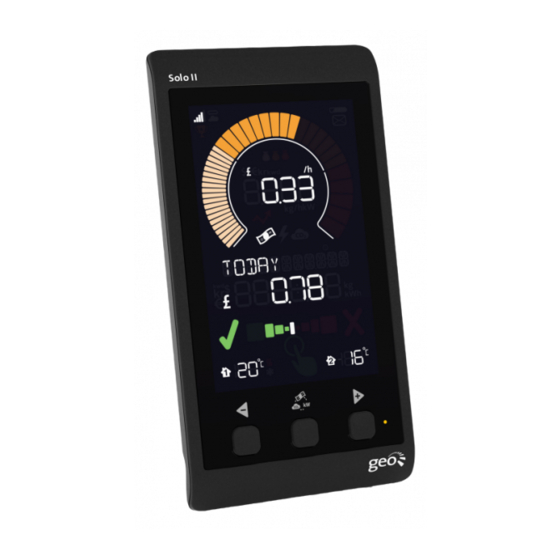
- Page 1 Solo II CT: Consumption USER MANUAL Solo II CT: Consumption...
-
Page 2: Table Of Contents
Contents Welcome Safety information What’s in the box? Solo II CT: Consumption • Setting up • Basic configuration Time and date Budget Tariffs Standing charge Temperature set-point • Advanced configuration Mode and preferences Currency Temperature units Calibration Sleep mode Week start... -
Page 3: Welcome
Welcome to geo’s energy management Microgeneration and service. You’ll find everything you need consumption modes here to gain visibility and control of your Solo measure either consumption. Your new Solo II will help consumption (default) or microgeneration you manage, regulate and visualise your –... -
Page 4: What's In The Box
What’s in the box? Power supply (2 supplied with optional web pack) Display stand Solo II display Internet bridge (with optional web pack) Transmitter + CT sensor Ethernet cable (batteries included) (with optional web pack) Solo II CT: Consumption... -
Page 5: Solo Ii Ct: Consumption
Solo II CT: Consumption Setting up Please note: by choosing [CONSUMPTION] For a single phase pack (one mains sensor): mode, you will not be collecting data for 3. At your electricity meter, clip the [MICRO-GEN] mode. If you choose to sensor around the mains live cable. -
Page 6: Basic Configuration
Next adjust the value of budget you would need to set the time and date then use and like using the buttons and press to adjust the time and date accordingly. the centre button to confirm. Press the centre button to confirm. Solo II CT: Consumption... -
Page 7: Tariffs
If you pay your supplier a standing charge you can enter that amount here. Use the buttons to set the daily standing charge and press the centre button to confirm. Solo II CT: Consumption... -
Page 8: Temperature Set-Point
(°C) or • [TEMPERATURE UNITS] Fahrenheit (°F). • [CALIBRATION] • [DISPLAY OFF] Using the buttons select °C or °F • [DISPLAY ON] and press the centre button to confirm. • [WEEK START] Solo II CT: Consumption... -
Page 9: Calibration
/ Solo II Using the buttons select your consumption = calibration factor. Using preferred day and press the centre button this example: meter consumption (18.0) to confirm. / Solo II consumption (18.6) = 0.97 Solo II CT: Consumption... -
Page 10: Internet Bridge
(top left of the display 4. Go to www.energynote.co.uk to log in or, if it is your first visit, to set up an account. The website will take you through this process step by step. Solo II CT: Consumption... -
Page 11: Display Overview
Rewards Speedometer Upper digits Energy High background Carbon cloud unit Cost unit Power unit Carbon Text Budget bar Currencies Lower digits Secondary temp. Primary temp. LED indicator Heatwave and snowflake Right button Left button Centre button Solo II CT: Consumption... -
Page 12: Reading Your Display
For more information please load of more than 30W the background see page 10. load indicator will light up to warn you that you may have left an appliance on by mistake. For more information see the FAQs section. Solo II CT: Consumption... -
Page 13: Speedometer
This shows how much electricity you consuming generating right now depending on which mode you have selected. view this in kWh, cost and carbon. You can change how you display the units by pressing the centre button. ±5% Solo II CT: Consumption... -
Page 14: Temperature
( ). You can purchase an additional sensor that you can pair to the second slot on the right. ● = low ● = medium ● = high Solo II CT: Consumption... -
Page 15: Changing Units
The energy stopwatch allows you to measure the energy consumption of a task, such as running the dishwasher, to see how much it costs. On entering the stopwatch mode the display will briefly show the word [STOPWATCH] then show current status. Solo II CT: Consumption... -
Page 16: Pairing
To pair the transmitter press and hold the button on the transmitter until the LED battery tab flashes. The display is now paired and will show [CONN]. Step 3 Press pairing button temperature sensor. pairing button Solo II CT: Consumption... -
Page 17: Bridge
[NONE] and then press followed by a cloud symbol on the top left and hold the button on the additional hand corner. temperature sensor until its LED flashes. The display will pair and change to [CONN]. pairing button Solo II CT: Consumption... -
Page 18: Energynote Online Service
Do all of the above from anywhere you can access the internet. You can use • View your entire consumption history your smartphone to do all of this. – the display holds up to one month of Solo II CT: Consumption... -
Page 19: Smart Plug Pack
PC or on the move on a smartphone. Wherever you are, you have full control over your energy use. Two types of geo Smart Plugs are available: an active version that can be monitored and controlled and a passive version that can only be monitored –... - Page 20 European plug socket 5. Click set to confirm. UK plug socket You can now label the Smart Plug choosing from a drop-down menu. Solo II CT: Consumption...
-
Page 21: Faqs
This will be flashing and you have gone out for the day or if it is out of range. gone to bed. Once you’ve turned off the appliance the icon will disappear when the baseload returns to normal. Solo II CT: Consumption... - Page 22 See page 17 for pairing instructions. If you are still not seeing the cloud icon, following the reset procedure on page 21 to reset the display. For further technical support please visit www.greenenergyoptions.co.uk/solo2 Solo II CT: Consumption...
-
Page 23: Technical Information
purpose. - Page 24 Solo II CT: Consumption...
Need help?
Do you have a question about the Solo II CT and is the answer not in the manual?
Questions and answers