Advertisement
Quick Links
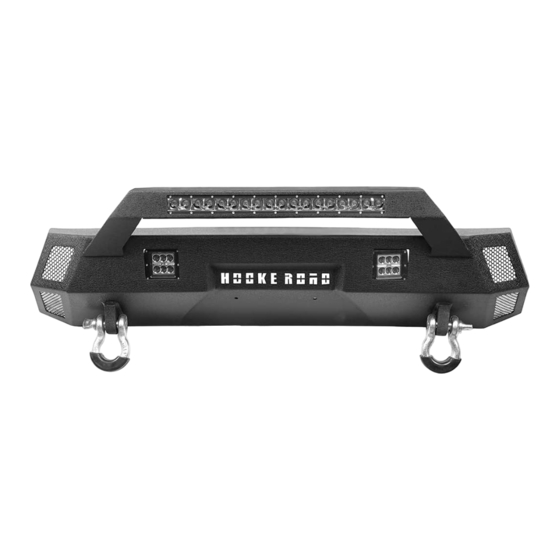
Front Bumper
(1) Contents:
Qty
Part Name
1
Front Bumper Assembly
H
×10
Hex Bolt
I×4
Hex Bolt
×2
J
Button Head Socket Cap Bolts Screws
K×4
Button Head Socket Cap Bolts Screws
L×10
Split Lock Washer
M×4
Split Lock Washer
N×2
Split Lock Washer
O×2
Split Lock Washer
Size(mm)
Qty
Part Name
P×4
Flat Washer
Q×2
M12*30
Flange Hex Lock Nuts
R×2
M8*20
Flat Washer
S×2
M8*20
Flat Washer
M6*20
T×2
Nylon Round Spacer
D12
U×20
Flat Washer
D8
V×10
Hex Nuts
D8
W×2
Flange Hex Lock Nuts
D6
X×4
Nylon Insert Lock Nut
BXG.4202
M12*30*1
M6*12*1.3
M12*30*1
Size(mm)
M8*16*1
M8
M8*16*1
M12
M8
M6
Advertisement

Related Manuals for HOOKE ROAD BXG.4202


Summary of Contents for HOOKE ROAD BXG.4202
- Page 1 Front Bumper BXG.4202 (1) Contents: Part Name Size(mm) Part Name Size(mm) P×4 Front Bumper Assembly Flat Washer M8*16*1 ×10 Q×2 Hex Bolt M12*30 Flange Hex Lock Nuts R×2 I×4 Hex Bolt M8*20 Flat Washer M8*16*1 ×2 S×2 Button Head Socket Cap Bolts Screws...
- Page 2 About 1.5 hours, 2-3 people may be needed. Installation time may differ according to your mechanical skill level. (PLEASE VERIFY ALL PARTS ARE PRESENT AND READ INSTRUCTIONS CAREFULLY BEFORE STARTING INSTALLATION!) To view the electronic version (BXG.4202), please scan the QR code.
-
Page 3: Installation Instruction
(4) Installation instruction: Step 1: Remove the original front bumper. As the picture shown. Step 2: Assemble the Part “A“ & the Part “B“ with the Part “I“, “J“, “M“, “N“. - Page 4 Step 3: Assemble the Part “B“ & the Part “C“ with the Part “H“, “J“, “L“, “O“.
- Page 5 Step 4: Assemble the Part “B“ & the Part “C“ with the Part “K“ & “X“. Step 5: Stick the Part “E“ into the edge of the bumper.
- Page 6 Step 6: Prep to install the bumper with the original bolts.
- Page 8 Step 7: The installation is complete. We hope you enjoy a wonderful off-road life with this quality Hooke Road product! Attention: 1.The product parts in this instruction may differ slightly from the actual product contents but generally does not affect the installation of the product.
Need help?
Do you have a question about the BXG.4202 and is the answer not in the manual?
Questions and answers