Advertisement
Quick Links
Advertisement

Related Manuals for advidia M-49-FW


Summary of Contents for advidia M-49-FW
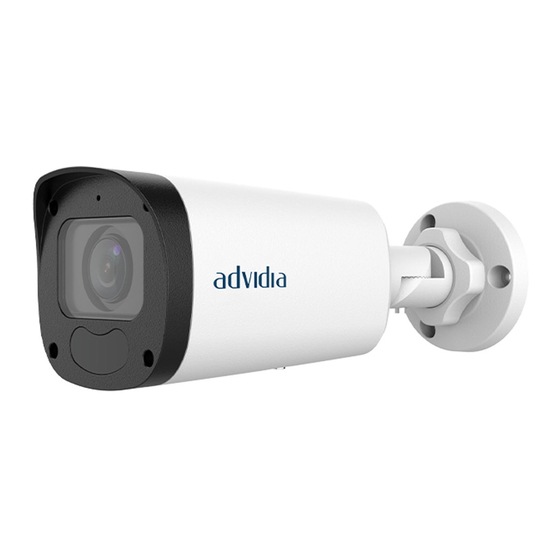
- Page 1 M-49-FW Network Bullet Cameras Quick Guide V1.00...
- Page 2 Waterproof Requirements Please waterproof cables in accordance with the following instructions. User shall assume all responsibility for device damage caused by water due to improper waterproof measures. NOTE! • Before you start, connect all the needed cables and cut off the copper wires for the cables that you don't use.
-
Page 3: Packing List
DC interface Plug 5. (Optional) After the waterproof treatment is completed, put the cables into a waterproof junction box (purchased separately). CAUTION! • The cable connector must not be exposed and must be kept away from water. • Restore and fasten the device after dismounting. •... -
Page 4: Mount Your Camera
abnormally. If it is required to lengthen the power cable, lengthen the cable between the power adapter and the mains. Do not overbend the cables during the installation, otherwise, poor cable contact may cause malfunction. When connecting to an external interface, use an existing connection terminal, and ensure that the cable terminal (latch or clamp) is in good condition and properly fastened. - Page 5 Wall Mount You can adopt wall mount or ceiling mount and purchase hardware accessories by yourself. The following part takes wall mount as an example. Ceiling mount is similar to wall mount and therefore is omitted here. 1. Locate the positions of the holes. (1) Paste installation positioning sticker on the wall and align the cross center to the hole in the wall.
- Page 6 5. Mount your camera onto the wall and connect all cables. Lead tapping screws through the guide holes in the base and fix them on the wall by using a screwdriver. 6. Adjust the monitoring direction. (1) Adjust the opening of the universal joints as required. (2) Rotate the spherical hinge of the camera to get the desired monitoring direction.
-
Page 7: Access Your Camera
Access Your Camera 1. Open your Web browser, enter the camera's IP address in the address bar, and then press Enter. The default IP is 192.168.1.13 2. In the login page, enter the default username and password (admin/123456), then click Login. NOTE!:... - Page 8 Disclaimer and Safety Warnings Copyright Statement No part of this manual may be copied, reproduced, translated or distributed in any form by any means without prior content in writing from our company (referred to as us hereafter). The product described in this manual may contain proprietary software owned by our company and its possible licensors.
- Page 9 whether in contract, strict liability or tort (including negligence or otherwise) in any way out of the use of the product, even if our company has been advised of the possibility of such damages (other than as may be required by applicable law in cases involving personal injury, incidental or subsidiary damage).
- Page 10 Make sure the device is securely installed or placed on a flat surface to prevent falling. Unless otherwise specified, do not stack devices. Ensure good ventilation in the operating environment. Do not cover the vents on the device. Allow adequate space for ventilation.
- Page 11 2013/56/EC. For proper recycling, return the battery to your supplier or to a designated collection point. © i-PRO Co., Ltd. All Rights Reserved. i-PRO, Viewnetcam.com, advidia, VideoInsight, CloUDE, and Unified Digital Evidence are registered trademarks or trademarks of i-PRO Co., Ltd. or i-PRO Americas Inc.
Need help?
Do you have a question about the M-49-FW and is the answer not in the manual?
Questions and answers