Table of Contents
Advertisement
Advertisement
Table of Contents

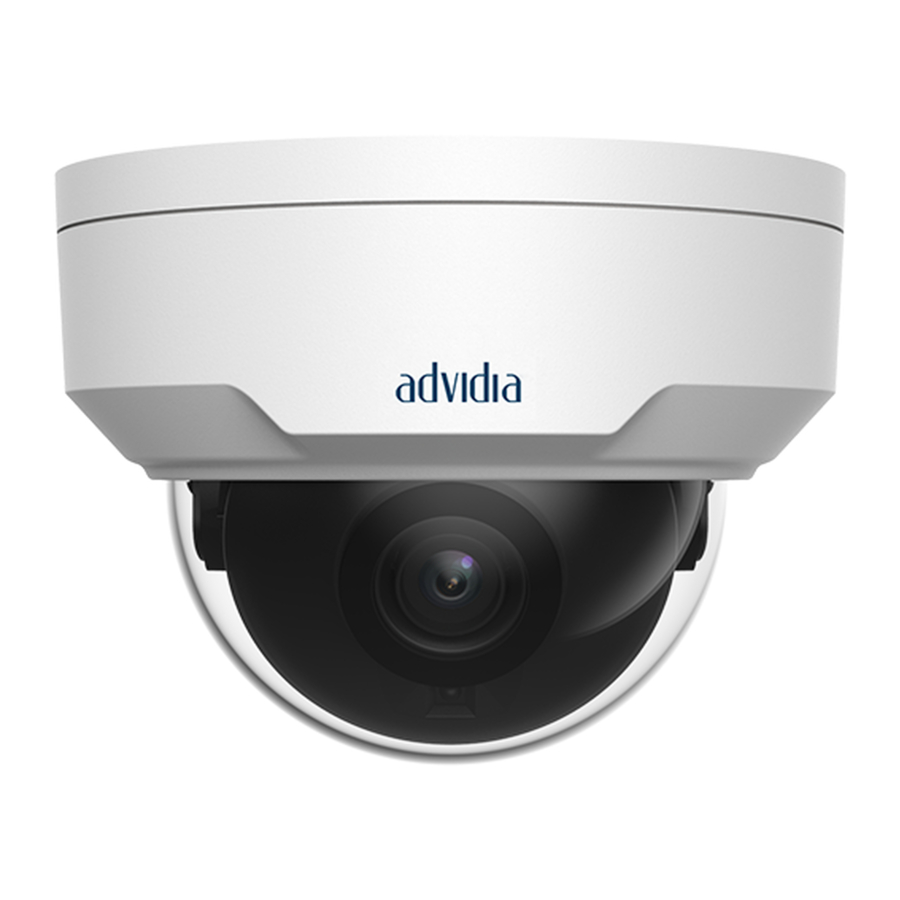
Summary of Contents for advidia M-46-FW
- Page 1 M-46-FW Network Fixed Dome Cameras Quick Guide V1.01...
- Page 2 Waterproof Requirements Please waterproof cables in accordance with the following instructions. User shall assume all responsibility for device damage caused by water due to improper waterproof measures. NOTE! Before you start, connect all the needed cables and cut off the copper wires for the cables that you don't use.
- Page 3 Tighten Tighten Tighten Waterproof tape Wrap the unused cables together into a bundle 3. Install the supplied waterproof components to the network cable in sequence. CAUTION! You need to mount the rubber ring onto the network cable interface first. 4. If your camera has a DC cable and you will not use it, insert the plug into the interface.
- Page 4 Packing List Contact your local dealer if the package is damaged or incomplete. The attachments may vary with models, please see the actual model for details. Name Unit Camera Waterproof components (1) Screw components (2) Mount accessory (3) User manual Remarks: * means optional and supplied with certain models only.
- Page 5 Do not overbend the cables during the installation, otherwise, poor cable contact may cause malfunction. When connecting to an external interface, use an existing connection terminal, and ensure that the cable terminal (latch or clamp) is in good condition and properly fastened.
- Page 6 79.4mm 79.4mm (3.1'') (3.1'') Cable Connection The appearance and tail cable may vary with device model. Audio input (Sound pickup) Audio output (Outdoor sound box) Network Alarm Alarm input output Network access (Voice (Alarm device activated indicator) Power connected switch) adapter through copper interface...
- Page 7 M i cr o SD car d sl ot Ceiling Mount You can adopt wall mount or pendant mount and purchase hardware accessories separately. The following part takes wall mount as an example. Pendant mount is similar to wall mount and therefore is omitted here. Locate the positions of the holes.
- Page 8 Mount the camera. Connect all cables of the ceiling and the camera, lead self- tapping screws through the guide holes in the camera base, and fix the camera on the ceiling by using a screwdriver. Adjust the monitoring direction of the lens (tighten screws after vertically adjusting the lens).
- Page 9 Lens base Fastening screw Attach the lining and lock it into the buckle on the base. The following shows the installation instructions of cameras 2-Axis and 3-Axis. The linings are different. Please see the actual products for the differences. 2-Axis: Buckle on the base 3-Axis: For 3-Axis, after adjusting the lens horizontally and vertically (see step 5), you can...
- Page 10 Buckle on the base Mount the transparent dome housing. Align the screw holes in the base, and tighten the two cross-recessed pan- head screws on the edge of the transparent dome housing to fix it, as shown by Πin the following figure. Align the grooves (non-tail cable grooves) of the transparent dome housing to the buckle of the base, and push up the dome housing to fix it, as shown by ...
- Page 11 NOTE! The preceding installation process is concealed installation, during which holes are drilled in the ceiling and tail cable is led out from the top of the camera. Cables are connected and frapped at the ceiling side to prevent messy cables from affecting camera mounting.
- Page 12 NOTE! DHCP is enabled by default. If a DHCP server is used in your network, your camera may be assigned an IP address, and you need to use the assigned IP address to log in. You may need to install a plug-in at your first login. Please follow the on-screen instructions to complete the installation and then open the browser again to log in.
- Page 13 Disclaimer and Safety Warnings Copyright Statement No part of this manual may be copied, reproduced, translated or distributed in any form by any means without prior content in writing from our company (referred to as us hereafter). The product described in this manual may contain proprietary software owned by our company and its possible licensors.
- Page 14 and recommendations in this manual are presented without warranty of any kind, expressed or implied, including, but not limited to, merchantability, satisfaction with quality, fitness for a particular purpose, and noninfringement. l Users must assume total responsibility and all risks for connecting the product to the Internet, including, but not limited to, network attack, hacking, and virus.
- Page 15 l Choose username and password discretely: Avoid using the username and password of your social media, bank, email account, etc, as the username and password of your device, in case your social media, bank and email account information is leaked. l Restrict user permissions: If more than one user needs access to your system, make sure each user is granted only the necessary permissions.
- Page 16 l Use a UL certified power supply that meets LPS requirements if an adapter is used. l Use the recommended cordset (power cord) in accordance with the specified ratings. l Only use the power adapter supplied with your device. l Use a mains socket outlet with a protective earthing (grounding) connection. l Ground your device properly if the device is intended to be grounded.
- Page 17 to cause harmful interference in which case the user will be required to correct the interference at his own expense. LVD/EMC Directive This product complies with the European Low Voltage Directive 2014/35/EU and EMC Directive 2014/30/EU. WEEE Directive–2012/19/EU The product this manual refers to is covered by the Waste Electrical & Electronic Equipment (WEEE) Directive and must be disposed of in a responsible manner.


Need help?
Do you have a question about the M-46-FW and is the answer not in the manual?
Questions and answers