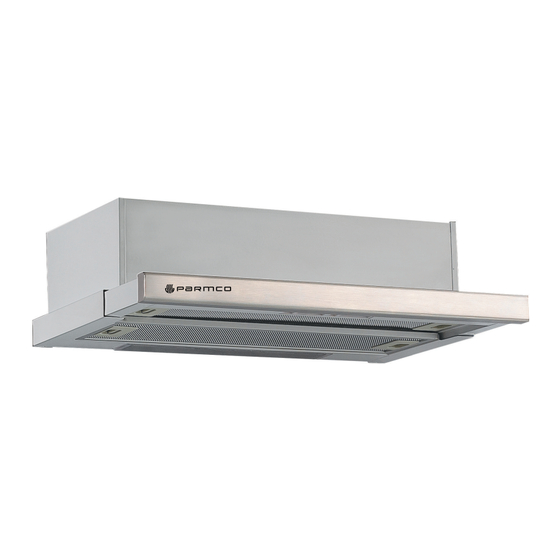
Summary of Contents for Parmco T2-9-1L
- Page 1 Installation and Operating Instructions Model: T2-9-1L For your convenience, we recommend to attach the serial number label HERE. 727626072017...
- Page 2 • Normal or scheduled maintenance including blocked filters or ducting. Please retain this Warranty card together with receipt or other proof of purchase date when seeking service during the warranty period • Consumable items such as light bulbs. • Any damage to hobs caused by spills when cooking. • Any breakage or damage of glass items. • Any damage caused by non recommended product used for cleaning, Please contact Parmco at 09 573 5678 if your maintaining, lubricating or similar. appliance needs servicing under warranty. Please • Any aspect relating to the installation of the product, or damage caused have your model number and proof of purchase ready. during installation including blocked access for repair. Warranty repairs must be authorized by Parmco. • Any third party (including reseller) or consequential loss or damage (direct or indirect) however arising. Subject to updates without prior notice, please visit www.parmco.co.nz for E & O.E. 727626032017 the latest version.
- Page 3 Dear Valued Customer, Thank you and congratulations on purchasing your new Parmco appliance. All Parmco products are made to the highest quality and design standards. We are sure you will enjoy your new appliance. As a note, please read through these instructions carefully. These will assist you in gaining a complete understanding of the functions and features o ered by your appliance.
- Page 4 INDEX Content Page Important Safety Information Installation Use and Care...
- Page 5 IMPORTANT SAFETY INFORMATION For best performance and to extend the life of your appliance we recommend that you read the instructions in this owners manual thoroughly before using your new appliance. It will provide you with all the information you need to ensure its safe installation, proper use and maintanence.
- Page 6 DO NOT use a steam cleaner to clean this appliance. Avoid improper or dangerous use of this appliance. Do not obstruct the ventilation or heat dissipation slots. This appliance must only be used by adults. Make sure that children do not touch the controls or play with the appliance.
- Page 7 Step 4: Insert the screws into the nuts and tighten, ensuring that they are fixed into material that has sufficient load capacity to hold the weight of the rangehood. Step 5: Put the rangehood onto the fixed screws. Step 6: Fix the rangehood on the wall, like demonstrated in the above picture. Step 7: Put the one way valve onto the rangehood.
- Page 8 Step 3: Put the one way valve onto the rangehood, then install the rangehood on the bottom of the cupboard, tightening with the 6 enclosed screws. Step 4: Install the adjusted board on the bottom of the hood in order to keep out the gap between hood back and cupboard.
- Page 9 Any subsequent necessary repairs or adjustments must be carried out with the greatest of care and attention by an authorized personnel. For this reason, we strongly advise you to contact Parmco Service Department, specifying the nature of the problem, the model and serial number of the appliance.


Need help?
Do you have a question about the T2-9-1L and is the answer not in the manual?
Questions and answers