Advertisement
Quick Links
Installation
and Operating
Instructions
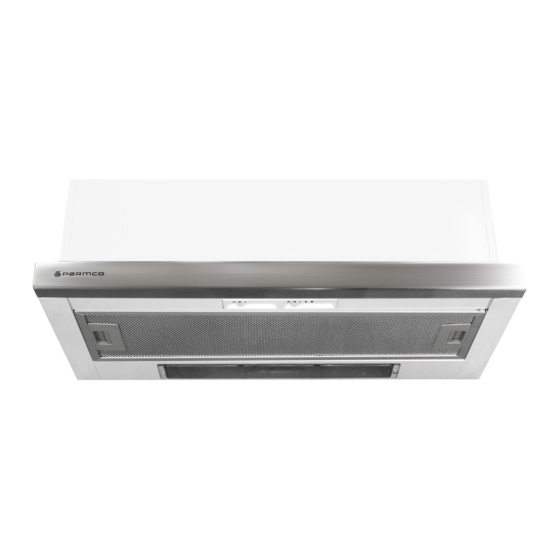
Models:
T2-6-1
As part of Parmco Appliances commitment to improving and updati ng product ranges,
we reserve the right to alter, change and update technical specifi cati ons and appearance
att ributes of all Parmco Appliances products. E&OE.
727626102011
Advertisement

Related Manuals for Parmco T2-6-1


Summary of Contents for Parmco T2-6-1
- Page 1 Instructions Models: T2-6-1 As part of Parmco Appliances commitment to improving and updati ng product ranges, we reserve the right to alter, change and update technical specifi cati ons and appearance att ributes of all Parmco Appliances products. E&OE. 727626102011...
- Page 3 INDEX Content Page Important Safety Information Installation Use and Care Warranty...
- Page 4 IMPORTANT SAFETY INFORMATION For best performance and to extend the life of your appliance we recommend that you read the instructions in this owners manual thoroughly before using your new appliance. It will provide you with all the information you need to ensure its safe installation, proper use and maintanence.
- Page 5 Do not obstruct the ventilation or heat dissipation slots. This appliance must only be used by adults. Make sure that children do not touch the controls or play with the appliance. Young children should be supervised to ensure they do not play with the appliance. ...
- Page 6 Step 6: Fix the rangehood onto the wall, like demonstrated in the above picture. Step 7: Put the one way valve onto the rangehood. Option 2: Mounting the rangehood under a wall cupboard (ensure that the cupboard can support the weight of the rangehoood): Step 1: The rangehood should be placed at a minimum distance of 65cm above the cooking surface when placed above an electric hob and a minimum of 75cm above the cooking surface when placed above a gas cooktop.
- Page 7 Use and Care OPERATION For best result, turn the rangehood on 15 minutes prior to your cooking. Once done cooking, leave the rangehood in operation for 15 minutes to completely remove cooking vapours and odours. 1. ① represents the light. Push the switch to “I” to turn the light on, and “0” to turn the light off.
- Page 8 Any subsequent necessary repairs or adjustments must be carried out with the greatest of care and attention by an authorized personnel. For this reason, we strongly advise you to contact Parmco Service Department, specifying the nature of the problem, the model and serial number of the appliance.
- Page 9 • If proof of date of purchase is not supplied, except at the sole discretion of Parmco Sales. Proof of purchase can be for the product itself, or if installed • This warranty is offered as an extra benefi t, and does with a kitchen or house then proof of purchase can be from a Parmco not affect other legal rights, which can not be modifi...
Need help?
Do you have a question about the T2-6-1 and is the answer not in the manual?
Questions and answers