Advertisement
Quick Links
Installation
and Operating
Instructions
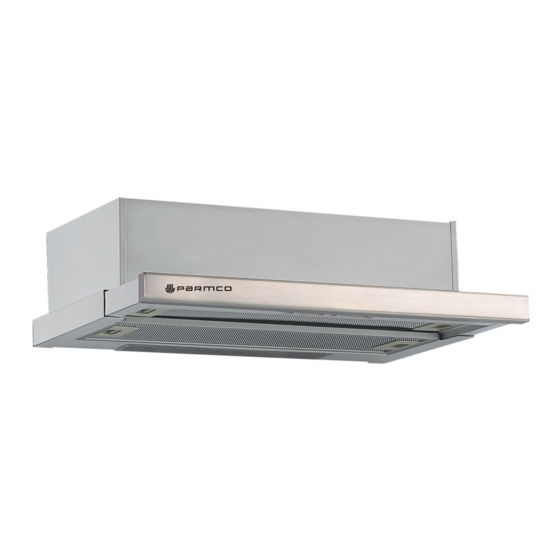
Model:
T2-9-1
For your convenience, we recommend to attach
the serial number label HERE.
As part of Parmco Appliances commitment to improving and updating product ranges,
we reserve the right to alter, change and update technical specifications and appearance
attributes of all Parmco Appliances products. E&OE.
Advertisement

Related Manuals for Parmco T2-9-1


Summary of Contents for Parmco T2-9-1
- Page 1 For your convenience, we recommend to attach the serial number label HERE. As part of Parmco Appliances commitment to improving and updating product ranges, we reserve the right to alter, change and update technical specifications and appearance attributes of all Parmco Appliances products. E&OE.
- Page 2 Parmco Appliances before any installation is carried out. We hope you enjoy your new appliance. If you would like to find out more about this product or any other products in Parmco’s extensive range, visit us on the web at www.parmco.co.nz. Regards,...
- Page 3 INDEX Content Page Important Safety Information Installation Use and Care Warranty...
-
Page 4: Important Safety Information
IMPORTANT SAFETY INFORMATION For best performance and to extend the life of your appliance we recommend that you read the instructions in this owners manual thoroughly before using your new appliance. It will provide you with all the information you need to ensure its safe installation, proper use and maintanence. - Page 5 DO NOT use a steam cleaner to clean this appliance. Avoid improper or dangerous use of this appliance. Do not obstruct the ventilation or heat dissipation slots. This appliance must only be used by adults. Make sure that children do not touch the controls or play with the appliance.
- Page 6 Step 4: Insert the screws into the nuts and tighten, ensuring that they are fixed into material that has sufficient load capacity to hold the weight of the rangehood. Step 5: Put the rangehood onto the fixed screws. Step 6: Fix the rangehood on the wall, like demonstrated in the above picture. Step 7: Put the one way valve onto the rangehood.
-
Page 7: Use And Care
Step 3: Put the one way valve onto the rangehood, then install the rangehood on the bottom of the cupboard, tightening with the 6 enclosed screws. Step 4: Install the adjusted board on the bottom of the hood in order to keep out the gap between hood back and cupboard. - Page 8 Any subsequent necessary repairs or adjustments must be carried out with the greatest of care and attention by an authorized personnel. For this reason, we strongly advise you to contact Parmco Service Department, specifying the nature of the problem, the model and serial number of the appliance.
- Page 9 09 573 5678 f: 09 573 5699 e: sales@parmco.co.nz w: www.parmco.co.nz Parmco Appliances extended 5 year warranty The Warranty: The Warranty is not valid: • If the product is not installed and operated in accordance with the operating • Subject to the terms and conditions contained within this instructions. warranty, if the product is not of Acceptable Quality (as • If the product is not installed to comply with the electrical, gas, plumbing defined in the Consumer Guarantees Act) within 5 years of and other Regulations and Codes of Practice in New Zealand. the date of original purchase, then Parmco Sales undertakes • If the product is operated on voltages or frequencies outside the normal range for domestic appliances in New Zealand. to repair or, at it’s sole discretion, replace the product.
Need help?
Do you have a question about the T2-9-1 and is the answer not in the manual?
Questions and answers