Advertisement
Advertisement
Table of Contents

Subscribe to Our Youtube Channel
Related Manuals for Parmco T2-6HAL


Summary of Contents for Parmco T2-6HAL
- Page 1 Installation and Operating Instructions Model: T2-6HAL 727623112020...
- Page 2 Liability under this warranty will not be accepted for: Subject to updates without prior notice, please visit www.parmco.co.nz for E & O.E. 727626062017 the latest version.
- Page 3 Dear Valued Customer, Thank you and congratulations on purchasing your new Parmco appliance. All Parmco products are made to the highest quality and design standards. We are sure you will enjoy your new appliance. As a note, please read through these instructions carefully. These will assist you appliance.
-
Page 4: Table Of Contents
Content Page IMPORTANT SAFETY INFORMATION SAFETY INFORMATION INSTALLATION OPERATION MAINTENANCE TROUBLESHOOTING TIPS... -
Page 5: Important Safety Information
Please check that the brackets and screws are not discarded with the packaging. This appliance must be installed by a qualified professional. Parmco is not liable for any damages or injuries caused as a result of not following the installation instructions in this manual. -
Page 6: Safety Information
Safety Information This appliance is designed for non-commercial, household use only and must not be altered in any way. This appliance can only be used safely when it is correctly connected to an efficient earthling system in compliance with New Zealand Electrical Standards requirements. ... -
Page 7: Installation
Installation Before installation, please ensure the area is clean to avoid remaining bits of broken wood and dust being sucked into the unit. The appliance can be used as a rangehood or can be mounted beneath a wall cupboard and is suitable for use as an exhaust hood or as a recirculating hood;... - Page 8 Fastening the cooker hood beneath a wall cupboard (ensure that the cupboard can support the weight of the hood). Drill 4 holes of 4mm diameter at the bottom of the hanging cupboard. Install the cooker hood on the bottom of the cupboard, tighten the hood with the M4 screws. Use two 3*12 screws to fix the adjusted board on the bottom of the hood in order to keep out the gap between hood back and cupboard.
-
Page 9: Operation
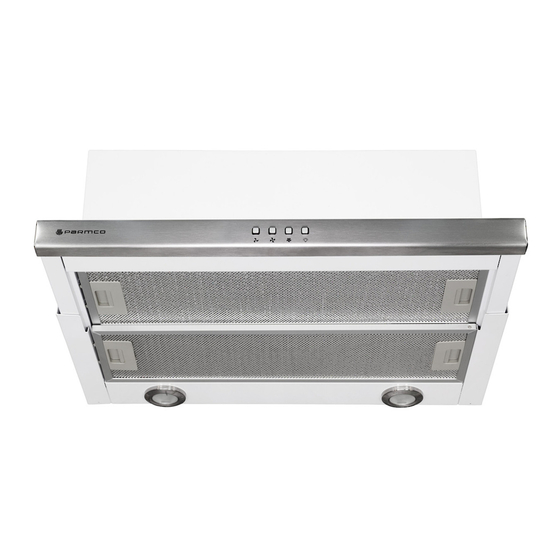
OPERATION After connecting to power, indicator light will lit on, all the output close and the hood will enter standby mode. The indicator light will be off automatically after reminding if no operation. Power on: Press power button once, its indicator light will lit on, the hood works at low speed. -
Page 10: Maintenance
MAINTENANCE Cleaning of the Mesh Grease Filter The filter mesh is made of high-density aluminium and stainless steel. Please do not use corrosive detergents on it. If using a dishwasher to clean filters, please ensure that a non- caustic detergent is used. Keeping this filter clean will keep the appliance running correctly. - Page 11 See pic 2. Apply the reverse procedure to install the light back. Pic 1 Pic 2 Technical Data 700m /h models Model T2-6HAL Rated voltage 220-240V/50Hz Lighting power ≤ 1.5W + 1.5W Motor power 190W Duct diameter...
-
Page 12: Troubleshooting Tips
TROUBLESHOOTING TIPS If any problem occurs, please remove the plug from the socket and contact Parmco service department at 09 573 5678. Problem Solution Change the bulb Lights don't work, but motor works Call Parmco service department Restart the motor...
Need help?
Do you have a question about the T2-6HAL and is the answer not in the manual?
Questions and answers