Lightspeed Topcat Registration Manual
Hide thumbs
Also See for Topcat:
- User manual (36 pages) ,
- Installation manual (32 pages) ,
- Registration manual (13 pages)
Advertisement
Quick Links
REGISTRATION OVERVIEW
Access technology transmitting and receiving devices must be registered (paired) together for operation. When complete systems are shipped from
Lightspeed, they are registered together at the factory, ready for operation out of the box. However, when new components are added or replaced,
registration is required.
1. DETERMINE REGISTRATION METHOD
There are two registration methods: Standard and Remote. Determine which method is best for you:
Choose STANDARD REGISTRATION if:
• You do not have a remote control, OR
• You are simply replacing a microphone or Media Connector.
Choose REMOTE REGISTRATION if:
• You have a remote control, AND
• You are adding a second microphone, OR
• You are adding or replacing a component(s).
When there is a Flexcat remote control registered to the Topcat, we recommend using Remote Registration for simplicity and accuracy. The remote can
initiate the registration mode on the Topcat rather than pressing the button on the Topcat itself (particularly valuable when Topcat is mounted in the
ceiling or on the wall).
Through key presses on the remote, you can specify which device you want to register (Microphone #2 or Pod #3, for example). Once registration is
initiated and the device is identified, you can simply press the registration button on the device to link them together.
2. GETTING STARTED
1.
Find a paperclip - the registration buttons are small and recessed and require the end of a
paperclip (or similar) to be pressed.
2.
If registering a Flexcat remote, you will also need a small, philips screw driver.
3.
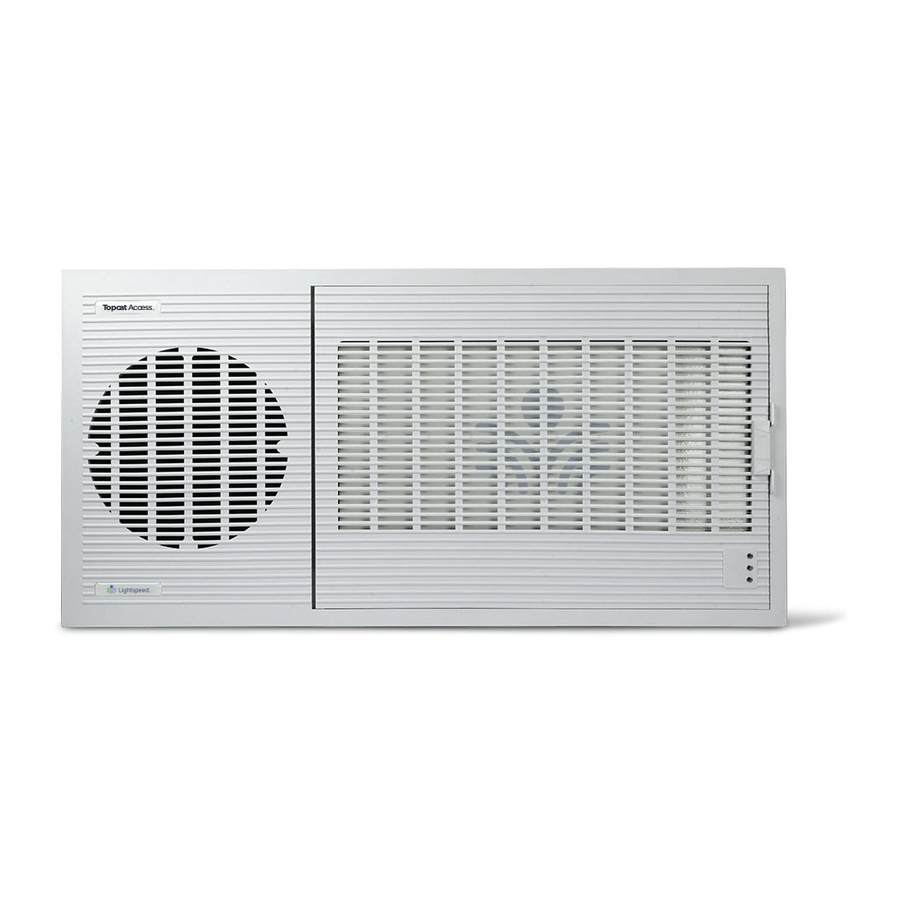
Start with the Topcat plugged in and powered on. To verify it is
powered on, there will be a blue power light on the front of the Topcat.
4.
Make sure the new component to be registered is powered on.
5.
Pressing the registration button requires a very brief press.
6.
When registering a component where other registered components (existing
Flexmike, Sharemike or Media Connector) are in place, this can be done
with a press and hold for 3 seconds of the existing component to trigger the
registration function of the Topcat.
7.
Once registration is complete, place system ID labels on new components to
easily identify components that are registered (paired) together. ID labels are
located in the back of the Topcat User Manual
T o p c a t R e g i s t r a t i o n G u i d e
Solid light
Advertisement

Related Manuals for Lightspeed Topcat


Summary of Contents for Lightspeed Topcat
- Page 1 When there is a Flexcat remote control registered to the Topcat, we recommend using Remote Registration for simplicity and accuracy. The remote can initiate the registration mode on the Topcat rather than pressing the button on the Topcat itself (particularly valuable when Topcat is mounted in the ceiling or on the wall).
- Page 2 3 seconds on the back of the Media Connector. This triggers registration in the Topcat and its 1 and 2 amber lights will begin blinking. Briefly press the registration button on the new or replacement Flexmike. The 1 and 2 blue lights will start blinking alternately.
- Page 3 Open the speaker panel of the Topcat (see Topcat Install Guide for instructions on how to open the panel). The Topcat can remain installed for this process. Using a paperclip, briefly press the registration button on the inside of the Topcat. The 1 and 2 lights will begin blinking on the Topcat.
- Page 4 Solid lights After several seconds, the #1 light on the Topcat will turn solid and only the #2 light on Sharemike will remain blinking, then turn solid. 10. The registration is complete. You can begin speaking into the new Sharemike to verify there is audio.
- Page 5 STANDARD REGISTRATION MEDIA CONNECTOR REGISTRATION (OTHER REGISTERED COMPONENTS IN PLACE) (particularly valuable when Topcat is mounted in the ceiling or on the wall) For users adding a Media Connector or replacing a lost or malfunctioning Media Connector. If replacing a Media Connector, make sure the malfunctioning unit is REGISTER unplugged.
-
Page 6: Remote Registration
Teacher 1 or Teacher 2 designation. Once the remote is registered, you may now use it to initiate registration of addiitonal or replacement pods and microphones. 10. Place system ID number (located in back of Topcat User Manual) on the new Remote Control. - Page 7 Blinking lights Mute After several seconds, the #1 light on the Topcat will turn solid and the Flexmike will have just one light blinking (1 or 2 depending on which microphone is being replaced) and then turn solid. The registration is complete. Press the center button on the remote and begin speaking into the Flexmike to verify there is audio.
- Page 8 Blinking lights Mute After several seconds, the #1 light on the Topcat will turn solid and the Sharemike will have just one light blinking (1 or 2 depending on which microphone is being replaced) and then turn solid. The registration is complete. Press the center button on the remote and begin speaking into the Sharemike to verify there is audio.
- Page 9 Mute The center button on the remote will begin blinking and the #1 light on the Topcat will begin blinking. Using a paperclip, briefly press the registration button on the bottom of the pod. The registration light will turn on.
Need help?
Do you have a question about the Topcat and is the answer not in the manual?
Questions and answers