Sign In
Upload
Download
Table of Contents
Contents
Add to my manuals
Delete from my manuals
Share
URL of this page:
HTML Link:
Bookmark this page
Add
Manual will be automatically added to "My Manuals"
Print this page
×
Bookmark added
×
Added to my manuals
Manuals
Brands
CyberView Manuals
Switch
IP-S101
User manual
CyberView IP-S101 User Manual
Dedicated kvm switch and rackmount screen technology
Hide thumbs
1
2
Table Of Contents
3
4
5
6
7
8
9
10
11
12
page
of
12
Go
/
12
Contents
Table of Contents
Bookmarks
Table of Contents
Table of Contents
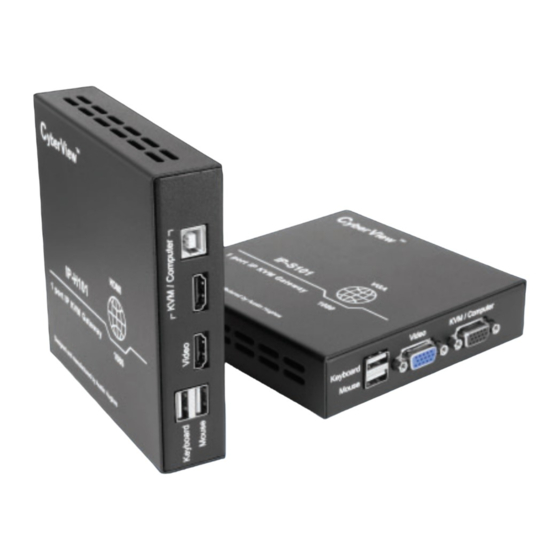
Ip-S101
Package Content
Specifi Cation
Connections
Ip-H101
Package Content
Specifi Cation
Connections
Confi Gure the Target Server
Logging in to IP KVM
Confi Gure Remote Console Resolution
Launch Remote Console
Advertisement
Quick Links
Download this manual
dedicated KVM switch and rackmount screen technology
User Manual
Designed and manufactured by Austin Hughes
UM-CV-IP-S101_H101-Q222V1
www.austin-hughes.com
Table of
Contents
Previous
Page
Next
Page
1
2
3
4
5
Advertisement
Table of Contents
Need help?
Do you have a question about the IP-S101 and is the answer not in the manual?
Ask a question
Questions and answers
Related Manuals for CyberView IP-S101
Switch CyberView IP-802H User Manual
Dedicated kvm switch and rackmount screen technology, usb hub db-15 2-console kvm (28 pages)
Switch CyberView CV-802H User Manual
Usb hub db-15 2-console kvm (32 pages)
Switch CyberView IP-802 Manual
Combo db-15 ip kvm (15 pages)
Switch CyberView IP-1602 User Manual
Combo db-15 2-console (28 pages)
Switch CyberView IP-H101 User Manual
Dedicated kvm switch and rackmount screen technology (12 pages)
Switch CyberView IP-S101A User Manual
(12 pages)
Switch CyberView U-IP802 User Manual
Dedicated kvm switch and rackmount screen technology combo 2-console cat6 (28 pages)
Switch CyberView CV-802 User Manual
Combo db-15 2-console kvm, combo db-15 kvm (28 pages)
Switch CyberView M-804 Installation Manual
(24 pages)
Switch CyberView U-IP802 User Manual
Combo cat6 2-console kvm (28 pages)
Switch CyberView Cat5-IP08 Manual
Dedicated kvm switch and rackmount screen technology (32 pages)
Switch CyberView MU-1602 Manual
Matrix cat6 16 port kvm (25 pages)
Switch CyberView MU-IP1613 User Manual
(26 pages)
Switch CyberView U-IP1602 User Manual
(32 pages)
Switch CyberView F121 User Manual
Dedicated kvm switch and rackmount screen technology (24 pages)
Switch CyberView U-802 Quick Start Manual
Combo cat6 2-console kvm (3 pages)
This manual is also suitable for:
Ip-h101
Table of Contents
Print
Rename the bookmark
Delete bookmark?
Delete from my manuals?
Login
Sign In
OR
Sign in with Facebook
Sign in with Google
Upload manual
Upload from disk
Upload from URL


Need help?
Do you have a question about the IP-S101 and is the answer not in the manual?
Questions and answers