Beckman Coulter CytoFLEX LX Manual
Replace sheath fluid filter and sample tubing
Hide thumbs
Also See for CytoFLEX LX:
- Instructions for use manual (348 pages) ,
- Instructions for use manual (480 pages)
Advertisement
Table of Contents
Replace Sheath Fluid Filter and Sample Tubing
Workflow Overview
Replacement of Sheath Fluid Filter and Sample Tubing to be carried out by FCCF staff every 6
months.
1. Instrument in Standby
Put the instrument in standby mode by selecting Standby under the Cytometer tab.
1
Remove the right-side cover.
2
Open the top cover.
•
Unfasten the two thumbscrews for the right-side cover.
•
Lift the right-side cover up and out of the slots in the frame.
•
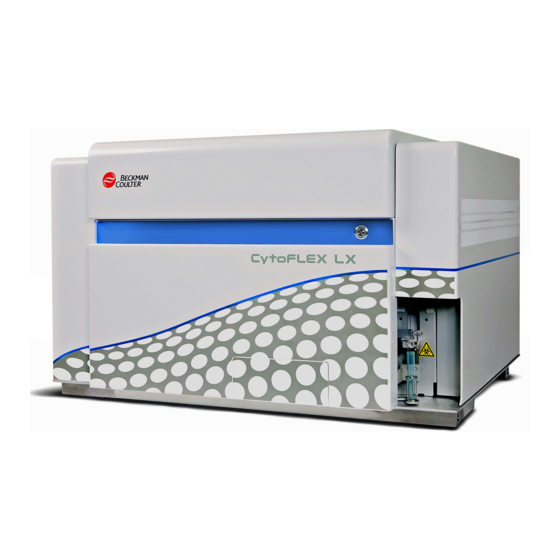
CytoFLEX LX
Instrument
in standby
Image from CytoFLEX LX User Manual
Replace the
Sheath Filter
Replace the
Sample
Tubing
Ver. #1
2022-04-04
Advertisement
Table of Contents

Related Manuals for Beckman Coulter CytoFLEX LX


Summary of Contents for Beckman Coulter CytoFLEX LX
- Page 1 Put the instrument in standby mode by selecting Standby under the Cytometer tab. Remove the right-side cover. Open the top cover. • Unfasten the two thumbscrews for the right-side cover. • Lift the right-side cover up and out of the slots in the frame. • Image from CytoFLEX LX User Manual...
- Page 2 2. Replace the Sheath Filter Press the spring piece on the quick connector (1) on the upper side of the filter and disconnect it (2). Repeat this step for the quick connector located behind the one already removed. Remove the sheath fluid filter from the bracket, connect the new filter using the connector springs, and place the filter back in the bracket.
- Page 3 Open the software, turn on the cytometer and run a Prime, in the Cytometer tab. During the Prime cycle, pay attention to the fluid level in the filter. When the liquid reaches the upper part of the filter, put the rubber insert back and close the vent cap to avoid air leakage. Note: If the vent cap isn’t sealed tightly, leakage of the sheath fluid can occur and result in an unstable flow rate.
- Page 4 Take out the sample peristaltic tubing and remove the sample PEEK tubing. Lift the sample probe out of the wash station and remove the sample tubing. Dispose the old sample tubing in the Biohazard trash bin. Connect the new sample tubing to the sample probe.
- Page 5 Connect the sample PEEK tubing to the sample peristaltic pump tubing and slide the sample probe back to the wash station. Insert the sample tube back into the groove. Note: Do not use any sharp tool to help you put the peristaltic tubing back. Reinstall the sample cover, the front cover, and the right-side cover.
Need help?
Do you have a question about the CytoFLEX LX and is the answer not in the manual?
Questions and answers