Advertisement
Advertisement
Table of Contents

Subscribe to Our Youtube Channel
Related Manuals for TMG TMG-203012PST


Summary of Contents for TMG TMG-203012PST
- Page 1 Page 0 of...
-
Page 2: Main Specifications
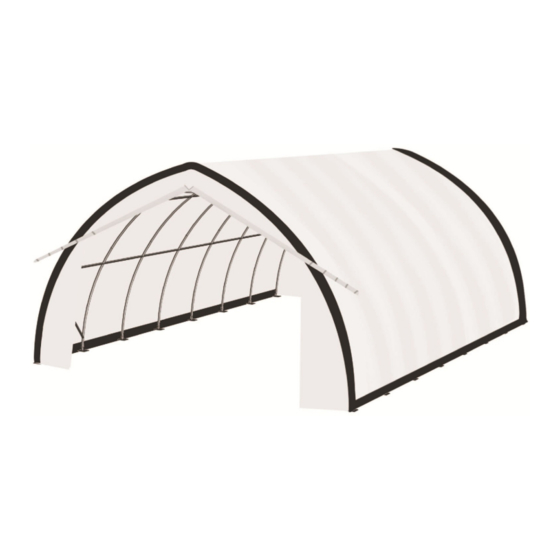
Main Specifications : - Overall assembled size : W6.1 x L9.15 x H3.66 (m) / 20 x 30 x 12 (ft) - Roll up door : W4.3 x H3.2 (m) /14 x 10 (ft) Prior to assembly Please read the instructions carefully before installation. It is important to follow your local safety regulations and industry standards during installation. - Page 3 TMG-203012PST Part List Parts Graphical Description code Peak arch tube Middle bent tube Lower bent tube Roof purlin (horizontal tube) Bottom tension tube (for both long bottom sides) Diagonal bracing bar Ceiling cross bar Left corner baseplate (front and rear truss)
- Page 4 Tube clamp Expansion bolt M12x100mm (Not included) Half round head bolt M8x70mm Hex bolt M8x60mm Hex bolt M10x20mm Top cover panel Front and rear cover panel Braided rope 1bundle Page 3 of...
-
Page 5: Installation Steps
Installation steps Step 1 : Review the whole structure and choose the proper installation site Choose a solid flat level ground area to set up the building. Do not install the building on soft ground, wetland, uneven surfaces, sloped surfaces, or on top of structures that are not rated to hold its weight. - Page 6 Step 2 : Assemble all trusses The shelter includes 8 trusses, connect all tubes with bolt (#12) (Figure 2). Parts used on this step : (1x8) Peak arch tube (#1) (2x8) Middle bent tube (#2) (2x8) Lower bent tube ( #3) (1x8) Ceiling cross bar (#7) (2x8) Hex bolt M10x20 and nut (#13) (8x8) Hex bolt M8x60 and nut (#12)
- Page 7 Step 3 : Put up the front (1 ) truss Recommend a forklift to lift the truss up or a couple of people to pull from different directions. When the truss is up, tie the ropes to the heavy objects to make sure the truss will stay upright and use bolt (#12) to connect the truss to the baseplate on both sides (Figure 4).
- Page 8 Figure 5 Step 5 : Install the diagonal bracing bars (#6) on the 1 span Connect diagonal bracing bar (#6) with tube clamp (#9) and bolt (#13) on the first span as Figure 6 below. Parts used in this step : (4) Tube clamps (#9) (2) Diagonal bracing bar (#6) (2) Hex bolt (#13)
- Page 9 Step 6 : Install front and rear fabric panels Lift up front fabric panel (#15), starting from the center point of the frame (highest ridge point) use rope (#16) through the grommets to tie the panel to the truss firmly. Repeat the same step to install the rear truss panel (Figure 7). Figure 7 Step 7 : Install the top cover (#14) Do not install the cover during windy weather!
-
Page 10: After The Installation
Step 8 : Stretch and tighten top cover The roof cover must be stretched and tied to the front and rear truss by rope going through the flap grommets on the cover. Start from the top center and go toward both side on each end. Add or cut the rope as needed. ...
Need help?
Do you have a question about the TMG-203012PST and is the answer not in the manual?
Questions and answers