Yealink W76P Manual
Bring your own (byod) device guide for dect
Hide thumbs
Also See for W76P:
- User manual (31 pages) ,
- Quick start manual (9 pages) ,
- Quick manual (3 pages)
Advertisement
Yealink ® Bring Your Own (BYOD) Device Guide for DECT
If you already have Yealink DECT devices, they may be compatible with the Inteliquent solution. For Yealink, Inteliquent
currently accepts the models listed in the table below. If you already have one of these devices, just follow the instructions to
incorporate it into your service.
Supported Yealink Models
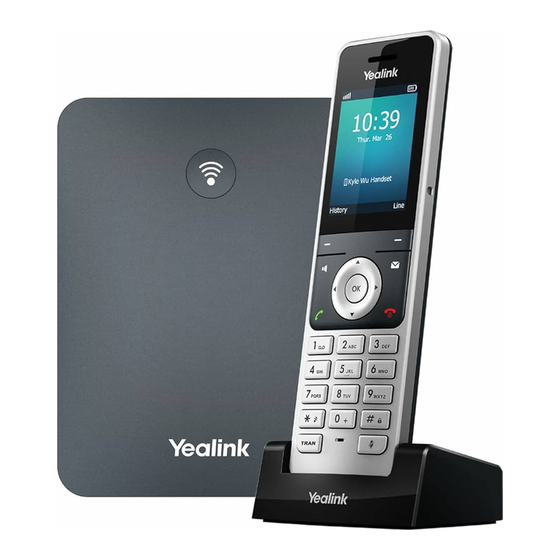
W76P
Before You Begin
In order to configure your devices, specific information is needed. At the time you place your Inteliquent order, please
provide a MAC address for each Yealink device. (The MAC address is listed on the bottom or back of the device).
Repointing and Activating Yealink Devices
To begin, you will need to factory reset and repoint the devices to the Inteliquent service. Follow the instructions below.
1) Reset the device to factory default settings.
a) Using one of the handsets, press OK , then navigate to the Settings icon and press OK .
b) Scroll down to the System Settings option using the down arrow navigation key and press OK .
c)
Scroll down to the Base Reset option and press OK .
d) Enter the current PIN and press OK . If you don't know the base PIN, try "0000" which is the default PIN. Contact
support@voyant.com if you don't know the PIN and the default doesn't work.
e) The phone will prompt "Reset to factory setting". Press OK , then press Yes to reset the base to factory settings.
f)
Allow the phone to reset and return to factory settings.
2) Capture the phone's IP address.
a) Using one of the handsets, press OK , then navigate to the Status icon and press OK .
b) Choose Base and press OK .
c)
Write down the numbers as shown in the IPv4 : row __________________
3) Log into the device.
a) Using a computer on the same local network, use a web browser to navigate to the IPv4 address you noted above in
step 2 using https.
i)
Example: Enter
b) On the login screen, enter the default username (admin) and password (admin) and click Login .
4) Configuring Provisioning Server Information.
a) Once logged in, do the following:
i)
On the left menu bar, click on the Settings menu. The menu will expand.
ii)
Click Auto Provision from the list.
iii) In the Auto Provision settings, set PNP Active to Off and set DHCP Active to Off.
iv) In the Server URL field, enter
v) Click Upgrade on the left menu bar, then choose Reboot to reboot the device.
Inteliquent, We empower communications
https://192.168.0.2
in your browser's address bar.
https://xsp.bwvoip.net/dms/Yealink_W70B
Yealink BYOD Guide - bwvoip
550 W. Adams St., Suite 900, Chicago, IL 60661
+1 (866) 629-8200, Option 4
info@inteliquent.com
and click Confirm .
help.inteliquent.com
Advertisement
Table of Contents

Related Manuals for Yealink W76P


Summary of Contents for Yealink W76P
- Page 1 In order to configure your devices, specific information is needed. At the time you place your Inteliquent order, please provide a MAC address for each Yealink device. (The MAC address is listed on the bottom or back of the device).
- Page 2 Yealink BYOD Guide - bwvoip 550 W. Adams St., Suite 900, Chicago, IL 60661 +1 (866) 629-8200, Option 4 info@inteliquent.com 5) Reboot the device. If it did not reboot on its own, do the following: a) Unplug power from the back of the device.
Need help?
Do you have a question about the W76P and is the answer not in the manual?
Questions and answers