Advertisement
Quick Links
HO0164A0TX/HO0164B0TX
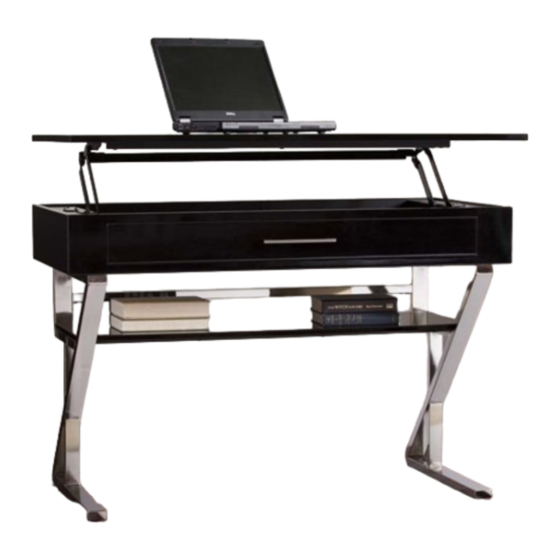
Lozano Adjustable Height Desk
Assembly Instructions
Please do not load more than 30 lb. when desktop is fully raised.
Page 1
For assistance with assembly contact:
Southern Enterprises Inc.
Customer Service 1-800-633-5096
service@seidal.com
www.seifurniturestore.com
Advertisement

Related Manuals for Southern Enterprises Lozano HO0164A0TX


Summary of Contents for Southern Enterprises Lozano HO0164A0TX
- Page 1 HO0164A0TX/HO0164B0TX Lozano Adjustable Height Desk Assembly Instructions For assistance with assembly contact: Southern Enterprises Inc. Customer Service 1-800-633-5096 service@seidal.com www.seifurniturestore.com Please do not load more than 30 lb. when desktop is fully raised. Page 1...
-
Page 2: Parts List
Lozano Adjustable Height Desk Parts List Please check packaging for all parts and hardware before discarding. Unpack and lay parts on clean, padded surface like carpet or blanket. Check that you have all parts indicated. Call customer service if hardware is missing. Before beginning assembly, carefully study the diagrams below and sort your hardware according to the pictures. - Page 3 Quantity Quantity Quantity of 1 of 1 of 1 Shelf Panel Back Rail Middle Rail Care and Cleaning Instructions: Before using, wipe with a clean, dry cloth. For replacement parts or questions, please call SEI Avoid rubbing or scratching the surface with rough or customer service at 1-800-633-5096.
- Page 4 Lozano Adjuestable Height Desk Assembly Instructions Attach Adjustable Levels (D) to Side Legs (2/3) by hand. Figure 1 Insert Back Rail (5) into Side Legs (2/3). Attach Middle Rail (6) to Side Legs with Bolts (A). Tighten Bolts (A) with Allen Wrench (C).
- Page 5 Connect Back Rail (5) to Side Legs (2/3) with Bolts (A). Tighten Bolts (A) with Allen Wrench(C). Figure 3 Attach Shelf (4) to pre-assembled unit from Figure 3 with Bolts (B). Tighten Bolts (B) with Allen Wrench (C). Figure 4 Page 4...
- Page 6 Attach Brackets (G) to Desktop (1) with Screws (H) Tighten Screws (H) with Phillips screwdriver (not included). Figure 5 Attach Handle (J) to Desktop (1) with Small Bolts (I). Tighten Small Bolts (I) with Phillips screwdriver (not included). Figure 6 Page 5...
- Page 7 Attach Desktop (1) to pre-assembled unit from figure 4 with Bolts (B). Tighten Bolts (B) with Allen Wrench (C). Figure 7 Mark two desired locations on the wall and drill two 3/16" holes. Insert plastic Anchors (F) into the holes on wall, tapping lightly with hammer (not included) as needed.
- Page 8 Attach Brackets (G) to the wall using Screws (E). Tighten Screws (E) using Philips screwdriver. Figure 8 Move this item close to the wall and tie brackets (G) together with Plastic Straps (K). Note: Anti-tipping hardware must be used for this product to avoid tipping and injury.
- Page 9 Now your Lozano Adjustable Height Desk is ready to use! To open top, simply lift up. Guide back down to close. The top can be adjusted to four different height. Figure 10 If the Desk is not level, adjust the adjustable foot pads by hand.
-
Page 10: Parts Replacement Form
90 days of your receipt, we are under no obligation to provide parts or replacement merchandise. Please contact Southern Enterprises at 800-633-5096 or in Dallas 972-869-0111/ 9am – 4pm Mon-Fri Central time if you have product issues or email us at service@seidal.com. Please ask for customer service representative for issues involving damages or replacement parts.
Need help?
Do you have a question about the Lozano HO0164A0TX and is the answer not in the manual?
Questions and answers