Summary of Contents for Argos 833 /3559
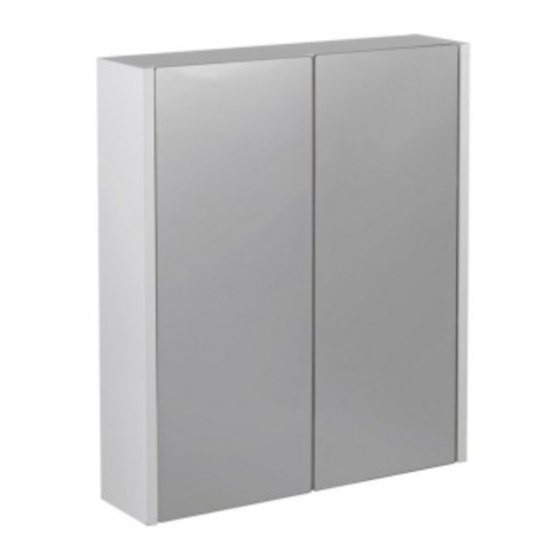
- Page 1 White Double Mirrored Cabinet Assembly Instructions 833 /3559 - Please keep for future reference Dimensions Width - 50cm Depth - 13cm Height - 60cm Important - Please read these instructions fully before starting assembly Issue 1 - 03/11/10...
-
Page 2: Care And Maintenance
BS 7449 : 1991 489-499 Avebury Boulevard described on this label. Saxon Gate West Consult the manufacturer, Catalogue Number: 833 /3559 Central Milton Keynes retailer, or agent with regard to Bucks, MK9 2NW Manufacture Date: 10.12.10 obtaining a manufacturing specification and shape for... - Page 3 Components - Panels Please check you have all the components listed below 4 Bottom Panel 3 Top Panel (47x11cm) (47x11cm) 2 Right Side 1 Left Side (60x13cm) (60x13cm) 6 Back Support 5 Shelf Panel x 2 (47x4.2cm) (47x9.1cm) 10 Bottom Back x 2 (48x19.2cm) 9 Top Back (48x19.2cm)
- Page 4 Assembly Instructions Step 1 Attaching panels Position Right Side Panel on the floor, with holes on the top. Ensure you place on a carpet or protective surface to avoid scratching. Screw 2 Locking Pins into the holes on the Right Side Panel firmly, then attach Top Panel to the...
- Page 5 Assembly Instructions Step 3 Attaching back panels As per the image to insert Top Back Bottom Backs Plastic Bars into the slots on the top, bottom, side panels one by one. Always make sure they are firmly. Step 4 Attaching panel Screw 4 Locking Pins into the holes on the Left Side Panel...
- Page 6 Assembly Instructions Step 5 Attaching panels Insert 8 Shelf Holders into the holes on the side panels where shown. Place 2 Shelf Panels onto the assembled Shelf Holders Note: There are adjustable holes on the side panels for shelf panels can adjust to any height.
- Page 7 Assembly Instructions Step 7 Fixing to wall NOTE : It would be useful to ask someone to help you at this stage. WALL MOUNTING: Hold the fully assembled unit against the wall in the desired location and check if it is horizontal. Mark the wall to indicate where to drill the holes.
-
Page 8: A Guide To - Wall Mounting & Fixings
A Guide to - Wall Mounting & Fixings Important: When drilling into walls always Important note: check that there are no hidden wires or pipes etc. If plastic wall plugs Make sure that the screws and wall plugs being used are supplied with your are suitable for supporting your unit.


Need help?
Do you have a question about the 833 /3559 and is the answer not in the manual?
Questions and answers