Table of Contents
Advertisement
Quick Links
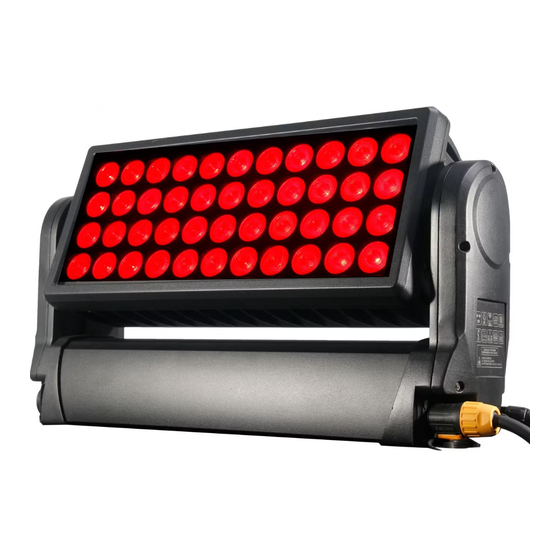
44X10W RGBW 4IN1 LED MOVING WASH LIGHT
This product manual contains important information about the safe
installation and use of this projector. Please read and follow these instructions
carefully and keep this manual in a safe place for future reference.
User manual
Please read the instructions carefully before use
Advertisement
Table of Contents

Subscribe to Our Youtube Channel
Related Manuals for Osram 44X10W


Summary of Contents for Osram 44X10W
- Page 1 44X10W RGBW 4IN1 LED MOVING WASH LIGHT This product manual contains important information about the safe installation and use of this projector. Please read and follow these instructions carefully and keep this manual in a safe place for future reference.
-
Page 2: Table Of Contents
TABLE OF CONTENTS 1. Dimension .................... 3 2. Safety Information ................3 3. Preparing for installation ............... 5 4. Installation ................... 6 5. Connecting AC Power ................6 6. Configuring the fixture ................7 7. Connecting to a DMX control device ............8 8. -
Page 3: Dimension
1. Dimension 2. Safety Information WARNING! Read the safety precautions in this section before unpacking, installing, powering or operating this product. This luminaries are multi-environmental fixtures with an IP-rating of 65, intended for professional use only. They are not suitable for household use. Review the following safety precautions carefully before installing or operating the fixture. - Page 4 WARNING! Risk of electric shock. ⚫ Always power off/unplug the fixture before removing any covers. ⚫ Ensure that the power is turned off when connecting the fixture to the AC mains supply. ⚫ Ensure that the fixture is electrically connected to earth (ground). ⚫...
-
Page 5: Preparing For Installation
WARNING! Take measure to prevent personal injury. ⚫ Do not look directly at the light source from close range. ⚫ Take precautions to prevent injury due to falls when working at height. ⚫ For permanent installation, ensure that the fixture is securely fastened to a load-bearing surface with suitable corrosion-resistant hardware. -
Page 6: Installation
4. Installation The fixture may be installed in any orientation, but if installed horizontally with a downward beam-angle, water can potentially pool in the fan wells. Under normal operation the moisture will evaporate. However, in locations with high rainfall, you may wish to fabricate a rain shield above the fixture, or modify the position and orientation of the fixture to minimize pooling. -
Page 7: Configuring The Fixture
4 fixtures are connected through the same type C, 10A circuit breaker. 7 fixtures are connected through the same type C, 16A circuit breaker. The fixture must be grounded/earthed and be able to be isolated from AC power. The AC power supply must incorporate a fuse or circuit breaker for fault protection. -
Page 8: Connecting To A Dmx Control Device
Setting a static color manually The fixture can be configured to display a predefined and static color using the “Manual Color” (see “Control menu” on page 13). It may suit your needs when you without a DMX controller to do the color mixing. -
Page 9: Configuring The Fixture For Dmx Control
8. Configuring the fixture for DMX control About DMX The fixture can be controlled using signals sent by a DMX controller on a number of channels (which varies depending on the DMX mode that has been set). The first channel used to receive data from a DMX control device is known as the DMX start address. -
Page 10: Cleaning
Setting the DMX address The DMX address can be seen on the main screen. To change the address setting, press the up arrow to increase the address, or the down arrow to decrease the setting. When the desired address is displayed, press Enter to save the setting. -
Page 11: Dmx Protocols
10. DMX protocols Configuring DMX is described “Setting the DMX mode” on page 10. Channel Value Function 12CH Tilt : 0-255 Tilt movement Tilt fine: 0-255 Tilt fine movement Dimmer : 0-255 All dimmer Strobe : No function 6-42 Strobe macro 1 43-85 Strobe macro 2 86-128... -
Page 12: Control Menu
46-115 Color change macro 116-185 Color fade macro 186-255 Color pulse macro Color temperature: 0-255 Warm to cold white Tilt Speed: 0-255 Tilt movement speed from fast to slow Dimmer Speed: 0-255 Dimmer speed from fast to slow 11. Control menu Display: MENU To select the programming functions (press to unlock screen) - Page 13 Showing "Set DMX Address 001", Press the "UP or DOWN" key to increase or decrease the DMX address value. Press "ENTER" to save and Exit, Press "Cancel" does not save and Exit. Level 1 Level 2 Description DMX Address 001-512 Set DMX address DMX Channel 5_CH...
-
Page 14: Specification
12. Specification Technical data LED Type: 10W RGBW 4in1 LEDs LED Count: 44 LED Colors: RGBW Movement Resolution: 8-16 Bit Tilt (Degrees): 185° Control Control Modes: 5CH / 12CH Display: LCD Protocol: USITT DMX-512, RDM RDM: Bidirectional communication Cooling: temperature controlled, overheating protection Effects Dimmer: 0-100% electronic Dimmer mode: 5 modes... -
Page 15: Photometrics
Mounting Options Standing: Body feet Hanging: Omega-Bracket Safety wire attachment: foldout eyelets Shipping Single fixture: cardboard (inner and outer cartons) Tourpack: 4-way Flight Case Dimensions & Weight Length: 482 mm / 18.9 in Width: 178 mm / 9.0 in Height (head horizontal): 243 mm / 9.5 in Weight N.W: 10 kg G.W: 12.5 kg...
Need help?
Do you have a question about the 44X10W and is the answer not in the manual?
Questions and answers