
Related Manuals for Ergotron DM12-1006-1


Summary of Contents for Ergotron DM12-1006-1
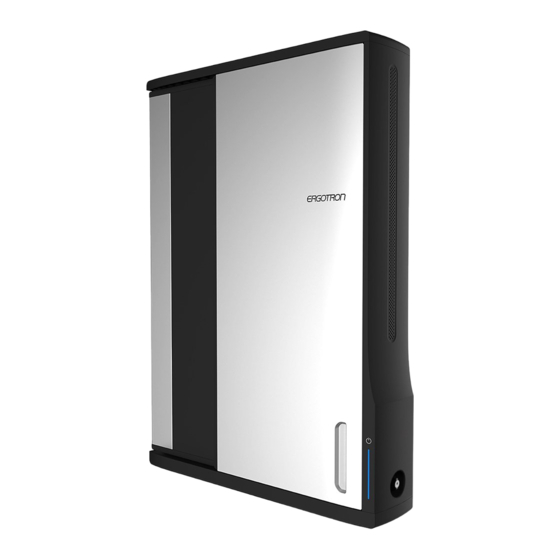
- Page 1 | USA: 1-800-888-8458 Europe: +31 (0)33-45 45 600 China: 400-120-3051 Japan: japansupport@ergotron.com...
-
Page 2: Hazard Symbols
< 44.4 lbs. (20.1 kg) WARNING: Because surfaces vary widely and the ultimate CAUTION: Make sure the mounting method is out of Ergotron’s control, it is imperative wall mount bracket is level, CAUTION: DO NOT EXCEED MAXIMUM that you consult with appropriate engineering, architectural fl ush and snug to the wall LISTED WEIGHT CAPACITY. -
Page 3: Tools Needed
Components 1/4”-20 x 2” M6 x 70mm 5/32” Tools Needed Stud Finder 10mm WOOD STUD HOLLOW WALL Ø 3/16" (5 mm) Ø 1/2" (13 mm) CONCRETE Ø 3/8" (10 mm) REMOVE INTERNAL PACKAGING TEAM LIFT For Your Safety! -
Page 4: Mounting Considerations
MOUNTING CONSIDERATIONS Space Requirements: When mounting to wood stud, at least one screw in the upper mounting bracket must be installed in a stud (preferably the center hole). 35.3" (900 mm) 7" 11.8" 6.5” (178 mm) (300 mm) (168 mm) 6"... - Page 5 WOOD STUD HOLLOW WALL First Choose a Hole Option: The stud can be located at one of fi ve mounting holes on the top bracket. While the fi rst option (center hole of bracket) is recommended, you should consult with a construction professional to confi rm which method is best suited for your particular situation.
- Page 6 WOOD STUD HOLLOW WALL Find stud and draw a mark. Put a mark on the stud 62”-68” (158-173 cm) from fl oor. 62”-68” (158-173 cm) Place template on wall lining up the Level and secure template chosen hole with the stud and the to wall.
- Page 7 WOOD STUD HOLLOW WALL 1. Drill the three holes for the top bracket that correspond with the hole option determined on previous page. 2. Drill the bottom two holes. NOTE: Use the Ø 3/16” (5 mm) drill bit when drilling directly into the wood stud. Use the Ø...
- Page 8 CONCRETE Put a mark on the wall 62”-68” Level and secure template to (158-173 cm) from fl oor. the wall lining up the chosen mounting holes with the mark 62”-68” (158-173 cm) from fl oor. 62”-68” (158-173 cm) 62”-68” (158-173 cm) Drll the top 3 holes, then the bottom two holes.
- Page 9 Hang unit onto top bracket. Warning: 2 people are required to lift this product. a. Remove two screws on left side. Save screws for reattaching cover. b. Unlock door by turning key 180° clockwise. Open door by turning knob 180° clockwise. a.
- Page 10 a. Secure unit to wall by inserting screw through back wall and into bottom right wall anchor. b. Close door, then insert screw through back wall and into bottom left wall anchor. WOOD STUD CONCRETE HOLLOW WALL 5/32” M6 x 70mm 1/4”-20 x 2”...
- Page 11 a. Plug in all the tablet power cables into the outlets inside. (Customer supplies power cables that come with the devices) b. Route cables through the access holes. c. Open door an pull cables through the access holes.
- Page 12 Pull out tablet tray and insert tablet. NOTE: Tablet should be positioned so power plug is at top or left side. a. Slide cable clip off of tablet slot and route cable through clip, then reattach cable clip. NOTE: Leave enough slack in cable to plug into tablet. b.
- Page 13 Tie up excess cable with velcro cable ties. NOTE: Keep cables away from power system components that might get hot during operation. a. Attach left cover with 2 screws saved from removal of cover. b. Open door and attach 3 inside screws saved from removal of left cover...
- Page 14 a. Close door and turn lock knob 180° counter clockwise. b. Lock door by turning key 180° counterclockwise. Plug power cable into bottom power jack and then into wall outlet to start charging.
-
Page 15: Specifications
Power system UNIVERSAL TABLET WALL STATION 12 Part number Power System Input/Output: 100-240V~, 12A-10A, 50/60 Hz DM12-1006-1 Input: 100-120V~, 12A, 50/60 Hz DM12-1006-2 Input: 220-240V~, 8A, 50/60 Hz This device complies with Part 15 of the FCC Rules. Ergotron Europe... -
Page 16: Cleaning And Maintenance
The power cord acts as the connect/disconnect device switching power on and off . The socket outlet shall be installed near the equipment and shall be easily accessible. CAUTION: Changes or Modifi cations not expressly approved by Ergotron could void the user’s authority to operate the equipment. Use Safety There are specifi c risks associated with the use of this product (for charging or storage). - Page 17 MADE IN CN 12-345-678 1234567-1234 www.ergotron.com | USA: 1-800-888-8458 Europe: +31 (0)33-45 45 600 China: 400-120-3051 Japan: japansupport@ergotron.com...
Need help?
Do you have a question about the DM12-1006-1 and is the answer not in the manual?
Questions and answers