
Subscribe to Our Youtube Channel
Related Manuals for Avery Dennison 9442


Summary of Contents for Avery Dennison 9442
- Page 1 Avery Dennison® 9442 Printer User Manual _____________________________________________________________________________________ TC9442UM_AC(1/22)
- Page 2 Each product and program carries a respective written warranty, the only warranty on which the customer can rely. Avery Dennison Corp. reserves the right to make changes in the product, the programs, and their availability at any time and without notice. Although Avery Dennison Corp. has made every effort to provide complete and accurate information in this manual, Avery Dennison Corp.
-
Page 3: Table Of Contents
Table of Contents Getting Started ......................................1 About the Printer ....................................1 Power Connection ....................................2 USB Connection ....................................3 Loading Supplies ..................................... 5 Loading for Non-Peel Mode ................................5 Loading Supplies for Peel Mode..............................6 Loading Fan-Fold Supplies ................................8 Loading Ribbon ...................................... - Page 4 Classification: Avery Dennison – Public...
-
Page 5: Getting Started
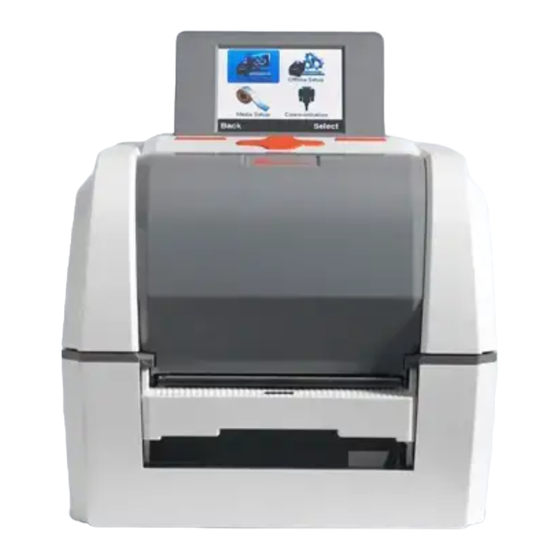
1 Getting Started Find additional manuals on our Website (www.identificationsolutions.averydennison.com). About the Printer Classification: Avery Dennison – Public... -
Page 6: Power Connection
Only use the adapter supplied with the printer. Turn off the printer. Connect the AC adapter to the printer. Connect the power cord to the AC adapter. Connect the power cord to a grounded power outlet. Classification: Avery Dennison – Public... -
Page 7: Usb Connection
This printer supports the following USB Connections: USB Type B (requires a shielded cable, less than 1.8m long). • USB-Type A (WLAN Dongle only). • Turn off the printer. Connect the USB to the printer. Classification: Avery Dennison – Public... - Page 8 Classification: Avery Dennison – Public...
-
Page 9: Loading Supplies
Spread the supply holders and insert the supply roll. Make sure the printing side faces up. Adjust the supply guides to the width of the paper. Close the Paper Cover until it clicks into place. Set the peel mode switch to OFF for non-peel mode. Classification: Avery Dennison – Public... -
Page 10: Loading Supplies For Peel Mode
Peel mode separates the label from the backing paper while printing. Peel mode can only be used with die cut label supplies. Open the paper cover. Open the peel cover, set the peel mode switch to ON. Make sure the LED is lit. Remove one label then insert supply as shown. Classification: Avery Dennison – Public... - Page 11 Close the peel cover. The peel cover should close between labels, as shown in the top image. Close the paper cover – it clicks into place. Turn the printer off then back on. Classification: Avery Dennison – Public...
-
Page 12: Loading Fan-Fold Supplies
Carefully use a knife, or other cutting instrument, to remove the rear supply cover on the back of the printer. Insert the supply at the rear of the printer. Feed the supply through the slot, paper holders, and guides. Adjust the paper holders. Press the lock down until it clicks into place. Classification: Avery Dennison – Public... -
Page 13: Loading Ribbon
3 Loading Ribbon This chapter describes how to load ribbon in the 9442 Thermal Transfer printer. If you are using the thermal direct printer and/or thermal direct supplies, do not load a ribbon. Use your empty ribbon core as the take-up core. -
Page 14: Removing The Ribbon
Open the paper cover. Push the left side of the empty ribbon core to the right. Lift the left side out then the right side. Save the empty core to use for the next ribbon take up. Classification: Avery Dennison – Public... -
Page 15: Control Panel
Print is paused temporarily. Wait for button Green Blink Wait for input input Green Blink Green Blink Wait for input Cover Close Mode. Wait for button input Green Blink Wait for input Print Cancel Mode. Wait for button input Classification: Avery Dennison – Public... -
Page 16: Pause And Cancel Operations
All received data deleted. The LED Status in the print cancel mode is: LED 1: Green On LED 2: Red Blink While in the print cancel mode, press the Cancel button again to return to print standby mode. Classification: Avery Dennison – Public... -
Page 17: Auto Cutter (Optional)
Auto Cutter (Optional) The auto-cutter is controlled by command. Default settings are managed using the Unified Label Utility-II. Contact your System Administrator for more information. Load supplies for non-peel mode when using the cutter. Classification: Avery Dennison – Public... - Page 18 Classification: Avery Dennison – Public...
-
Page 19: Using Bluetooth
The printer’s Bluetooth® can be used with a smart device. Bluetooth Connection Follow the Bluetooth pairing instructions for your smart device to connect to the 9442 Printer. When connecting with the 9442 Printer via Bluetooth your smart device should list:... - Page 20 Classification: Avery Dennison – Public...
-
Page 21: Maintenance & Cleaning
Use a cleaning pen to clean the printhead. Wipe the pen from the center of the printhead to the edges. Allow the printhead to dry completely (1~2 minutes) before use. Close the cover. We recommend cleaning the printhead after each roll of supply. Classification: Avery Dennison – Public... -
Page 22: Cleaning The Sensors, Roller, And Paper Path
Moisten the cloth or cotton swab with isopropyl alcohol to remove adhesive. Allow the cleaned parts to dry completely (1~2 min) before use. Clean the identified parts when there is reduced print quality or supply sensing. Classification: Avery Dennison – Public... -
Page 23: Printer Specifications
Print speed can vary based on data transmission speed and/or the combination of control commands. • The printer is for indoor use only. • If the printer malfunctions, turn it off and unplug it from the wall. Call Technical Support. • Classification: Avery Dennison – Public...
Need help?
Do you have a question about the 9442 and is the answer not in the manual?
Questions and answers