Advertisement
Quick Links
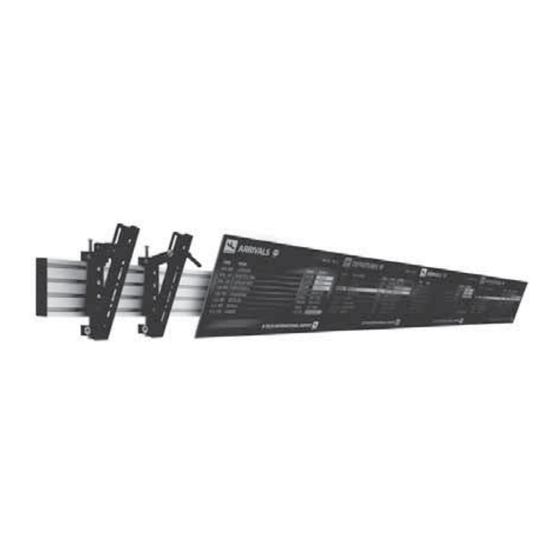
BT8330
UNIVERSAL MENU BOARD MOUNTING SYSTEM
INSTALLATION GUIDE & PARTS LIST
This Pack Contains 1 Wall Mounting kit
PLEASE KEEP THIS FOR FUTURE REFERENCE
This assembly manual covers different installations.
Please note that some parts or procedures shown
may not be required for installation.
Installation Safety Notes.....................................................................................................................2
Parts List.............................................................................................................................................4
Installation Instructions........................................................................................................................6
Typical Installations.......................................................................................................... ................14
Pole Mounting Installations...........................................................................................................
B-Tech Contact Details........................................................................................................... . ..........16
INSTALLATION TOOLS REQUIRED
Crosshead
screwdriver
B-TECH AUDIO VIDEO MOUNTS
CONTENTS
Drill
Drill bit
www.btechavmounts.com
FEATURES
• Universal multi-screen wall mount suitable for
all screens
• Max weight per screen: 50kg
• Suitable for landscape or portrait mounting
• Compatible with B-Tech collars for pole mounting
if required
• Sections can be joined together to increase
menu board width
• Safety screws help prevent unauthorised removal
of screens
• All mounting hardware included
Pencil
Level
TM
50kg
PER SCREEN
...........15
Stud finder
(optional)
Advertisement

Related Manuals for B-Tech System X BT8330


Summary of Contents for B-Tech System X BT8330
- Page 1 • Universal multi-screen wall mount suitable for all screens • Max weight per screen: 50kg • Suitable for landscape or portrait mounting • Compatible with B-Tech collars for pole mounting if required • Sections can be joined together to increase menu board width •...
- Page 2 Please check carefully to make sure there are no missing or defective parts - defective parts must never be used. B-Tech International Limited, its distributors and dealers are not liable or responsible for damage or injury caused by improper installation, improper use or failure to observe these safety instructions. In such cases, all guarantees will expire.
- Page 4 BT8330 Due to the multiple installations available the quantity for PARTS LIST each option below is dependent on the mount ordered. WALL FIXING KIT BT8390-WFK2 BT8390-WFK1 MOUNTING RAIL OPTIONAL MOUNTING RAIL BT8390-070 BT8390-150 EXTENSION KIT Length: 70cm Length: 150cm BT8390-175 BT8390-200 BT8390-EXT Length: 175cm...
- Page 5 WALL FIXING KIT Wall Fixing Kit PART NAME PER PACK WALL FIXING PLATE ST8 x 45mm CSK WOOD SCREW No.10 WALL PLUG M8 SLIDING NUT M8 x 12mm CSK SCREW 5AF HEX KEY MOUNTING RAIL PART NAME PER PACK Interface Arm Kit MOUNTING RAIL END CAP EXTENSION KIT...
- Page 6 EXTENDING THE MOUNTING RAIL To extend the length of the Menu Board, use a BT8390-EXT to combine mounting rails Optional: Combining Mounting Rails using the BT8390-EXT i. On the intended front facing side of the mounting rail (part B1) insert 4 x joining bars (part C1) half-way into each slot.
- Page 7 INSTALLATION INSTRUCTIONS Insert M8 Sliding Nuts a i. For each BT8390-WFK1 wall plate used, insert 4 x M8 sliding nuts (part A4) into the mounting rail (part B1). Two in the top slot / two in the bottom slot. For the BT8390-WFK2 assembly see page 9. BT8390-WFK1...
- Page 8 Attach Wall Fixing Kit to Mounting Rail Cont... a ii. Attach the BT8390-WFK1 (part A1) to the mounting rail (part B1) by fastening M8 x 12mm screws (part A5) into the inserted M8 sliding nuts (part A4). BT8390-WFK1 BT8390-WFK1 Note: BT8390-VESA400MAF interface arms cannot be used with the BT8390-WFK1 Required quantity of BT8390-WFK1 or BT8390-WFK2 2pcs for 0 - 2000mm...
- Page 9 Attach Wall Fixing Kit to Mounting Rail b i. Insert 2 x M8 sliding nuts (part A4) into the second slot from the top on the mounting rail and 2 x M8 sliding nuts into the bottom slot. b ii. Attach the BT8390-WFK2 (part A1) to the mounting rail (part B1) by fastening M8 x 12mm screws (part A5) to the BT8390-WFK2...
- Page 10 Fix Mounting Rail to the Wall Fix the mounting rail (part B1) to the wall using the the wall fixings included with the BT8390-WFK1 / BT8390-WFK2 (part A1). Once mounted, attach end caps (part B2) to mounting rail.
- Page 11 Attach Interface Arms to Screen SCREEN FIXING KIT A B C D BT8390-VESA400MAF Installation shown on page 13 Use spacers for screens with recessed fixings K L M BT8390-VESA200T / BT8390-VESA400T 10º and 15º quick tilt settings Two M6 x 6mm (part D2) screws are required for a flat 0º...
- Page 12 Hook Screens onto Mounting Rail Hook screen(s) to mounting rail. Secure mount by tightening safety screw on bottom of interface arm. WALL WALL SAFETY SCREW If necessary adjust top levelling screws to align screens. WALL LEVELLING SCREW...
- Page 13 Installing Screens using the BT8390-VESA400MAF INTERFACE ARM LEFT SCREEN FIXING KIT D E F INTERFACE ARM RIGHT Hook Screens onto Mounting Rail Use the Y & Z micro-adjustment knobs on interface arms to align screens. When the screens are all positioned correctly, tighten the safety screws on the bottom of the interface arms (parts D1) to secure in position.
- Page 14 BT8330 TYPICAL INSTALLATIONS 2 Screen Installation with Fixed VESA 400mm Arms BT8390-VESA400F BT8390-WFK1 5 Screen Installation with VESA 200mm Tilt Arms BT8390-VESA200T BT8390-EXT BT8390-WFK1 3 Screen Installation with Fixed VESA 400 Micro-Adjustment Arms BT8390-VESA400MAF BT8390-EXT BT8390-WFK2...
- Page 15 BT8330 POLE MOUNTING INSTALLATIONS Use with a System 2 floor / ceiling mounts. System 2 Single Pole Mounting System 2 Twin Pole Mounting BT8390-CFK (x2) BT8390-CFK BT7051 (x2) / BT7841 (x2) / BT7841 BT7051 (x1) (x4) BT7850 (x2) BT7850 System 2 Back-To-Back Installation X-Large Trolley Mounting BT8390-WFK1 must be used in back-to-back configurations...
- Page 16 ©2015 B-Tech International Limited. All rights reserved. B-Tech Audio Video Mounts is a division of B-Tech International Limited. B-Tech, Better By Design & System X are registered trademarks of B-Tech International Limited. All other brands and product names are trademarks of their respective owners.
Need help?
Do you have a question about the System X BT8330 and is the answer not in the manual?
Questions and answers